Our Trim Profiles & Where to Find Them
As you may know, we started our renovation in a very unique situation. Our home was completely gutted. Like, a shell of a house. This was sad for the obvious reasons; original details were removed, and character was lost. On the other hand, this provided the opportunity to start anew. From a millwork perspective it was both exciting and intimidating -
Should we take a preservationist route and try and recreate the profile type that was once here? ($$$)
Do we go with a super modern moulding style? (No)
OR do we find profiles that are accessible, we love, and fit the era of the house? (That’s the winner)

Moulding refers to the ornate details that you can add anywhere on your walls, or to cover vertical joints. Oftentimes, eras of architecture are characterized by moulding style. For Queen Anne Victorians, this meant very decorative, sometimes excessive trim profiles. You'll notice that we employ a variety of different moulding styles (8 to be exact), but this isn't necessary for creating a design that looks lux and rich with character.
Modern trim is often made from poplar or pine rather than more expensive wood species like white oak, red oak, or walnut. Poplar is considered a paint grade wood because it’s not great for staining. If you want something inexpensive that you can stain, try requesting "premium pine" from the lumber yard (it has fewer knots). Knots in pine wood will show through paint if not treated properly. We recently stained solid pine baseboard in Maine and it worked great!
For a home's exterior you would likely use hardwoods, or more likely, synthetics like azek moulding for trim, paired with composite decking like Trex. For traditional wood siding (we have cedar shingle) you will still have a lot of maintenance.
In this post we’re going to be breaking down all the trim profiles we use in our home, where we get them, and what we used to install them! We’ll likely use the words ‘Millwork’, ‘Moulding’ (we prefer the English spelling), and ‘Profiles’ interchangeably here. Just know we’re referring to trim, or the shape of the trim.
// FAQ: We often talk about this book, New Decorating with Architectural Trimwork. This book truly is the basis of a lot of our knowledge and a great way to start to understand the anatomy of millwork, some of the most popular profiles, and how to install it! Also, this moulding glossary that Lowes put together is another fantastic resource!


Where Do You Buy Moulding?
This is definitely one of the Most Asked Questions we get regarding our home. It’s something we had to figure out pretty quickly in the beginning and we are still using the same sources today. We always start off by suggesting:
Check 👏 Your 👏 Local 👏 Lumber Yard!
We can’t emphasize this enough. As DIYers, often our first thoughts are to head to your local Big Box hardware store. We're here to tell you that local lumber yards & Milling Specialists have a larger selection including many different profiles, have higher quality wood, and are CHEAPER per foot. Wild right?
// Northeast Specific
Anderson & McQuaid in Cambridge, MA is our go-to. If you are in New England we highly suggest them. They have a large selection of stock profiles in a variety of species. The majority of our profiles were initially selected from their moulding catalog and we continued to use them! In the section below I’ll be linking to the exact profiles we use.
Next Day Moulding is newer to us. They too have a large selection of in-house profiles. They are also who we worked with for our custom order pantry crown replica, its really cool to the fabrication of custom profiles as an option!
// National
Kuiken Brothers is also a big name in the business. They are local to New Jersey but offer the ability to order nation-wide. Note: We have since used the Kuiken Brothers in our 3rd floor design and can attest that they offer the highest level of quality for all of their millwork products.
Door & Window Casing: A&M 3658
This was by far the most important selection for us because there is a LOT of it. We needed something that fit with the vibe of our traditional home, that was the right scale for our house, and most importantly, that we loved. We primarily used the same case moulding through the entire house, however we have used it many different ways.


Window Apron: A&M 4622
This is a detail we got from the few window casings that were left in-tact in our home.


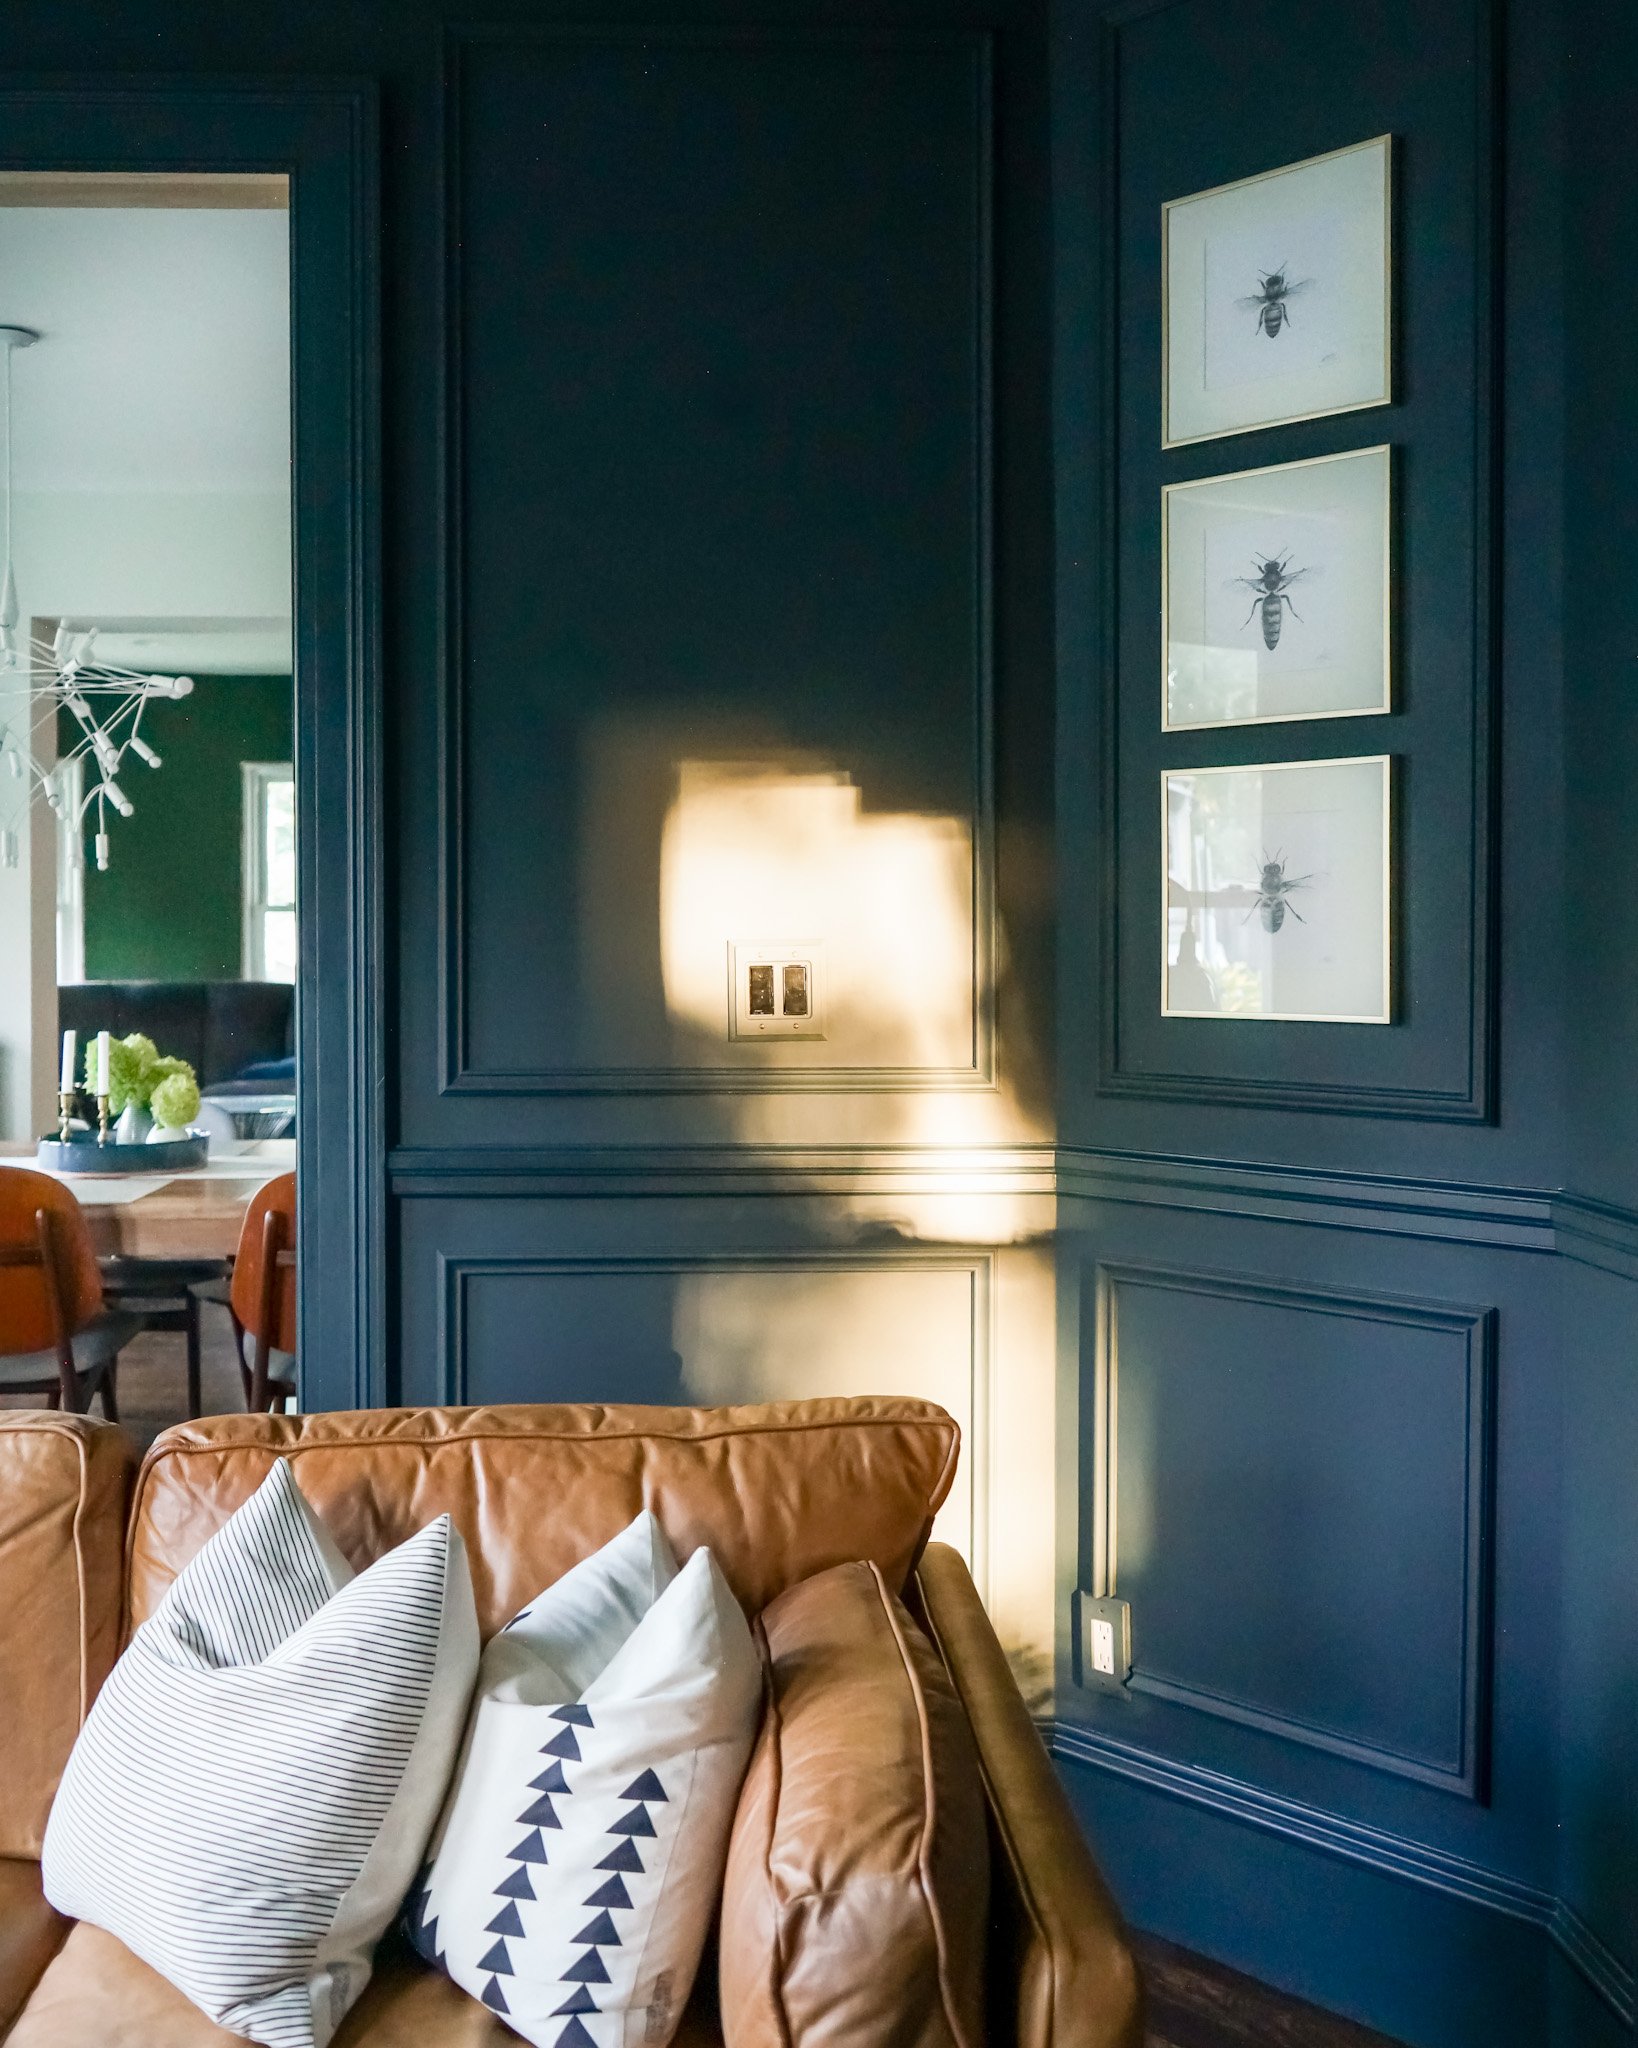
Crown: A&M 50242
We use the crown moulding throughout the first floor as well as our Bedroom Suite. We also purchased this crown in a flexible version in order to follow the curves of our Parlor and Dining room. This particular crown accepts a dentil molding (see image above) but we like the look we achieve without the dentil (yes, dentil as in dentist as in teeth). While this was not a custom moulding profile it was a special order, you can get many of the A&M profiles in flex!


Basecap: A&M 18187
Our base moulding is based off of the paneling in our entry. This was one of only original, existing profile details that was preserved by the previous owners and we are so glad they did. It has informed the height of our flat-stock base profile (about 7”) and Andersen & McQuaid happened to have a base-cap that is a very close match.


Picture Rail: A&M 8263
Picture rail is a very traditional feature in Victorian homes. Plaster was notoriously difficult to hang from (and repair) so a moulding line was used to hang art from. We chose to use it in our Cowboy Room as a callback and design feature although we doubt you would have found this feature on the second floor of a Victorian home of our size.


Panel Moulding A: A&M 7678
We use this panel moulding in a few spots in our home. We first used it in the transitional openings on our first floor and then again in our Bedroom and Bathroom Suite.


Panel Moulding B: A&M 7427
When it came to the dining room panel moulding, we wanted to up the detail a bit. You’ll recognize we also used our standard Apron profile to cap the paneling here.


Picture Moulding: A&M 7091
We use picture moulding in many places in our home. It is an easy way to elevate a space and add detail where it is lacking. If interesting, check out our friend Sarah’s (@RoomForTuesdays) tutorial here


Chair Rail: A&M 4059
This is another profile we pulled from the paneling in our entry. We first used this chair rail moulding in our Living Room to break up the picture moulding. More recently, we used it to top the bead-board in our kitchen project.


Next Steps
Approaching a trim project can be overwhelming and mistakes can be very expensive. However, the right moulding can really take the design style of your home to the next level. With trim profiles, there are unlimited design possibilities! So, for the best results, take the time you need to find the right millwork profiles, and always measure twice. Your skill will improve with time.
Again, this book taught us everything we know on trim
The best way to up your trim game even higher is learning to scribe. This is our favorite Scribe tool.
Trim, due to cost, was often more detailed on the first floor and would drop in detail as you went up floors. Good food for thought as you’re designing and budgeting!