How to Best Clean and Care for your Leather Furniture
Cleaning your leather has got to be one of the most gratifying household tasks. It takes about 10 minutes and it looks so fresh afterwards. If you take proper care of your leather products, they will continue to look better and better with time. Not many other furniture pieces can say the same! The general rule of thumb is that you want to condition your real leather every 6-12 months, depending on the day-to-day use. For example, leather couches will likely need it more often than a pair of special occasion boots. Also, if your leather piece gets a lot of direct sunlight, you may want to do this process 3-4 times annually. Unprotected leather can become stiff and crack so you definitely want to give it a good, routine cleaning.
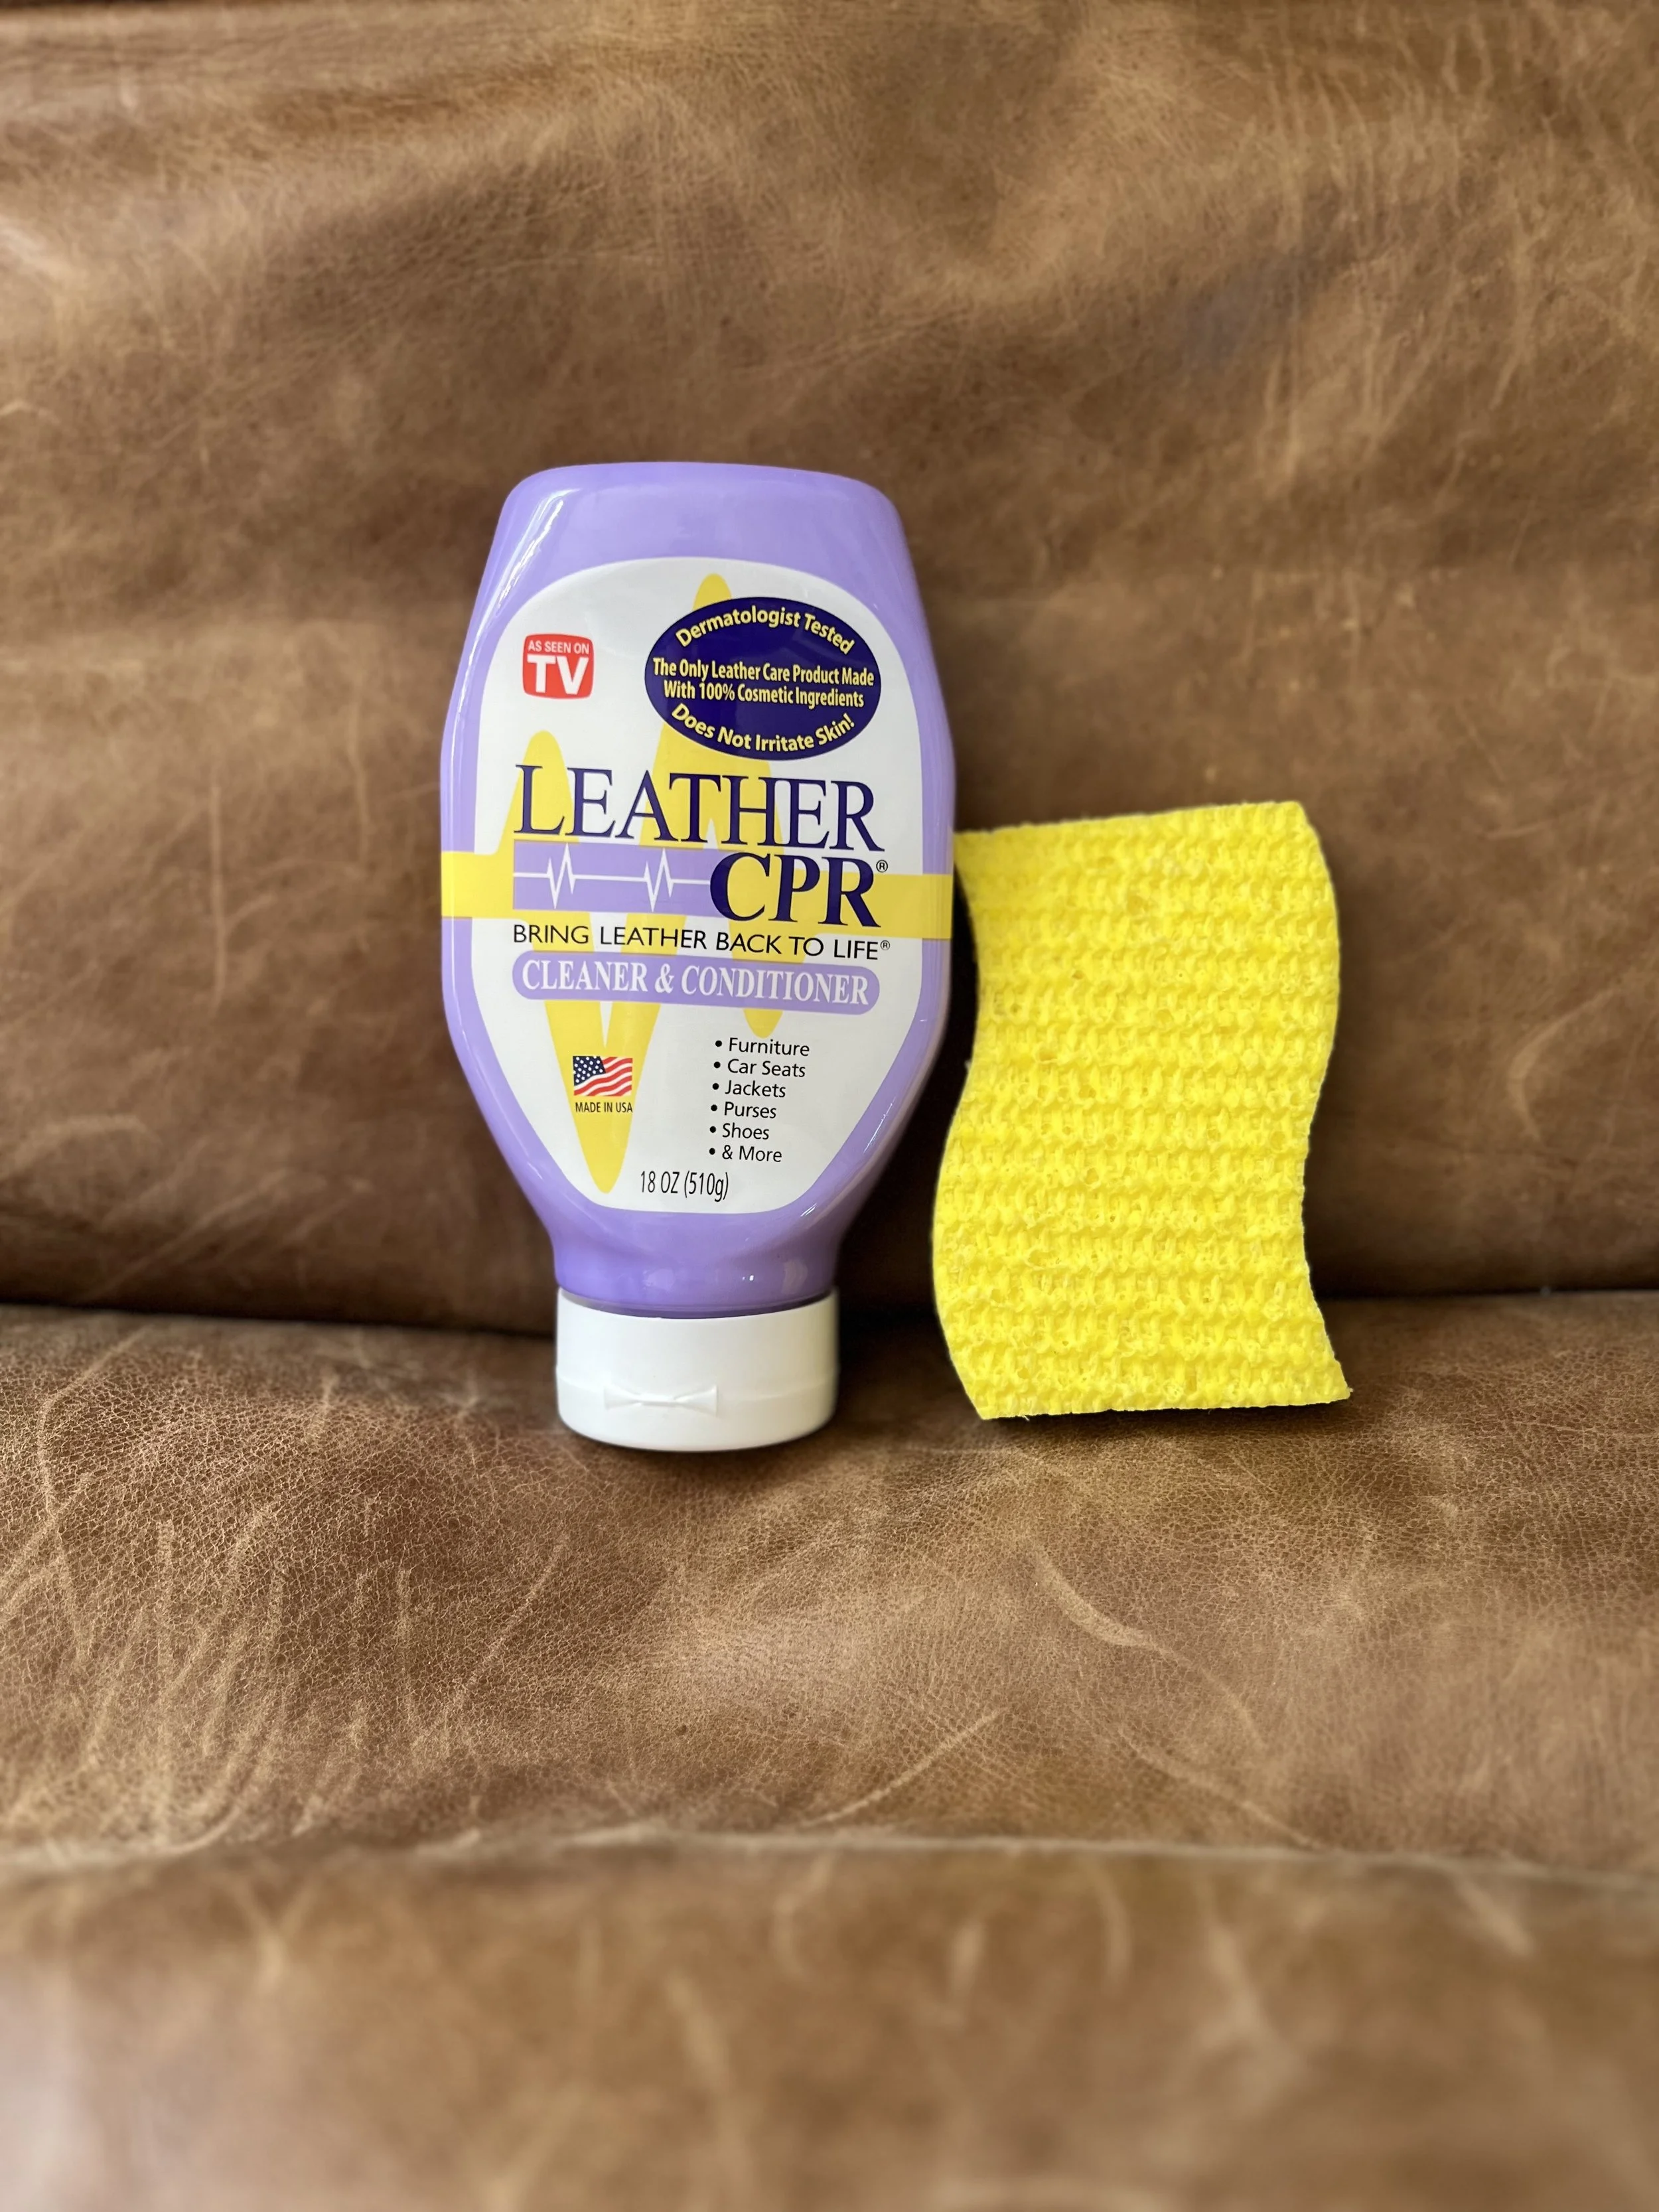
We've used a few leather care products over the years - specifically on the couch in our living room - but we asked our behind-the-scenes team member Sinéad, if she would test out a new one for us. We have had great experiences with Leather Honey Leather Conditioner in our home, so Sinéad tested out Leather CPR (love that their tagline is "Clean up in a heartbeat"). Spoiler alert - she said it revived her leather chair and she loveeeed it!
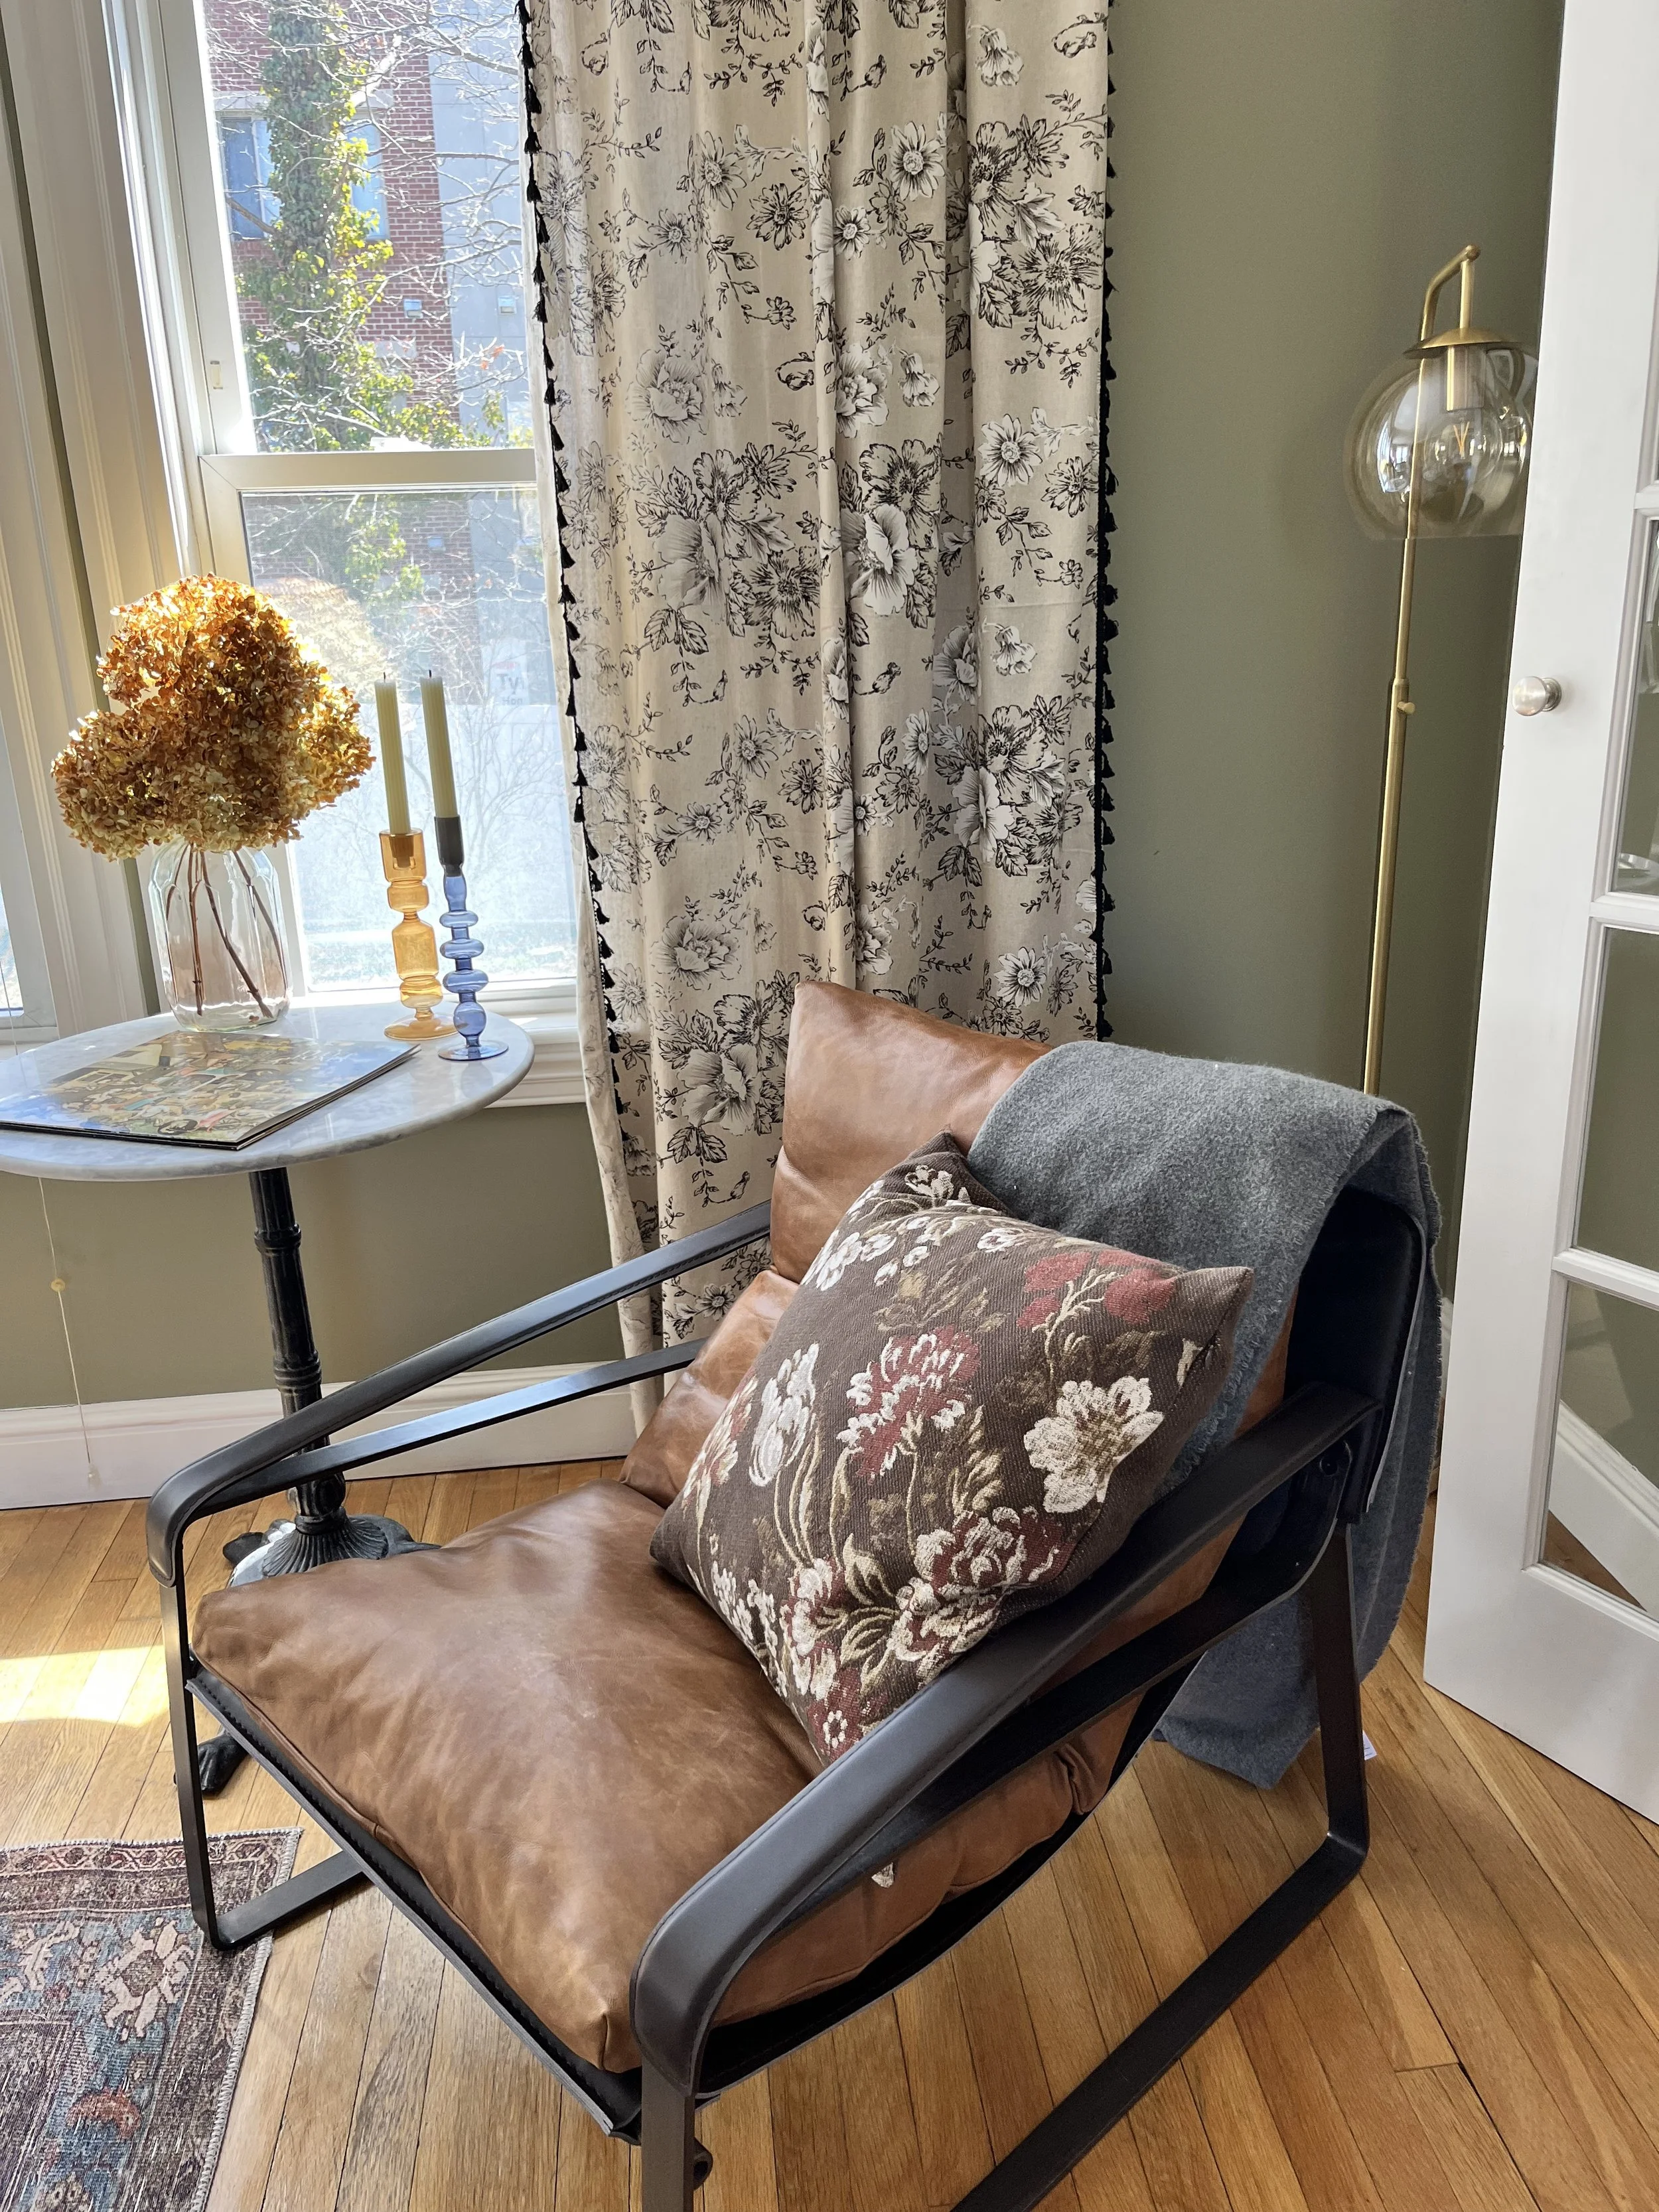
Chair // Table // Rug // Lamp // Throw Blanket
Leather CPR is especially cool because it's made in the U.S. and it's formulated with skincare ingredients. It's even dermatologist approved! Also, unlike other products, it doesn't change the original color of the leather the way some do for the first couple days after conditioning and, there’s hardly any downtime.
Materials
The best thing about this DIY, aside from the final results, is that it requires very few materials. Of course, review the instructions for your specific leather cleaner before you begin.
For Leather CPR, you'll need a soft sponge and a clean cloth to blend in with afterwards. These don’t have to be anything specific or fancy - the cloth you dust with (must be a clean cloth, though) and a sponge from under your sink will do the trick (as long as it’s soft and gentle).
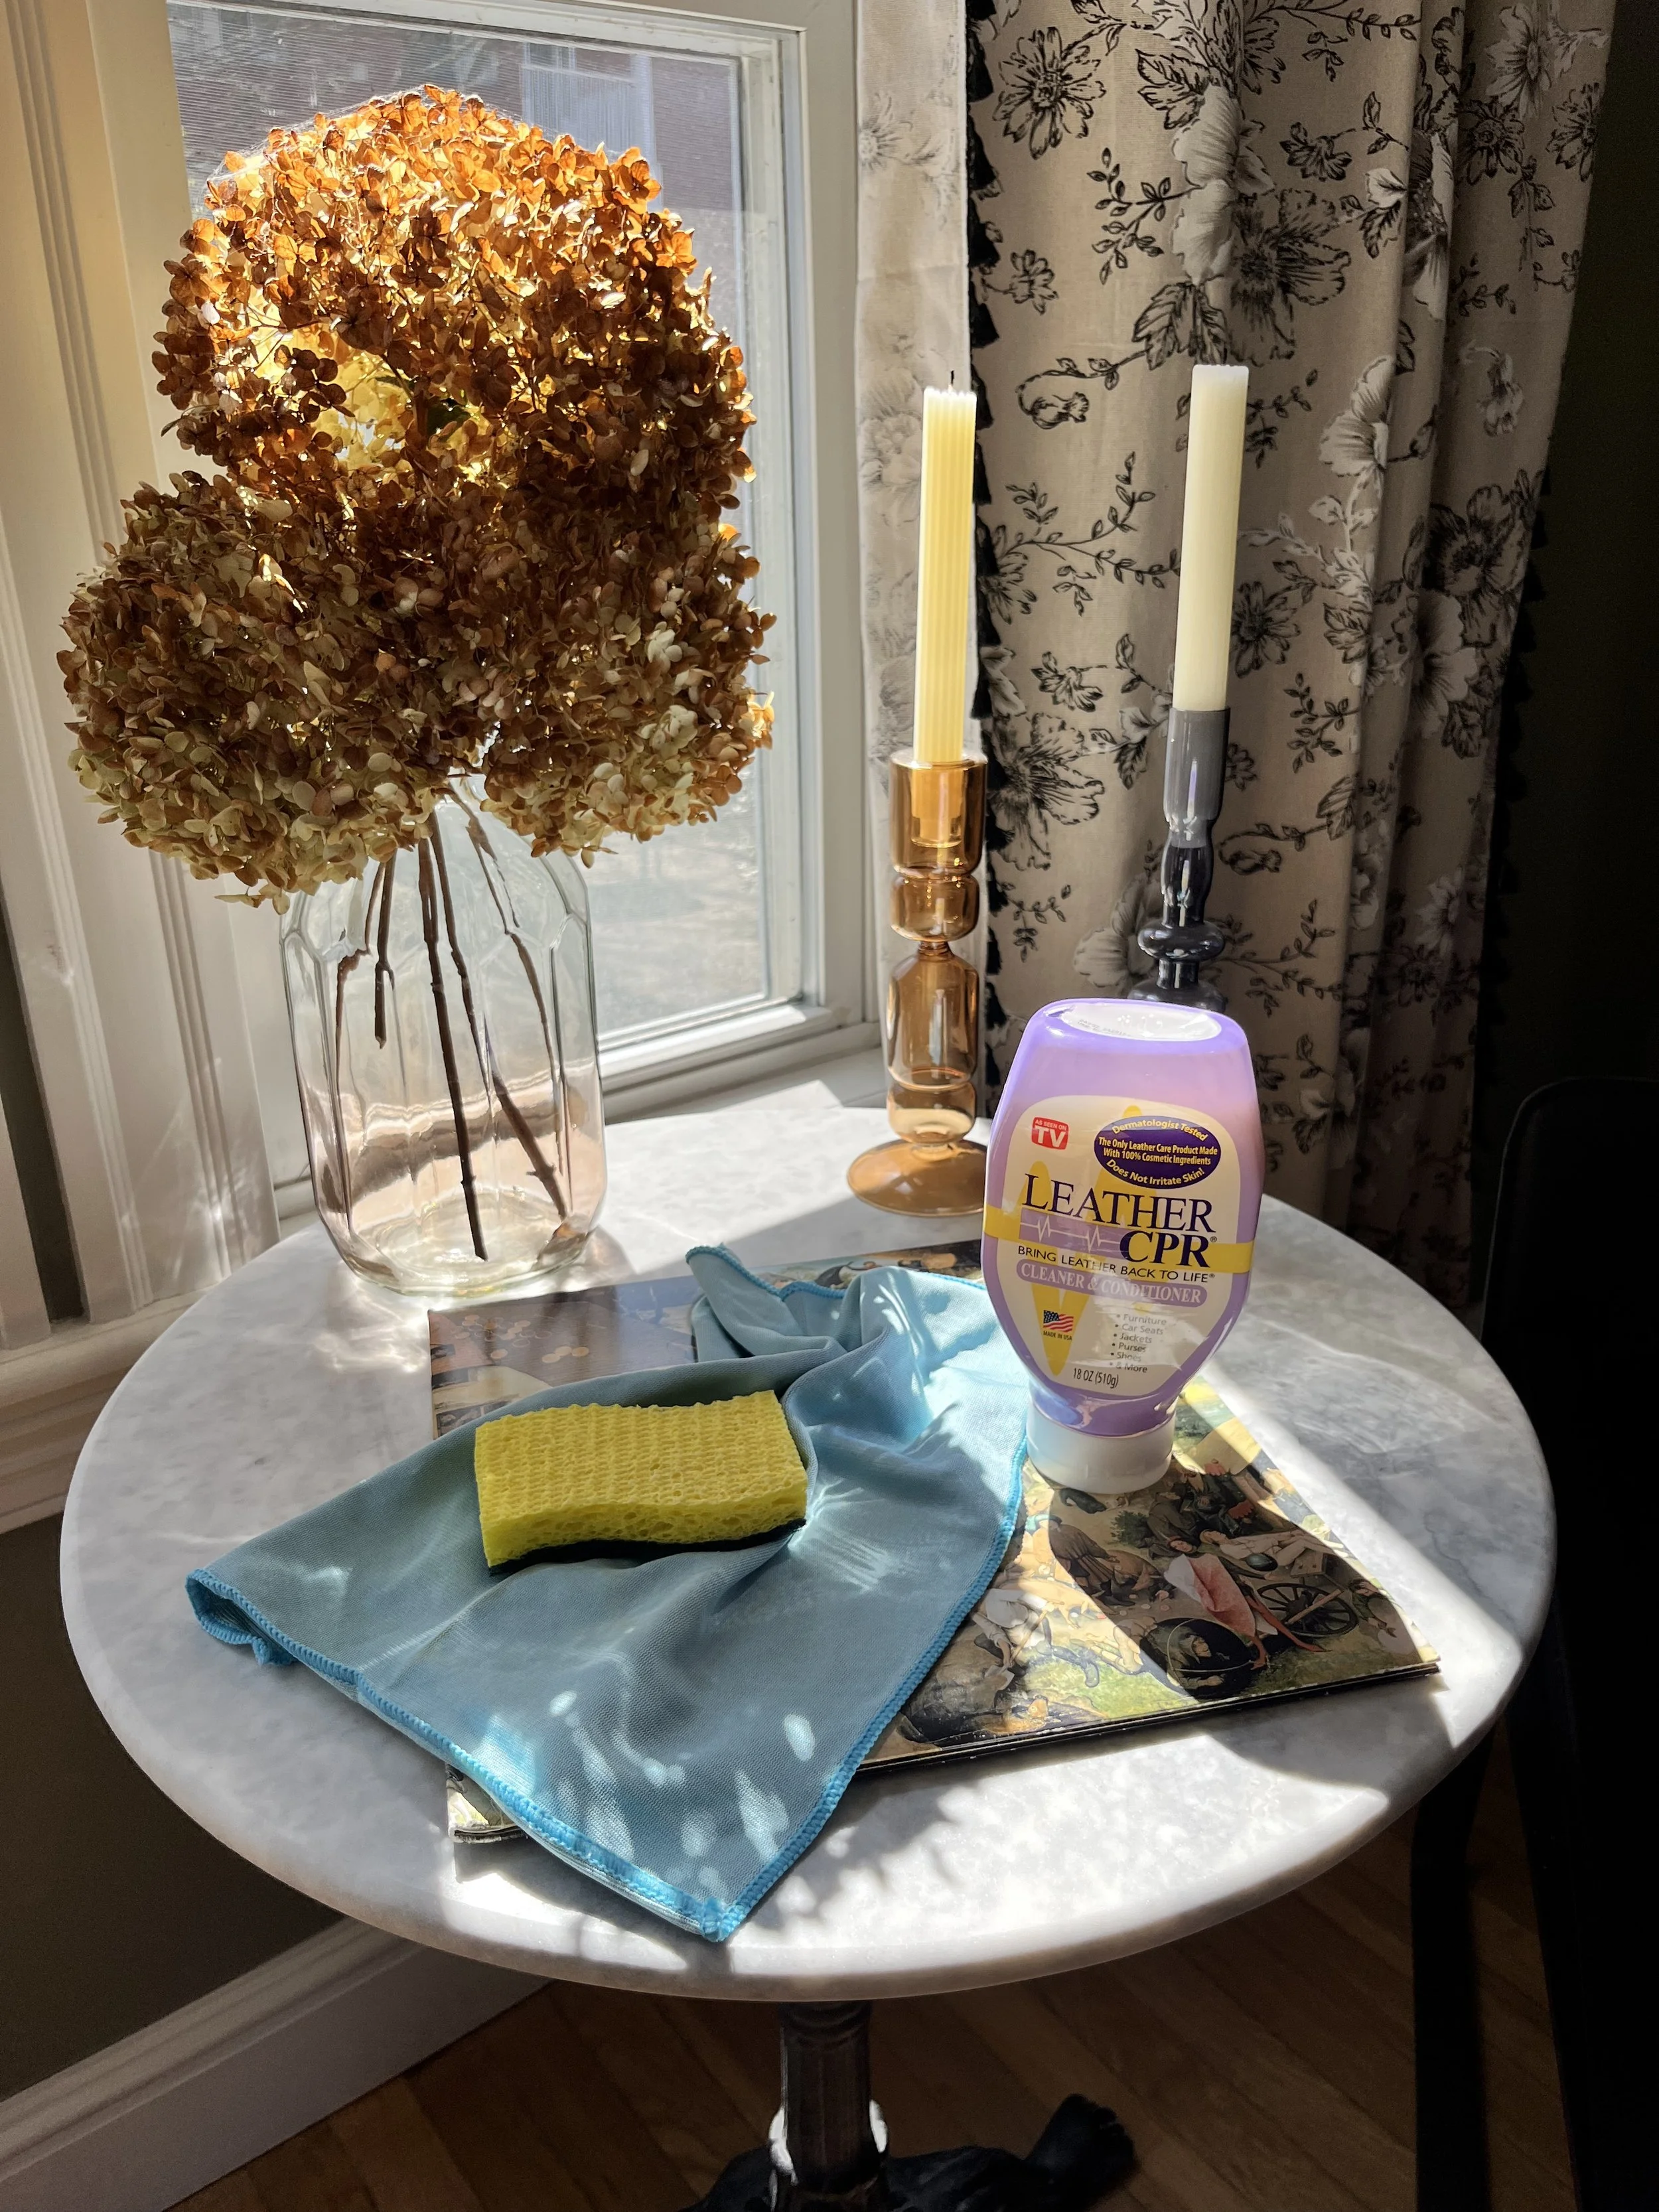
While some leather cleaners suggest applying with a cloth, Leather CPR recommends a sponge instead. You want all that good stuff to go into the leather instead of being absorbed by a cloth! The bottle is also pretty large, so we'll definitely get many years of use from it!


The Process
The first step is to make sure you've dusted off any loose dirt with a cloth or vacuumed with a soft brush attachment. Holly and Gemma are queens of the couch so we always start with a sweep for the dog hair.
The directions on the bottle are very straightforward, but we want to share a few things we learned along the way. It's tempting to dive right in once the bottle is open, but it's a good idea to start by testing an inconspicuous area. Sinéad did a spot test on the back of her chair and gave it a few minutes to settle and dry, before taking on the front.
Are you ready for the before? No judgement, please! Embarrassed to admit we’ve had this beautiful leather chair from AllModern for over a year now, and have yet to condition it!
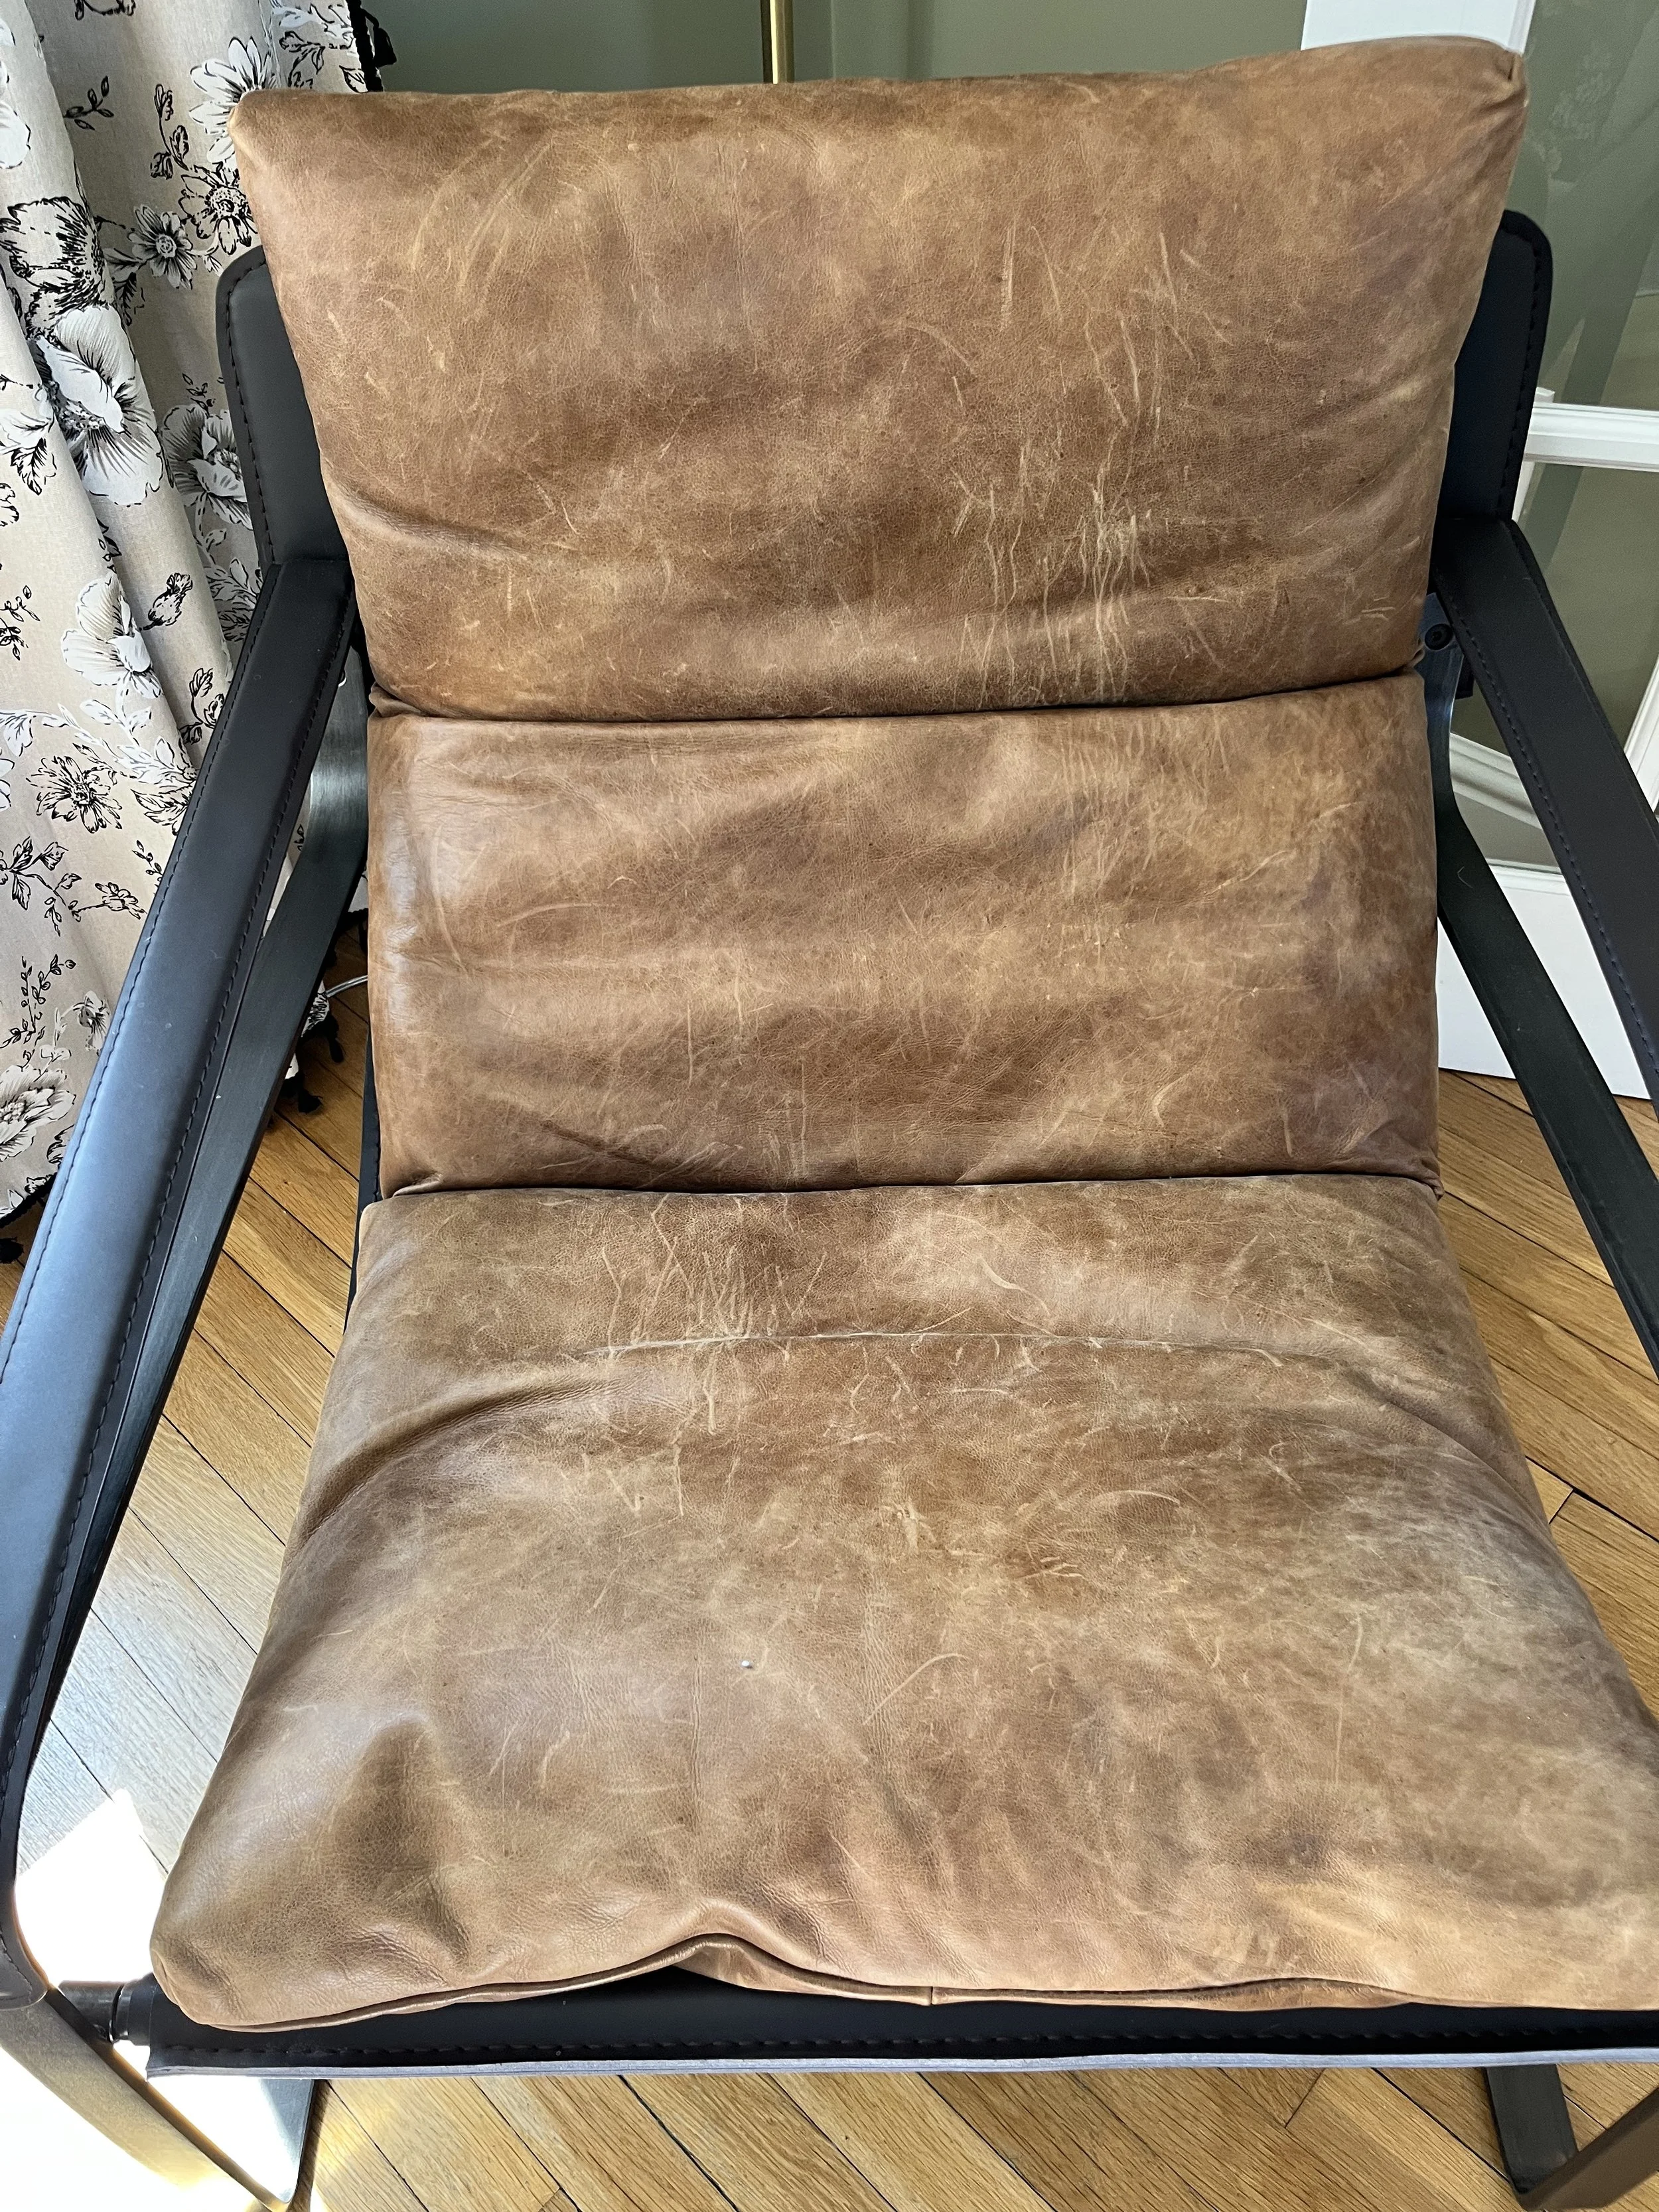
Yikes - she looks thirsty. The leather upholstery is detachable from the chair frame, which made it easier to get into all the nooks and crannies.

The key to remember is that less is more. Like cutting bangs, you can't go backwards. Well, that's not true - too short bangs are much worse than wiping product off. For Leather CPR, start with a tablespoon or so on the soft side of the sponge. Focusing on one area, rub the product into the leather with a circular motion. It took a few squirts of the product to cover the bottom seat cushion alone. It's easier to manage smaller amounts of the product at a time and you don’t want to apply the product directly onto the chair because it could leave uneven markings. Excess cleaner can also create a sticky final result. By the end, the sponge was pretty soaked with the leather cleaning product, so if you have a larger piece of furniture, you may want to switch to a fresh sponge halfway through.
Then, set a timer for two minutes to let it dry. At this point, the product should be evenly distributed and soaked up into the leather. If you listen carefully, you can hear your leather sigh in relief …kidding.
Finally, give it a a nice massage with the clean dry cloth. The directions say that this is when you wipe off any leftover product, but if you're applying it a little bit at a time and rubbing it in thoroughly with the sponge, it will be dry to the touch when the timer is up.


Post cleaning, the chair will be ready to use right away. However, Sinéad left hers laying out for about 30 minutes to make sure that the folds between the cushions were completely dry before putting the upholstery back on. The fabric had a few light scratches prior to this and afterwards, it seems like the fabric got a big drink of water and plumped up. The natural marks look beautiful and lived in, in the best way. Clean leather is a little slippery at first, but it doesn't take long to break it back in!
Leather CPR vs. Leather Honey

Leather Honey has been what we've used for years on our couch. They pride themselves on being a natural product and not using harsh chemicals that can actually damage the leather after repeated use. Also cool about this product, is that it's not just for real leather, it can clean any faux type of leather as well.
We especially like the spray that has the UV Protectant in it because our living room gets a lot of natural light.


Final Thoughts
There are some things about your furniture that can't be controlled between regular use and day-to-day life. But the good news is that leather is resistant and with regular care, you can help your high-quality leather pieces stay fresh longer. Leather develops such a luxe looking patina with time and use, and that's what creates character in your room design - so mine as well embrace it!