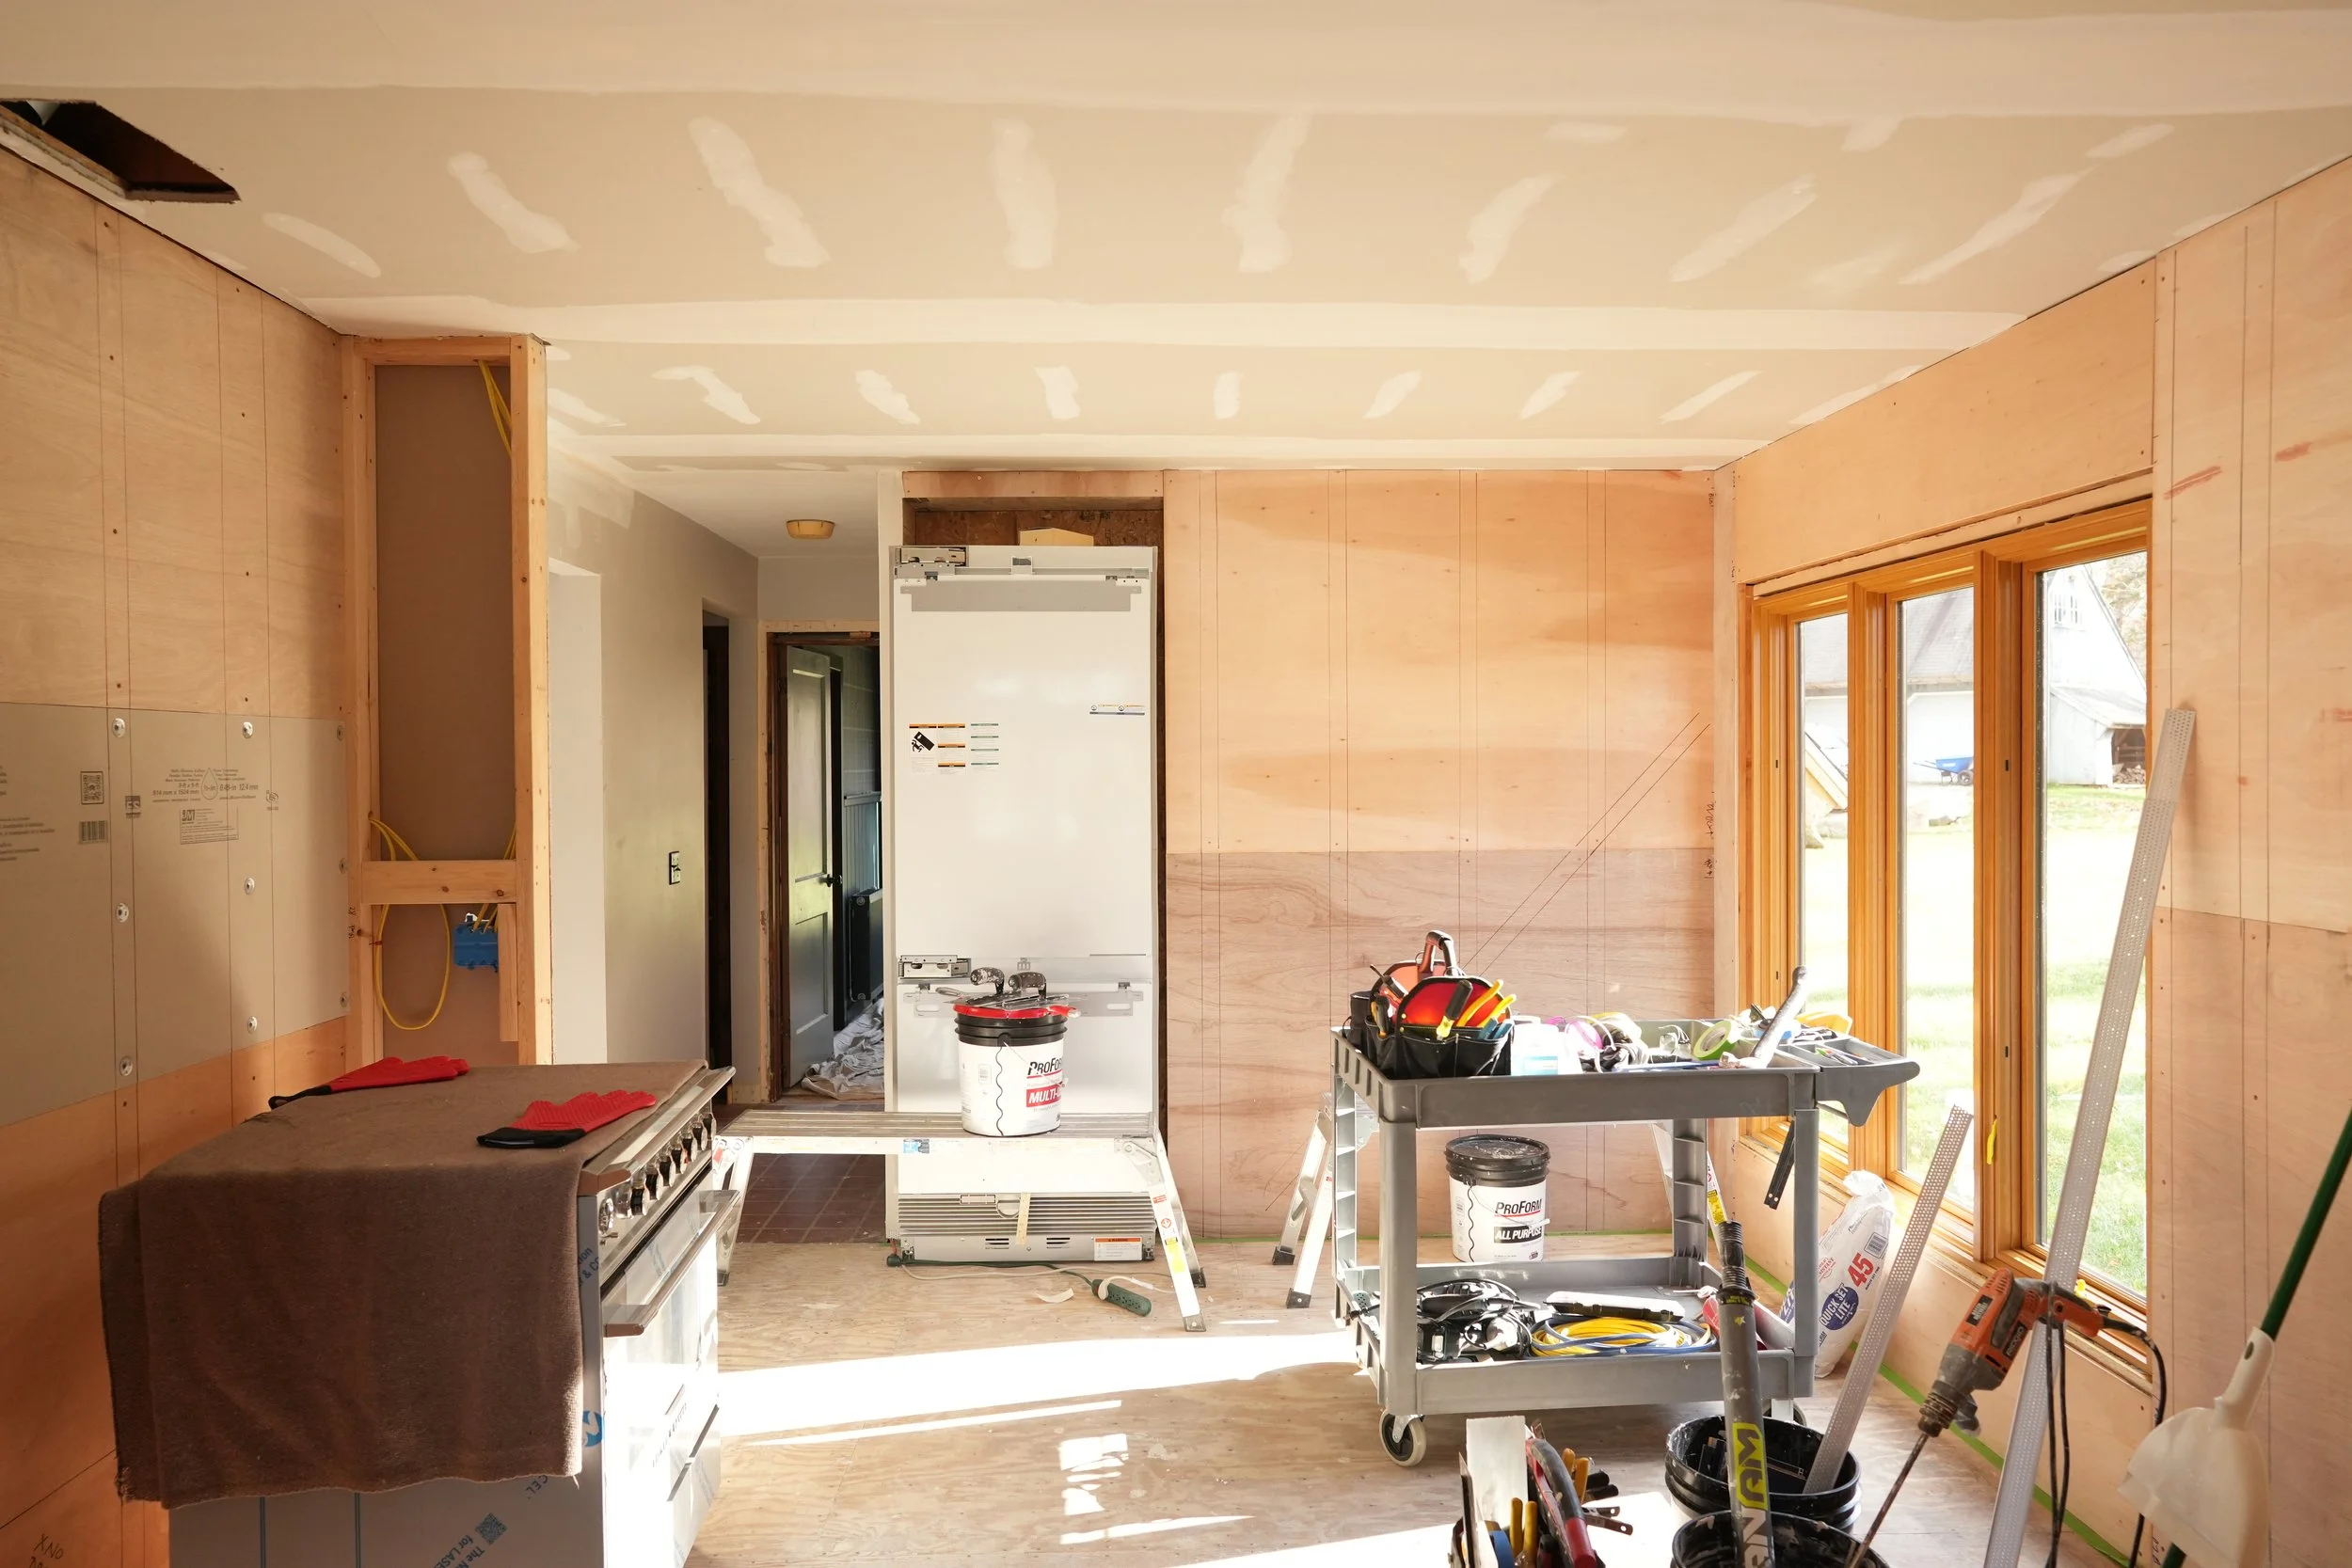
Our Modern, 70s Cabin Kitchen Reveal
The title of this blog post feels wordy, but somehow all of those words feel necessary when describing our new kitchen. We covered all of our goals for this project in our kitchen design blog post and we are happy to report that it turned out better than we could have hoped for. If you have any questions or comments as you explore this post please leave a comment at the bottom. We love to hear what you are thinking and so happy to answer any questions.
From the start we were balancing a few lofty goals with this kitchen renovation…. creating a space that is modern but timeless, 70s cabin but not too 70s (and not too cabin), and above all - a functional kitchen that we love. Afterall, if it’s not something that you love, what is the point of doing it?
Kitchen Sources
Cabinets
Cabinets, Trim, Crown, and Open Shelves in White Oak
Built in Maine by the Block Brothers - they ship nationwide!
Danish Oil | Wood Wax | Day to Day Maintenance
Hardware
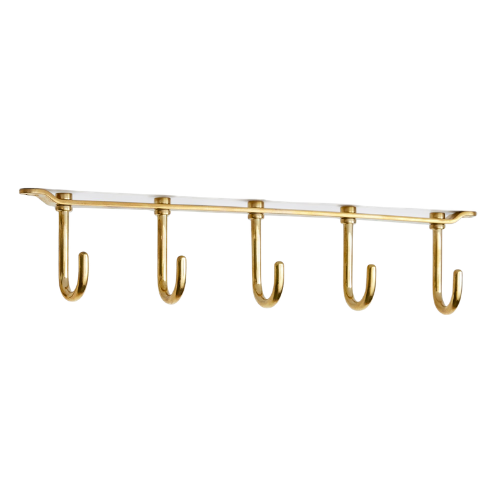
Drawer Pulls 4” and 6” | Oval Cabinet Knobs with Backplates 4” | Pantry Upper and Lower Pulls 12” and 8” | Trash Pull 6” | Bench Drawer Bin Pulls 3” | Fridge Handle 18” | Freezer Handle 12” | Under Shelf Swivel Hooks *All Hardware is Unlacquered Brass
Lighting
Brass Sink Sconces | Amber Circle Sconce | Pantry Flush Mounts | Hallway Flush Mounts | Wireless Counter Table Lamp | Red Table Lamp | Planter Grow Lamp | Grow Bulb
Appliances
Dishwasher | Refrigerator | Range | Range Hood
Counters // Black Pearl Granite in leathered finish
Trim & Panelling // Red Oak Wall Panels | Casings and Crown in White Oak by Block Brothers
Window & Bench // Pella Window | Window Seat Cushion | Window Seat Cushion Foam | Teak Planter Stand | Art
Floors // CALI Flooring Varietals Collection in Clarified Ash | Area Rug
Cabinets
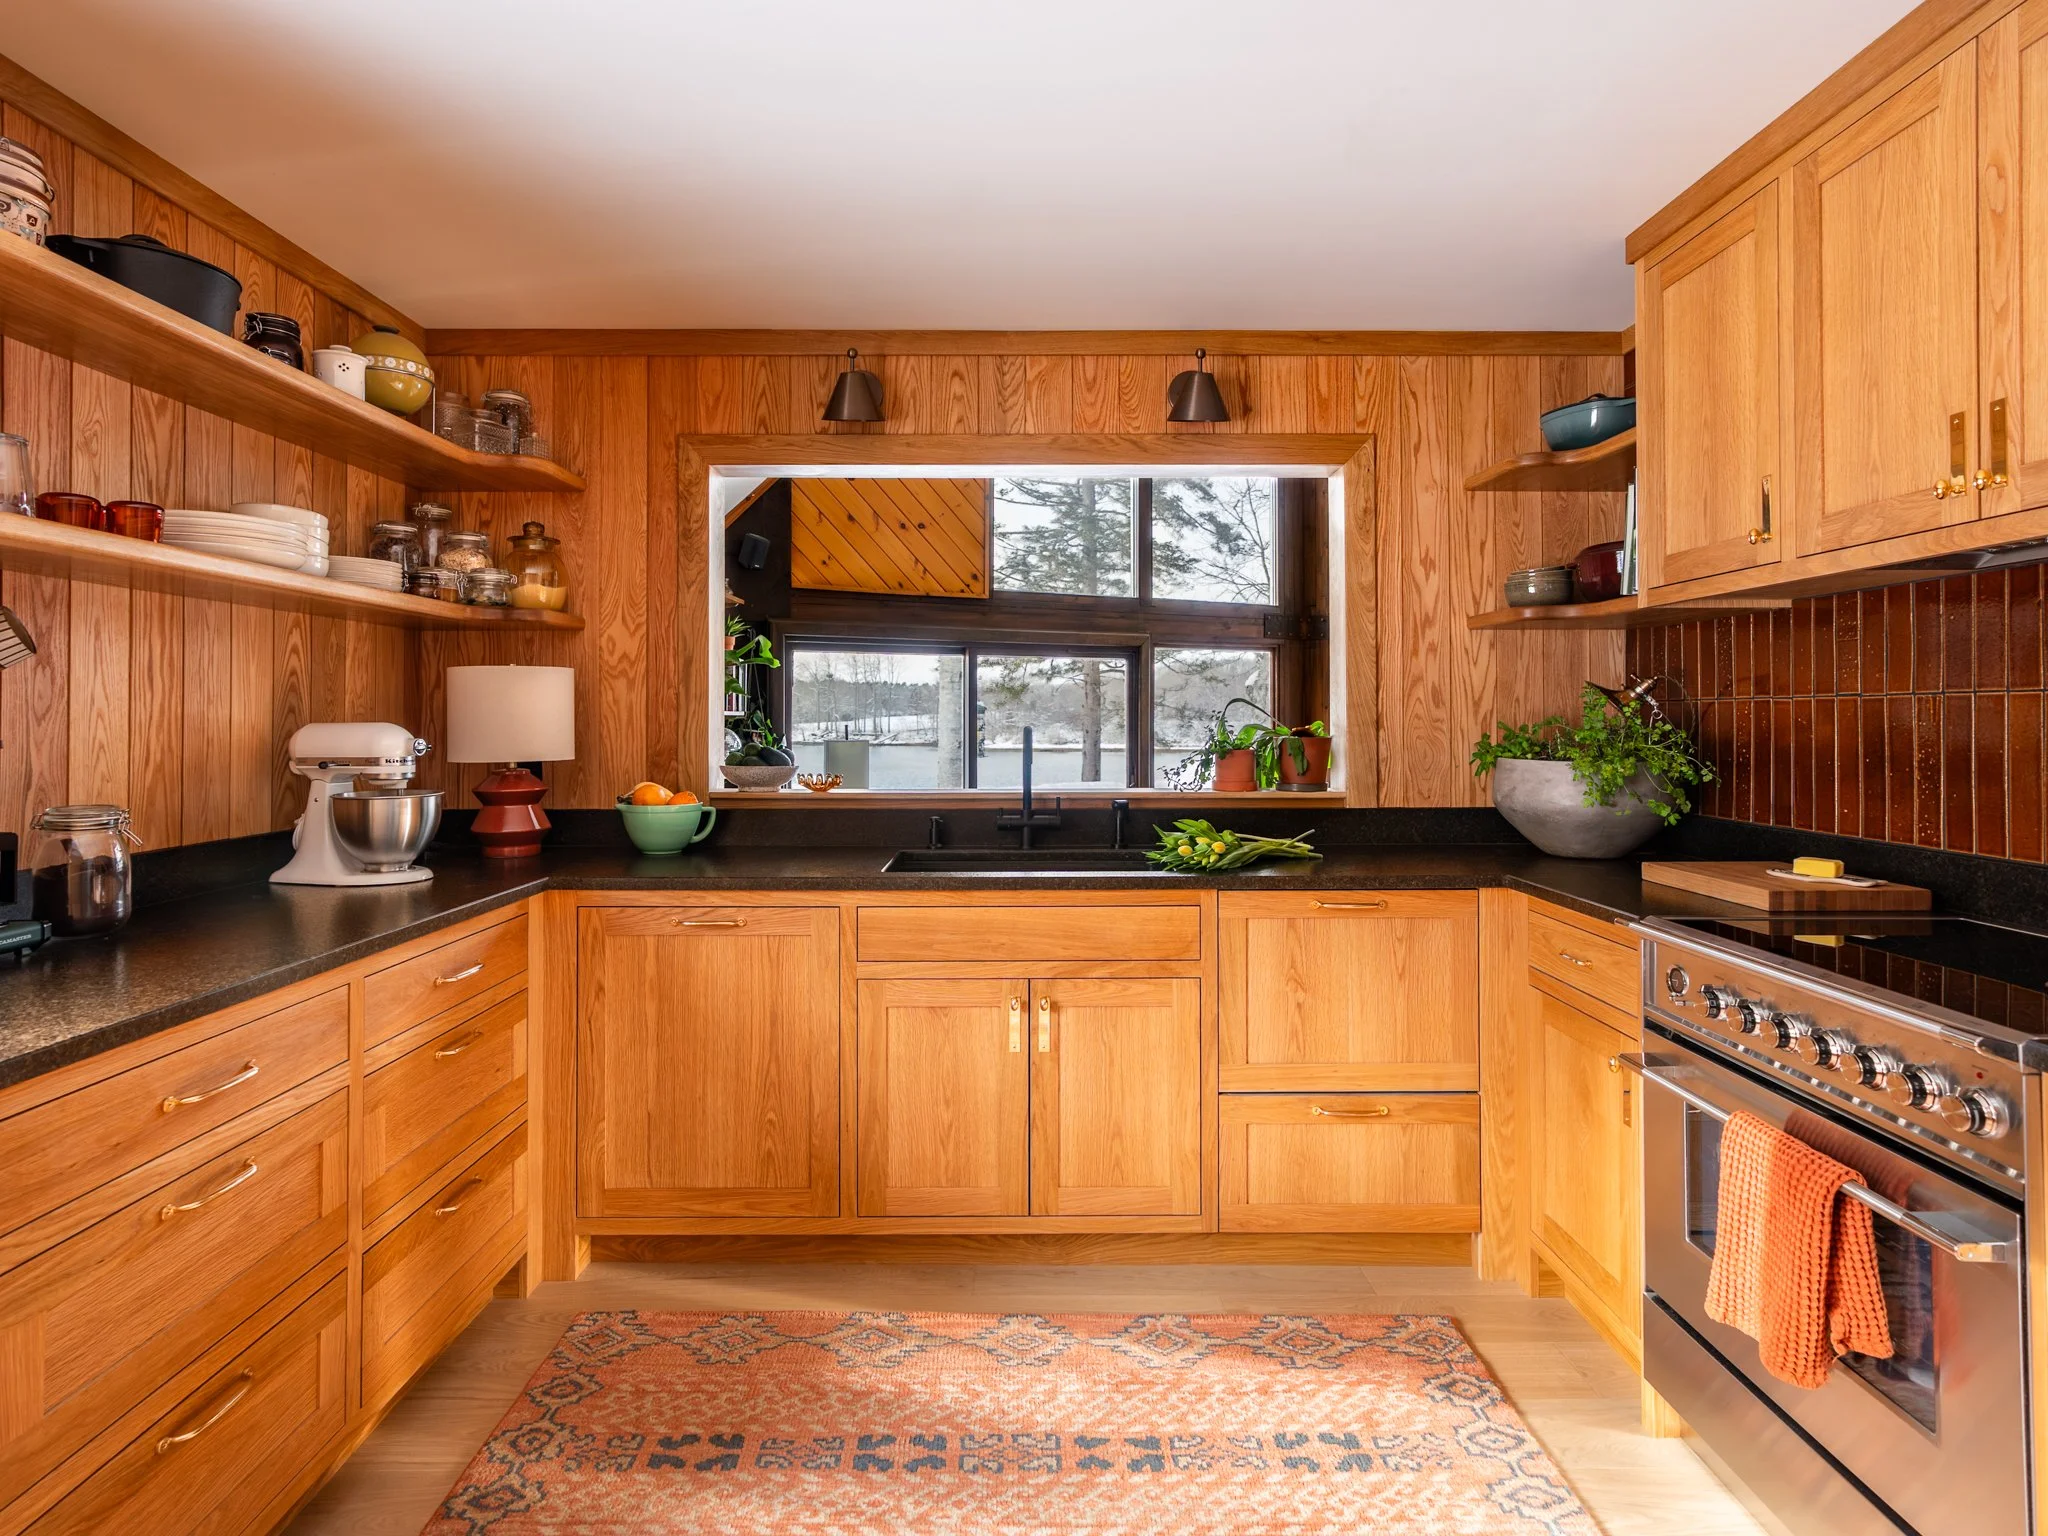
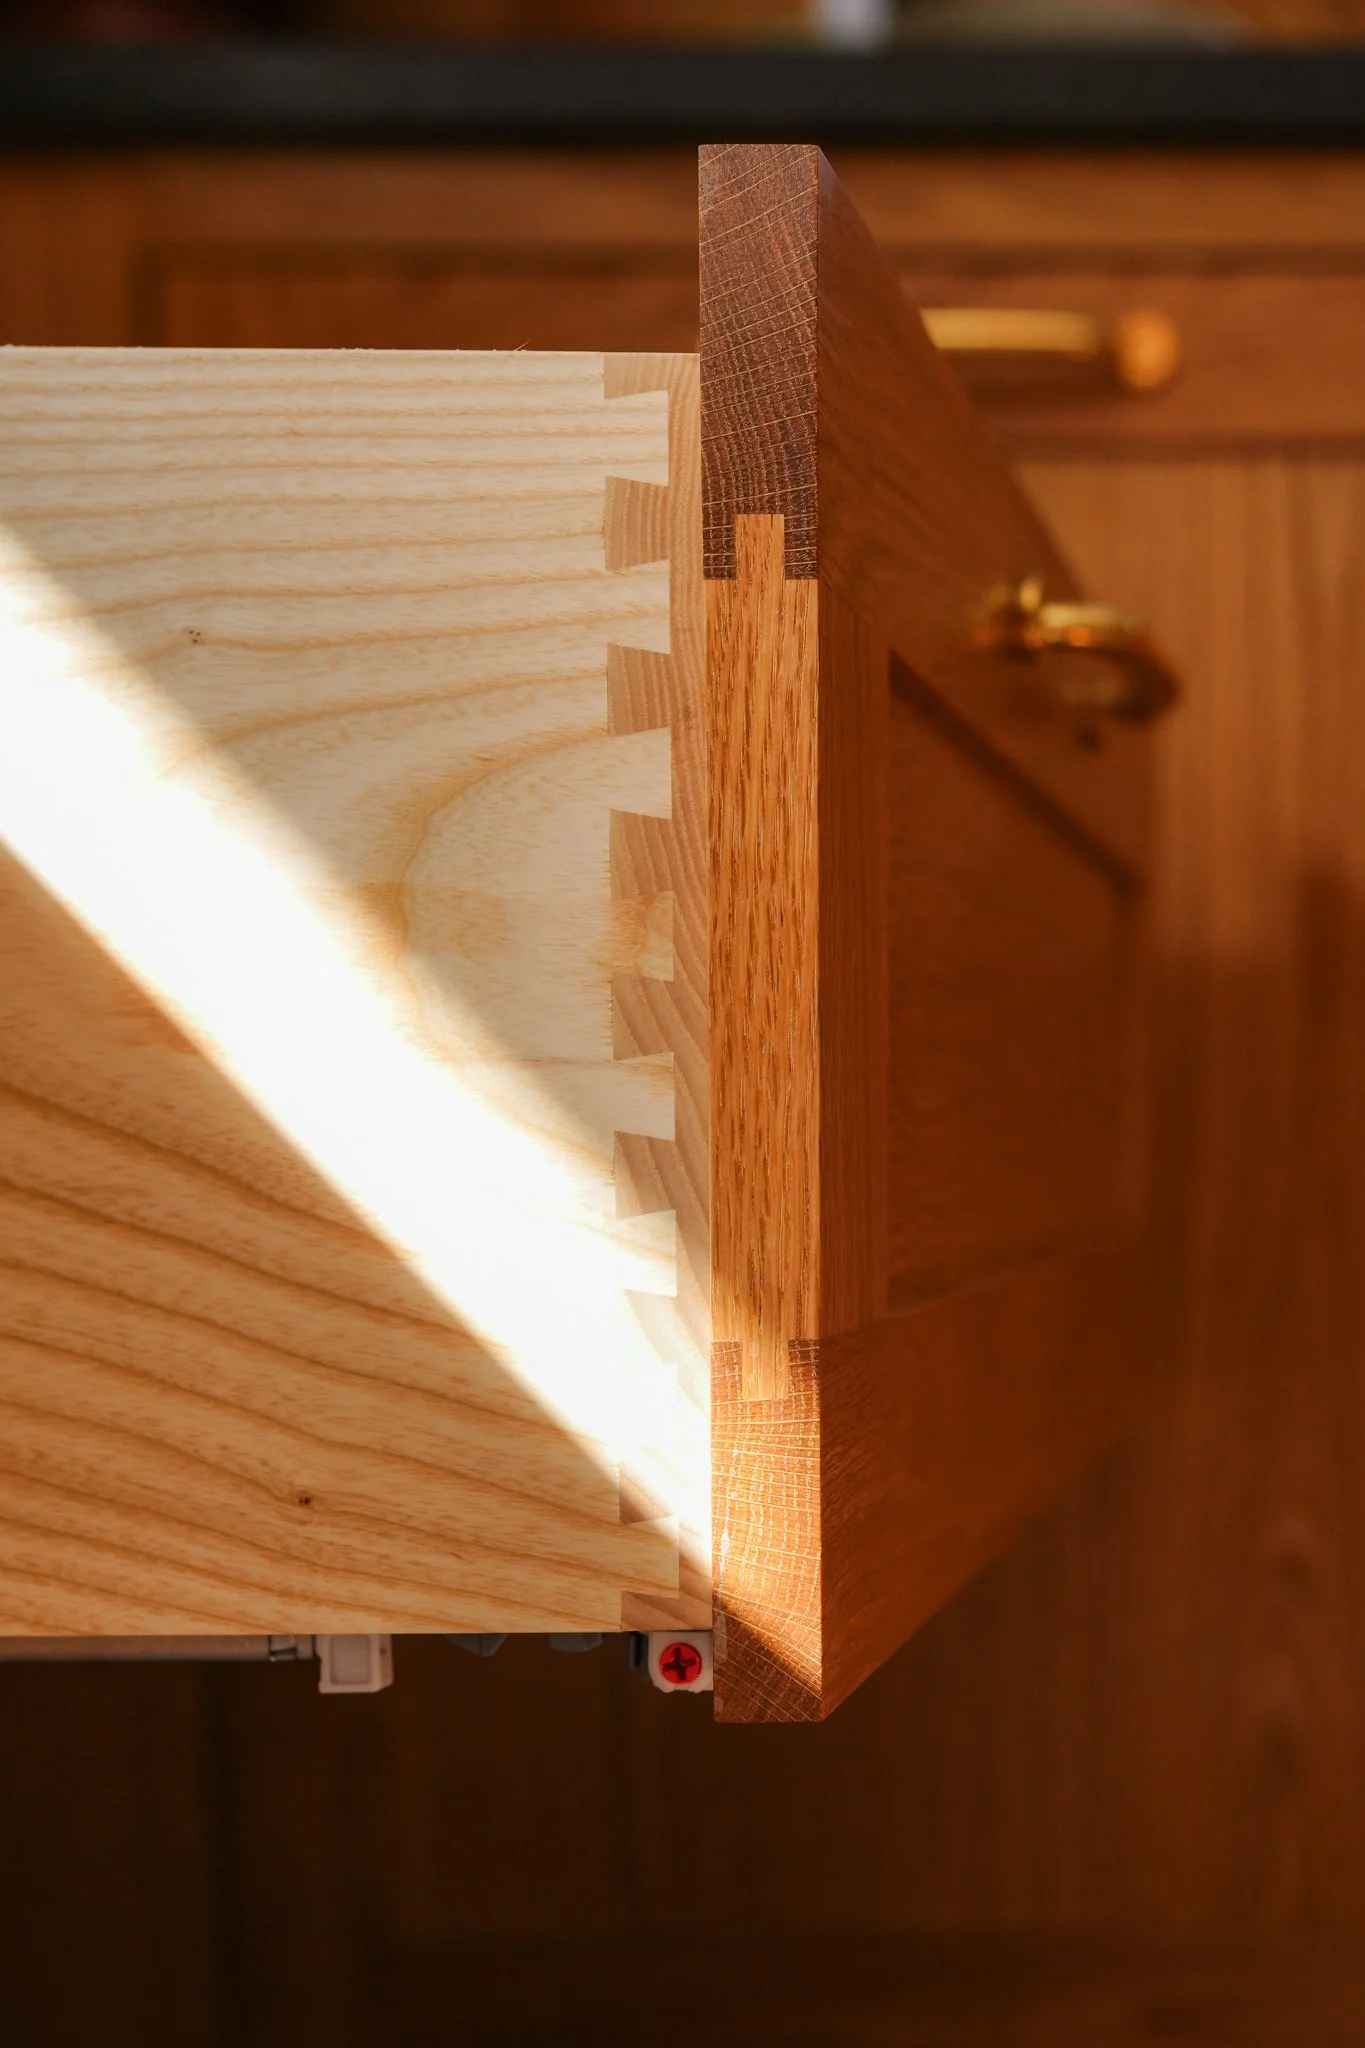
The cabinets are made of white oak and were built by the Block Brothers in Northport Maine. Without them, we would not have been able to make this kitchen what it has become - and we highly recommend their services. You can read more about our experience with the Block Brothers in our kitchen design post.
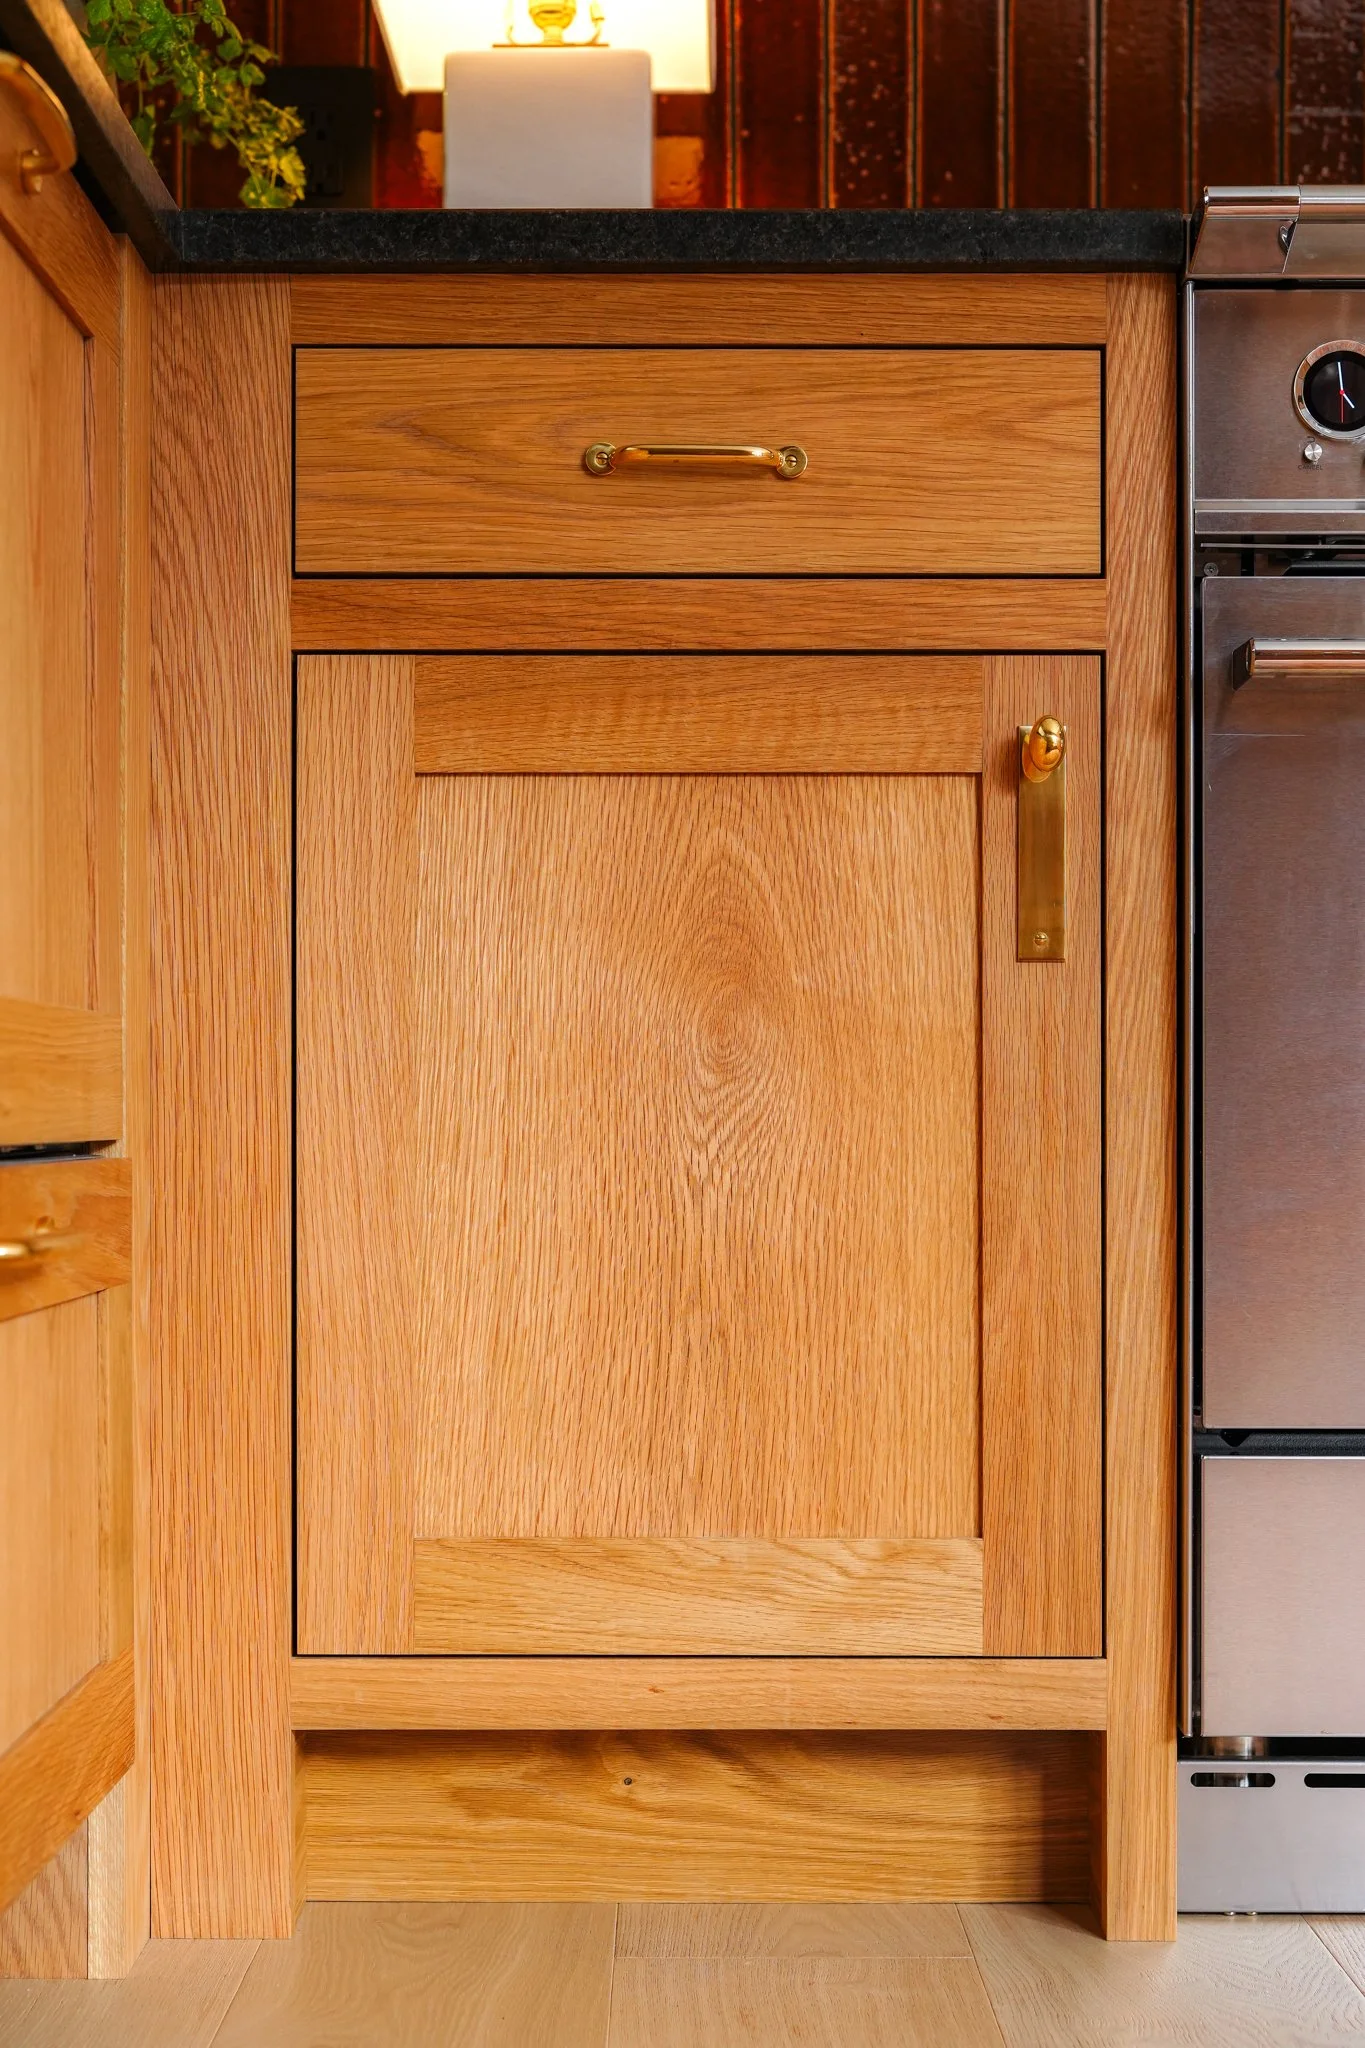
The motivation for choosing oak cabinets is how reminiscent they are of the 70s/80s and how well they would work in our cabin home. Now the goal was to reference this period of time, not replicate it. So while we used a classic material, the construction of these cabinets is distinctly different that of the era.
The cabinets are shaker style and feature inset doors and drawers. Also, all of the materials are 3/4” thickness throughout. This is a sharp contrast to the cabinets we removed - partial overlay and made of thinner materials. These key changes make the cabinets feel more like furniture than wood boxes applied to the wall.
Anytime you are working with wood you are going to experience natural variation, and the Block Brothers took care to arrange the grain pattern prior to cabinet assembly. This planning helps make sense of the sometimes chaotic variation, making sure than no specific piece was so weird that it would catch your eye. Instead we want the grain to flow smoothly as you look around the space.
The cabinets were finished in danish oil, and sealed with furniture wax. No other products, like polyurethane, were used to “seal” the wood. This makes our cabinets infinitely repairable with very simple products. We have already begun to see the natural effects of water, beit a water ring on the open shelf, or a drip down the cabinet face. Luckily we have our own beeswax furniture polish (store bought is fine) and rubbing the mark with just a bit makes it vanish. At this point in our lives we actually enjoy this type of patina, and this feeling of infinite repairability, over say the inevitable chipped edge of a painted cabinet.
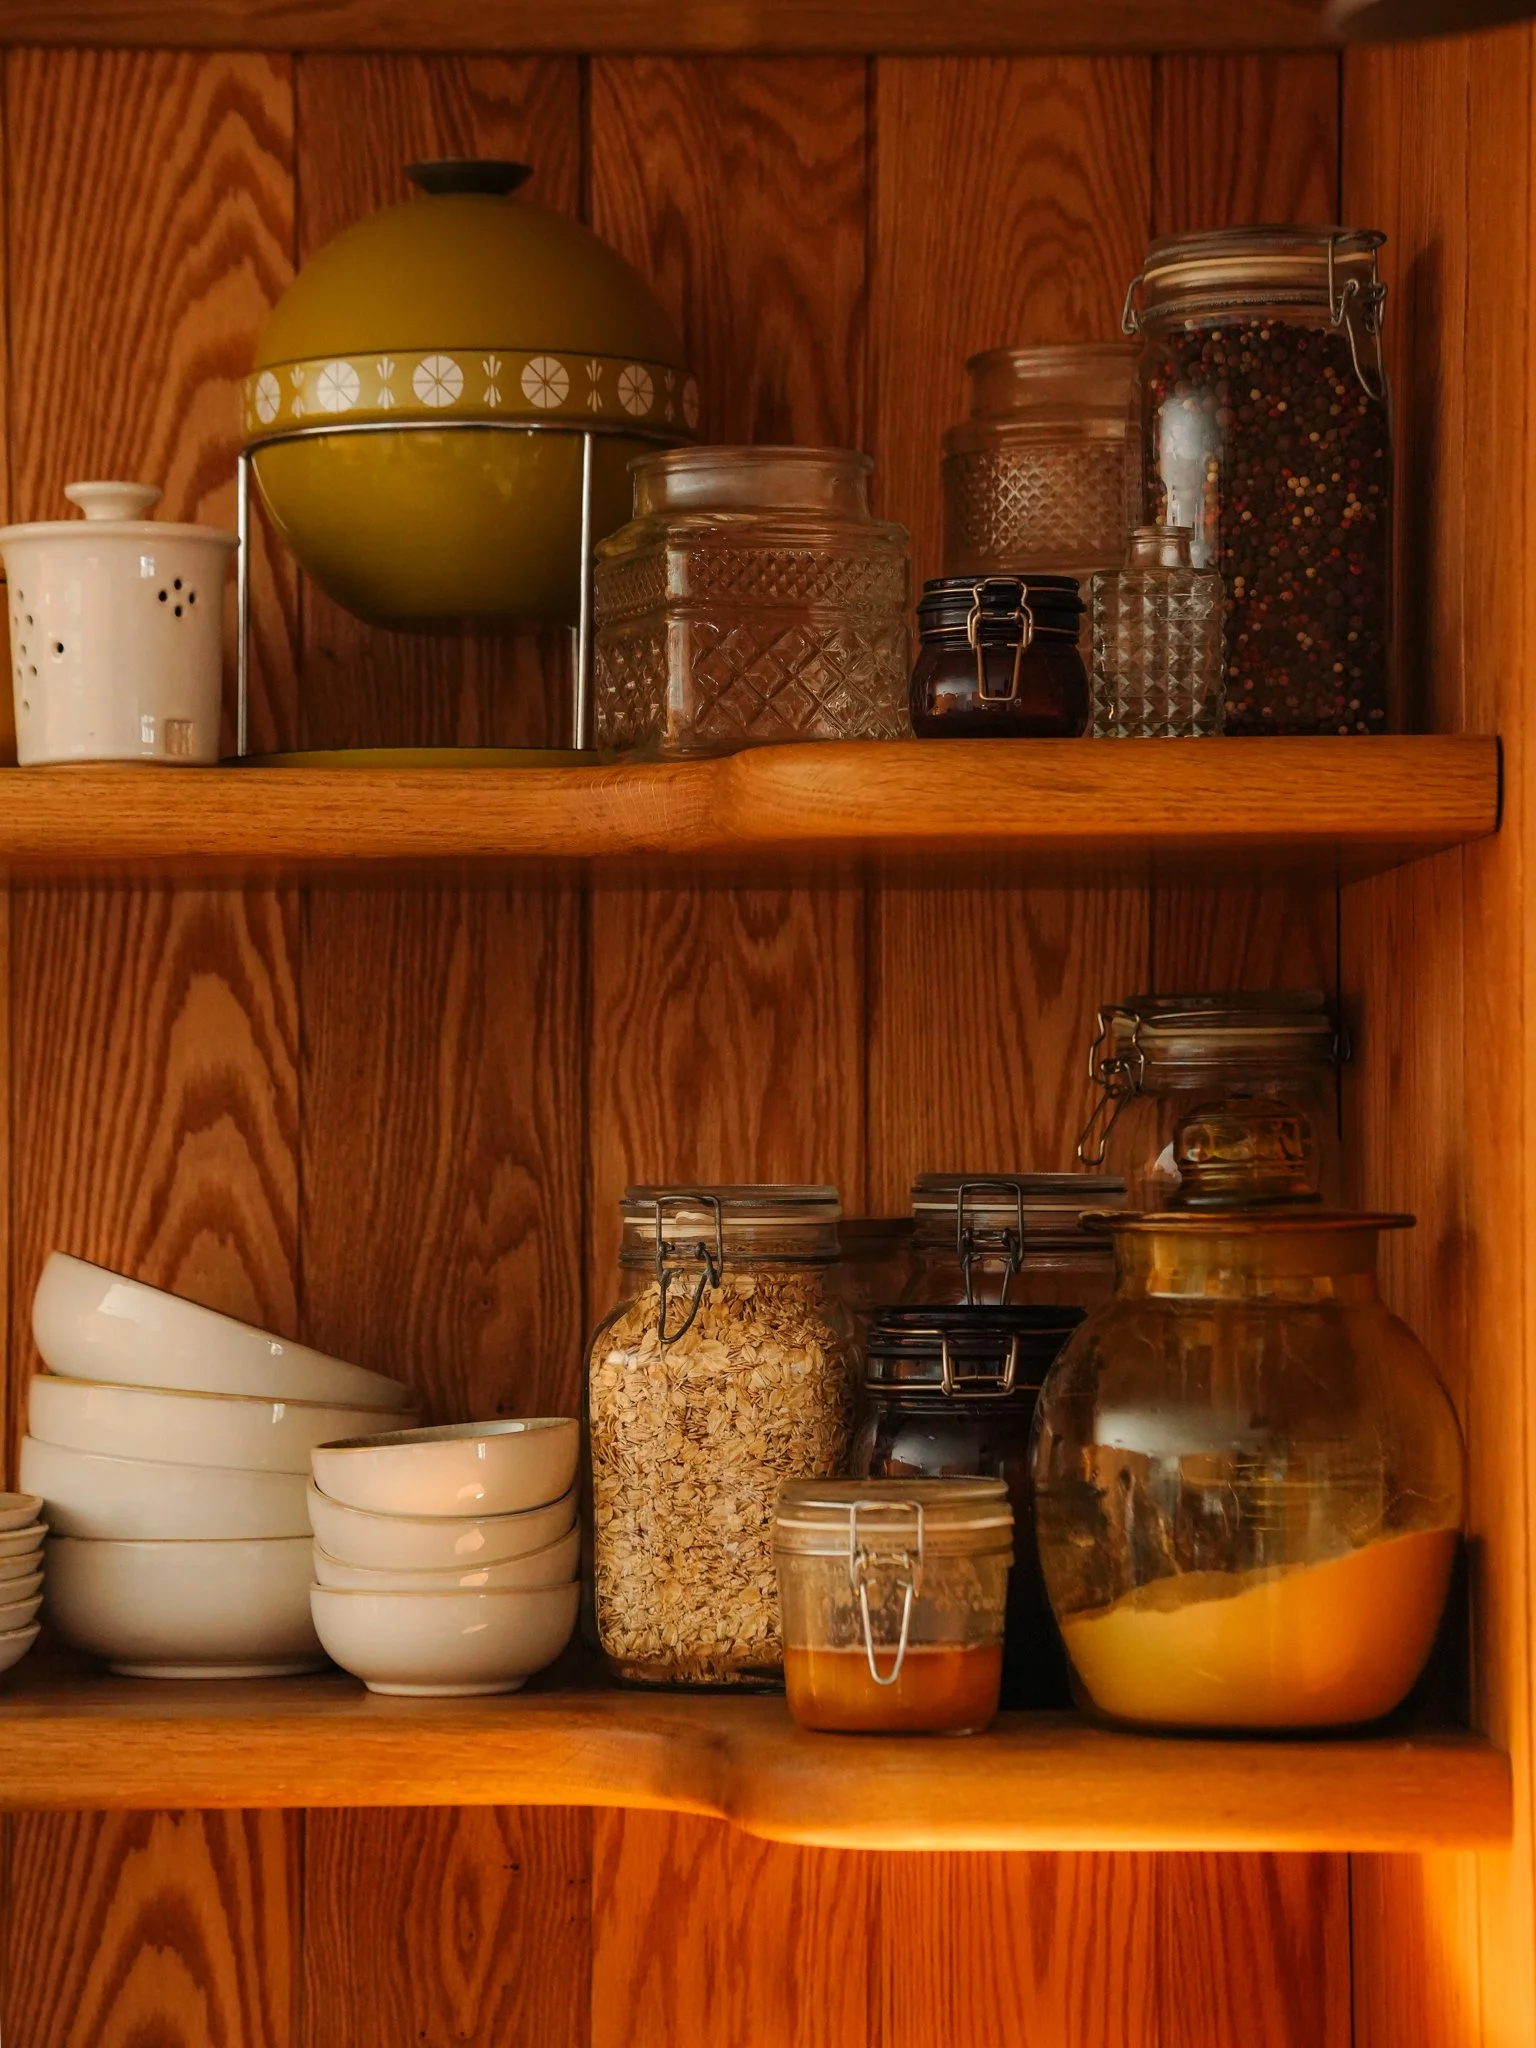
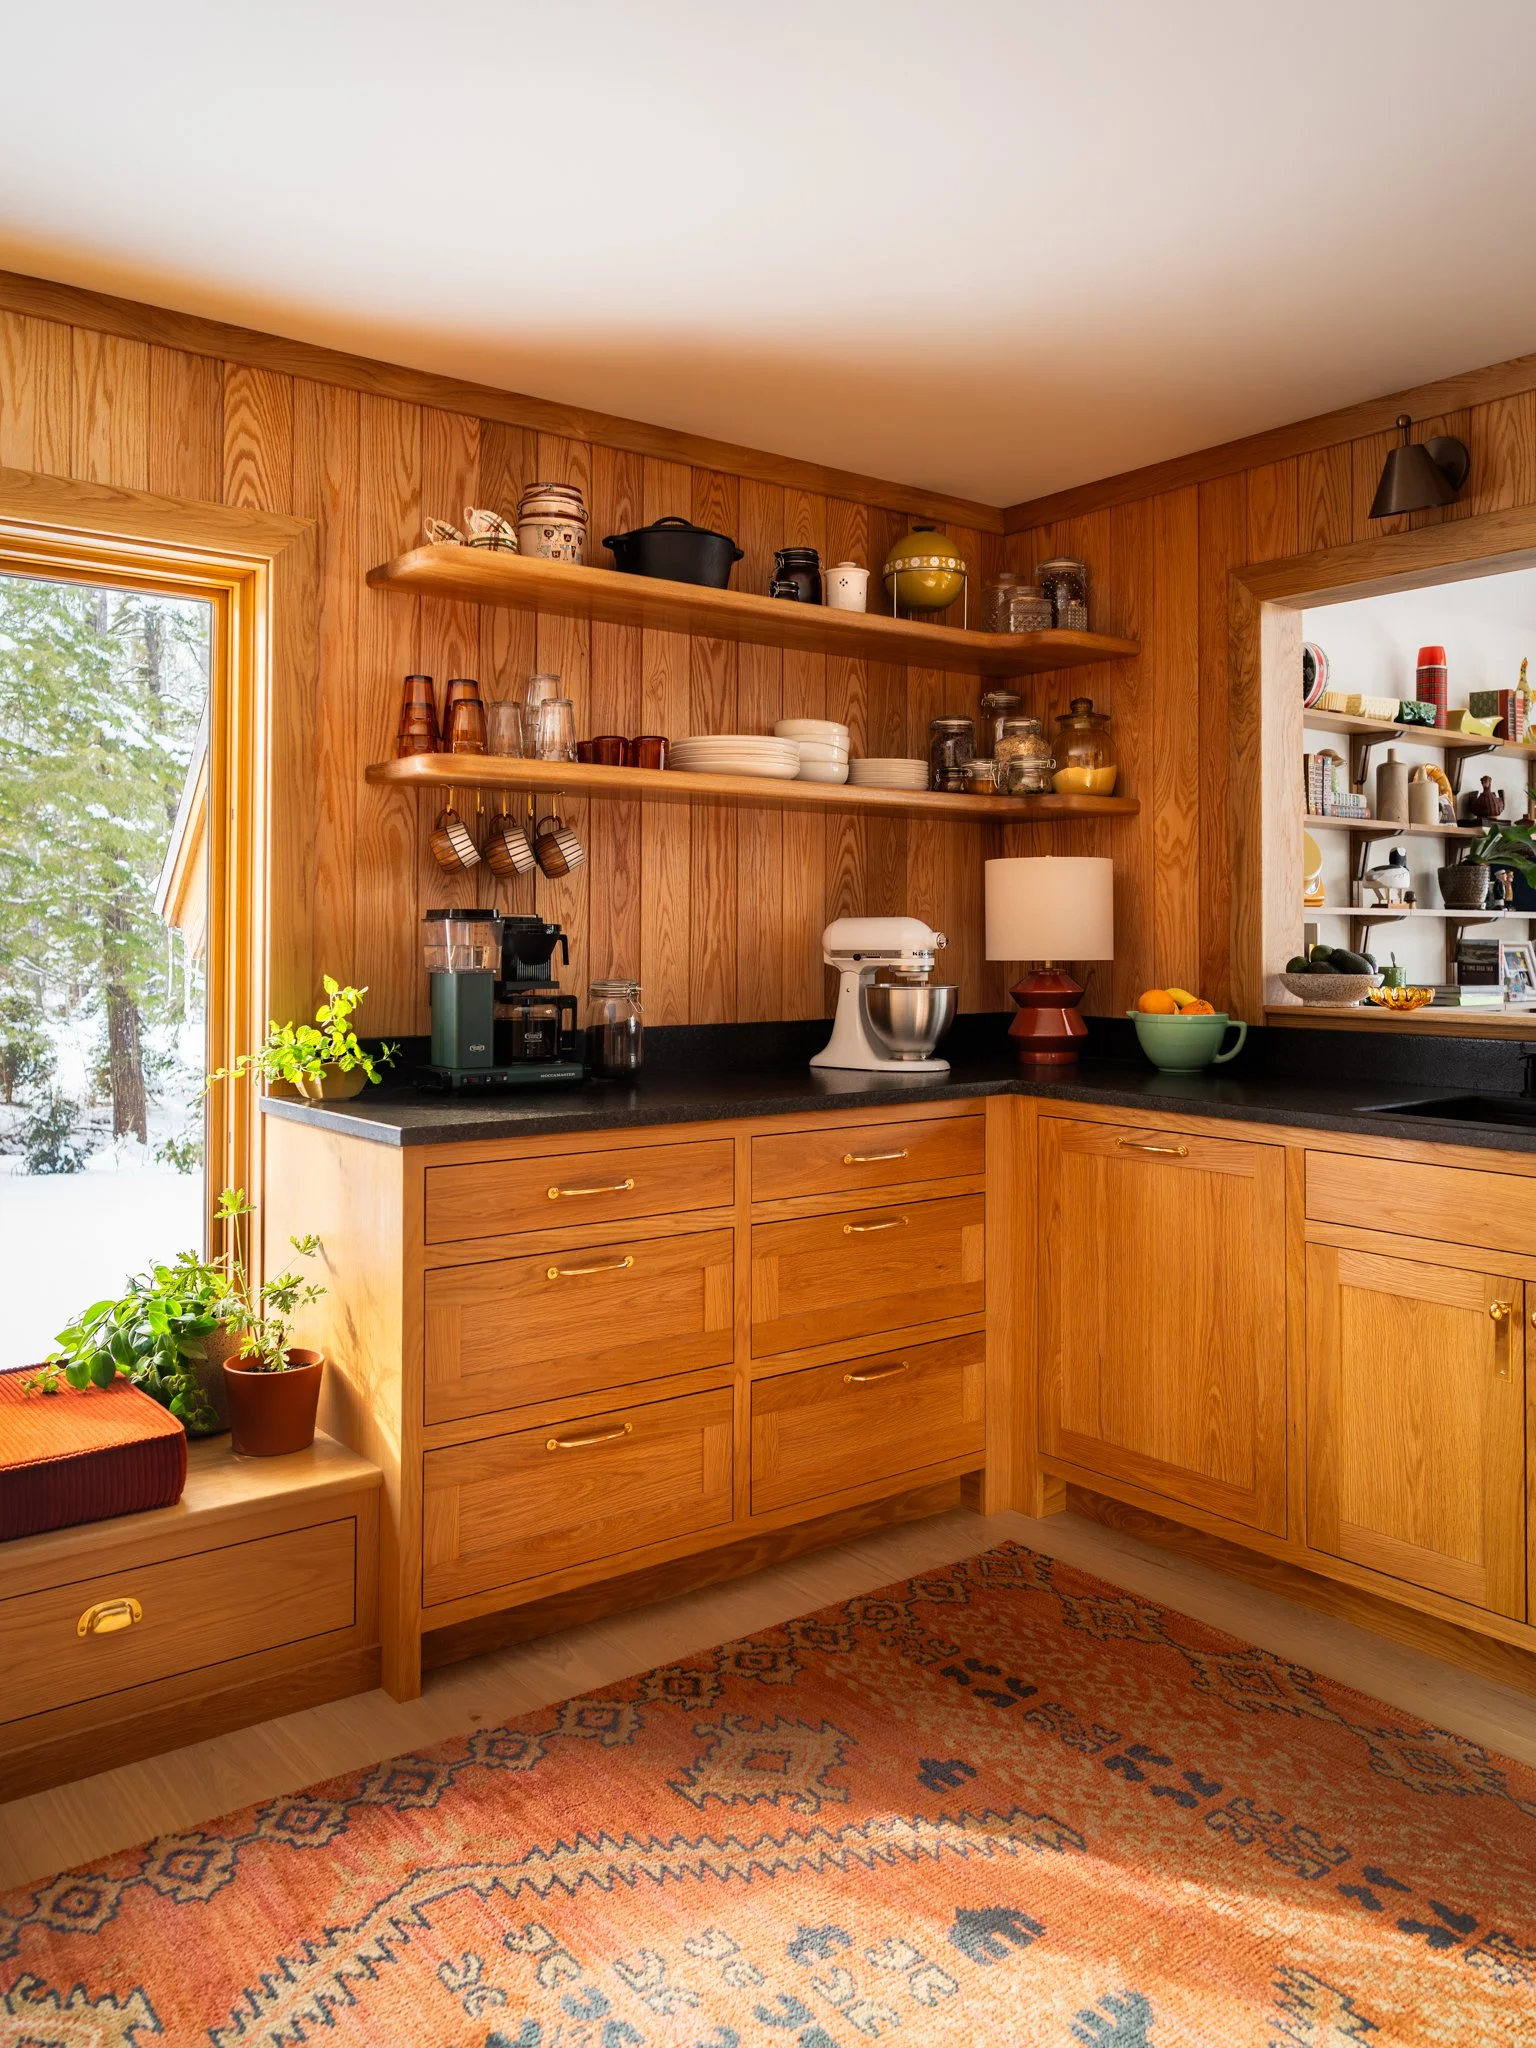
We can’t forget to discuss the open shelving! From the very beginning we knew that we wanted open shelving in the kitchen. Not only does it help keep things light and bright, but it’s also super functional. We really love using them to store our daily-use dishes and things. On both sides of the kitchen the shelves return, creating this symmetrical inside curve that is just beautiful.
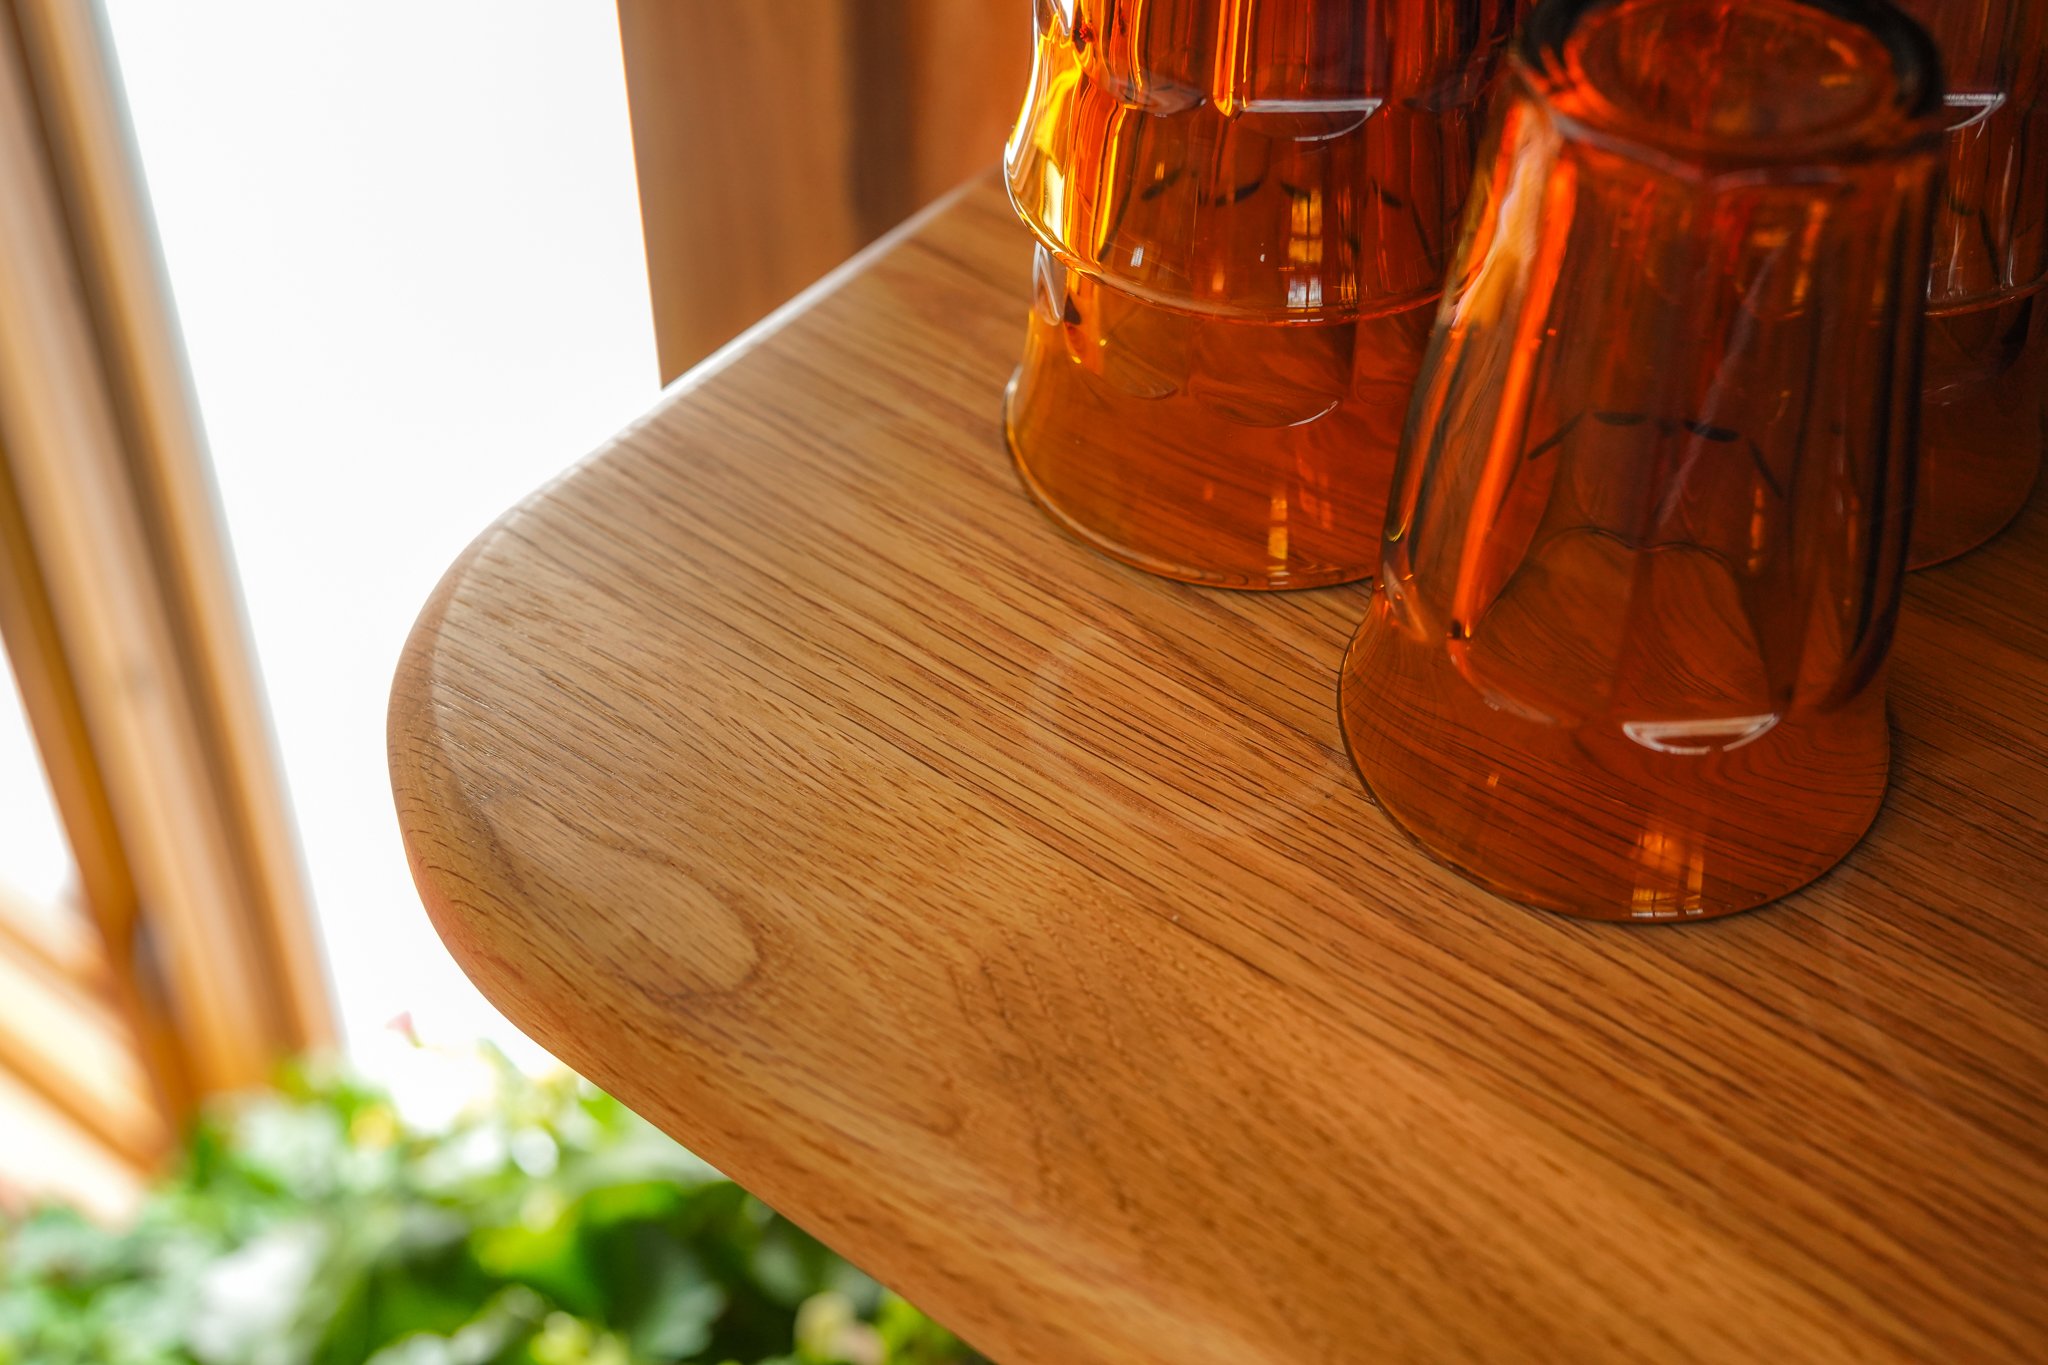
Our favorite feature is their sheer weight and rounded edge. It’s rounder than we initially imagined, but we feel like it softens the look and the experience. At 12” deep they can comfortably store anything without feeling like something might fall off.
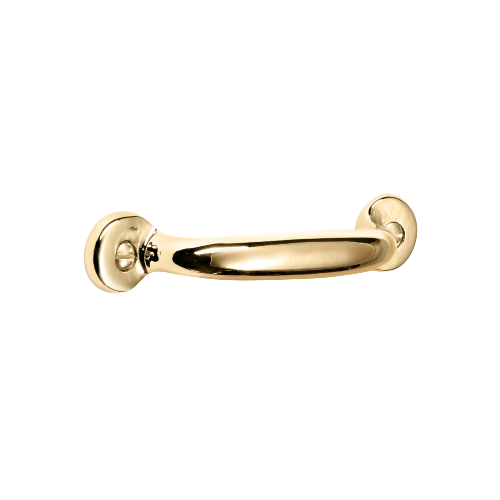
Hardware By REJUVENATION
It is likely no surprise that we used brass again for this project. If you remember, we used brass throughout our Boston Kitchen, and we are still in love with how it looks and how it feels. This time however, we wanted to try something new: unlacquered brass.
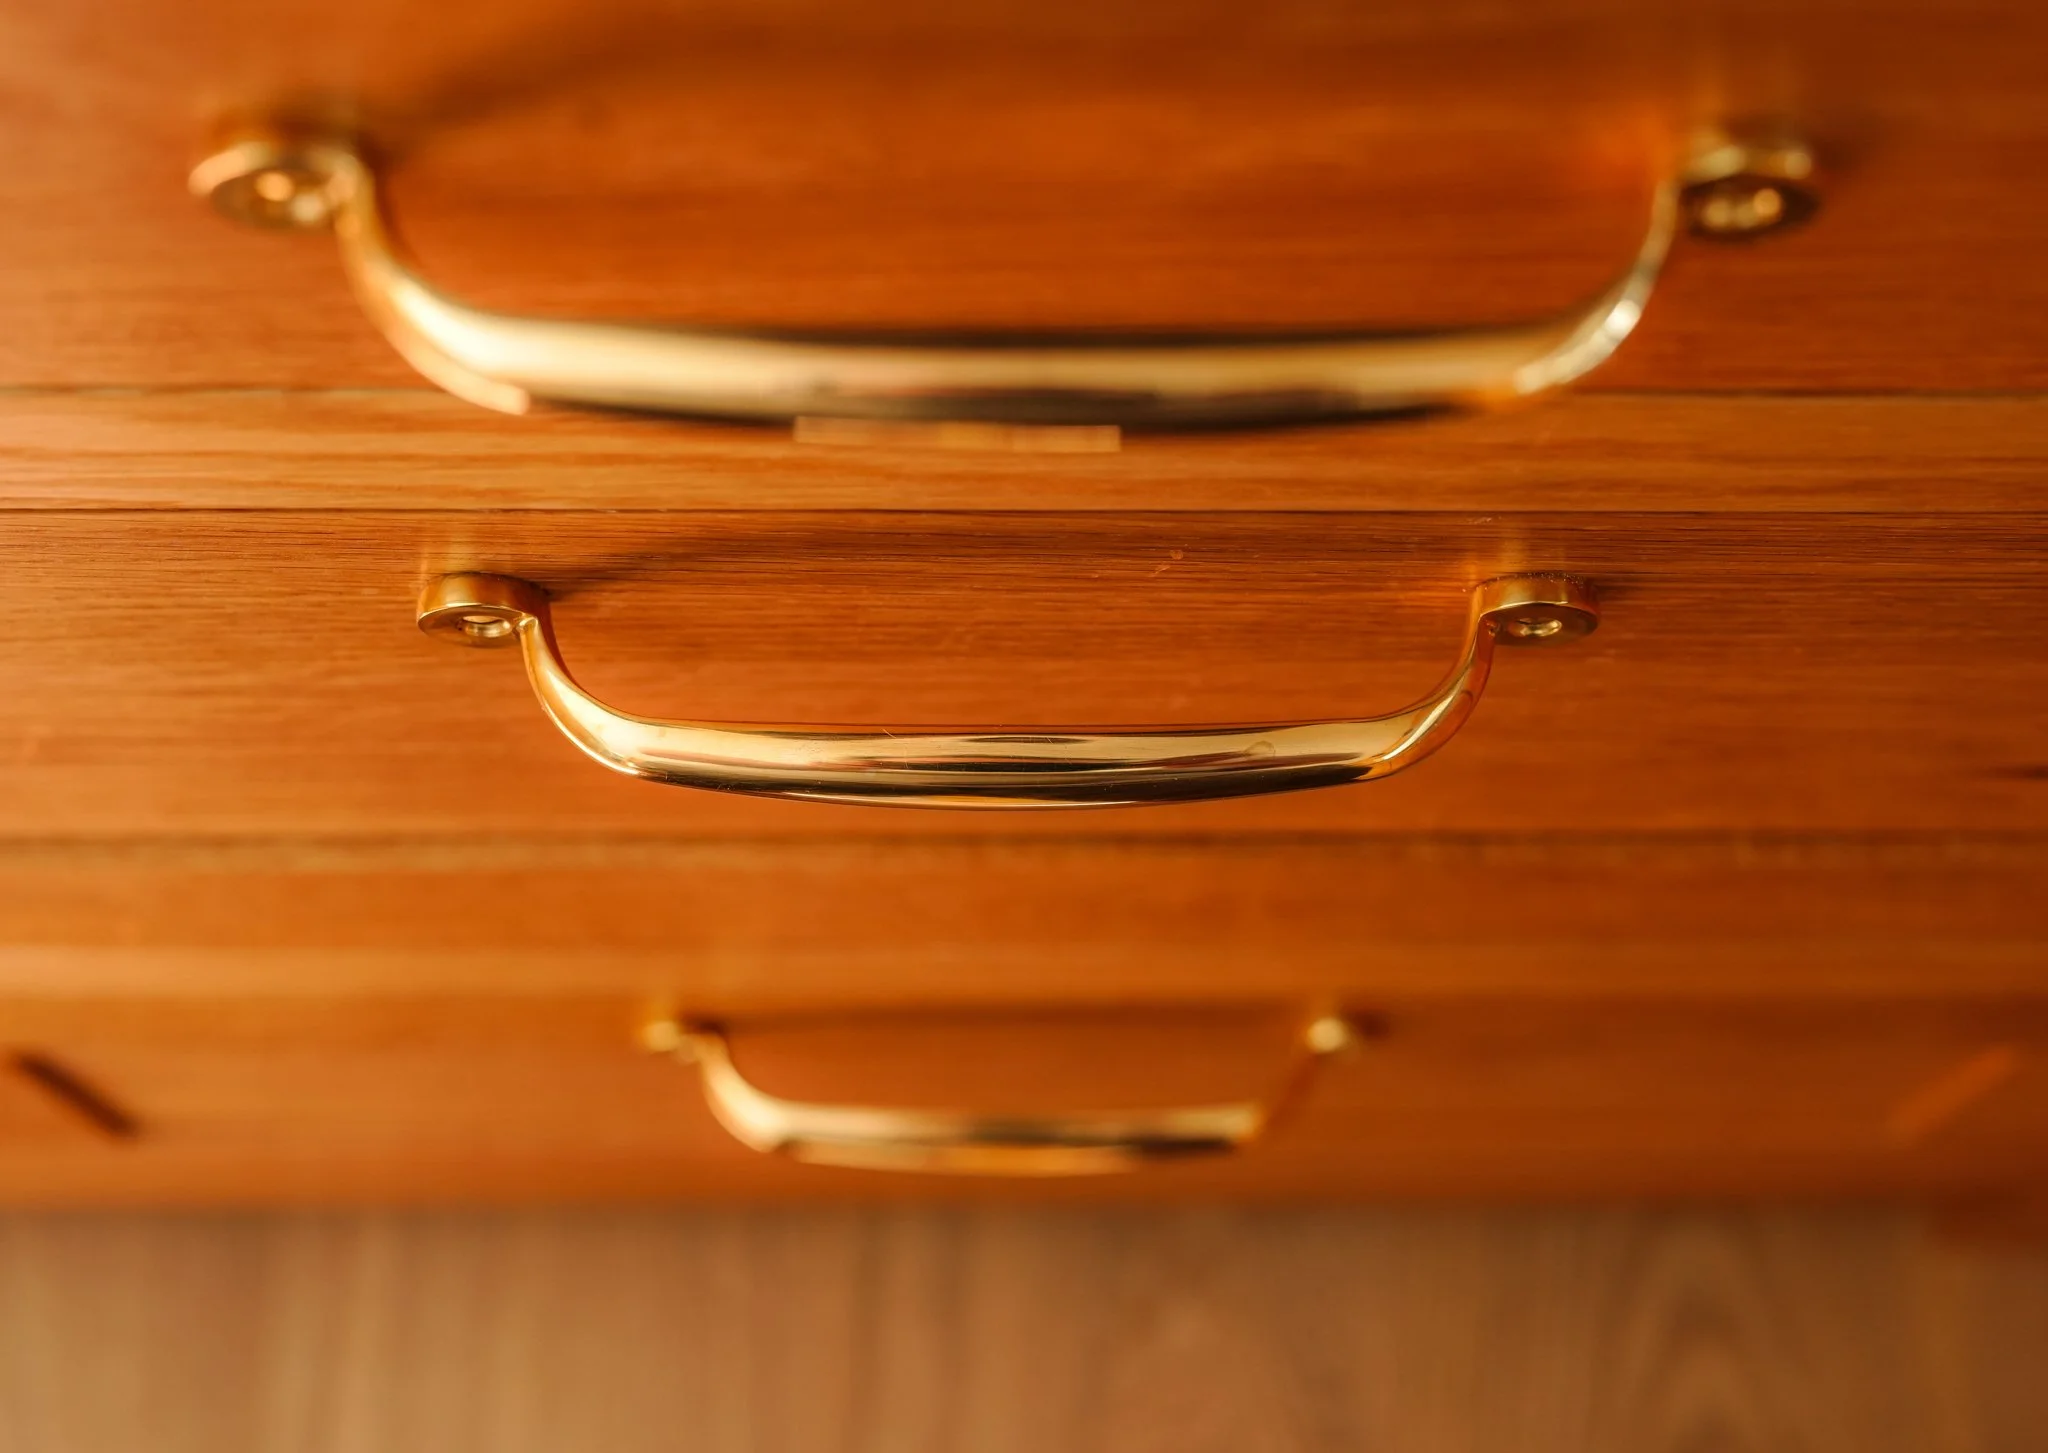
Unlacquered brass is not coated and will tarnish with time and normal use. It looks shiny now, but over the next several months it will begin to wear, and the shine will fade. It can be polished again at any time, but something about that exercise feels futile. For this project, allowing the metal to tarnish makes sense - one of the beautiful parts of using natural materials.
When sourcing hardware, we always start with Rejuvenation. For this project we used a combination of pull styles to meet our needs - the pulls on the cabinets for instance are different than the bin pulls below the window seat. This is a really fun exercise, and thinking through these details allows you to change things up. Because the hardware is all coming from the same manufacturer you can feel more confident that the finish you choose will look consistent across product lines.
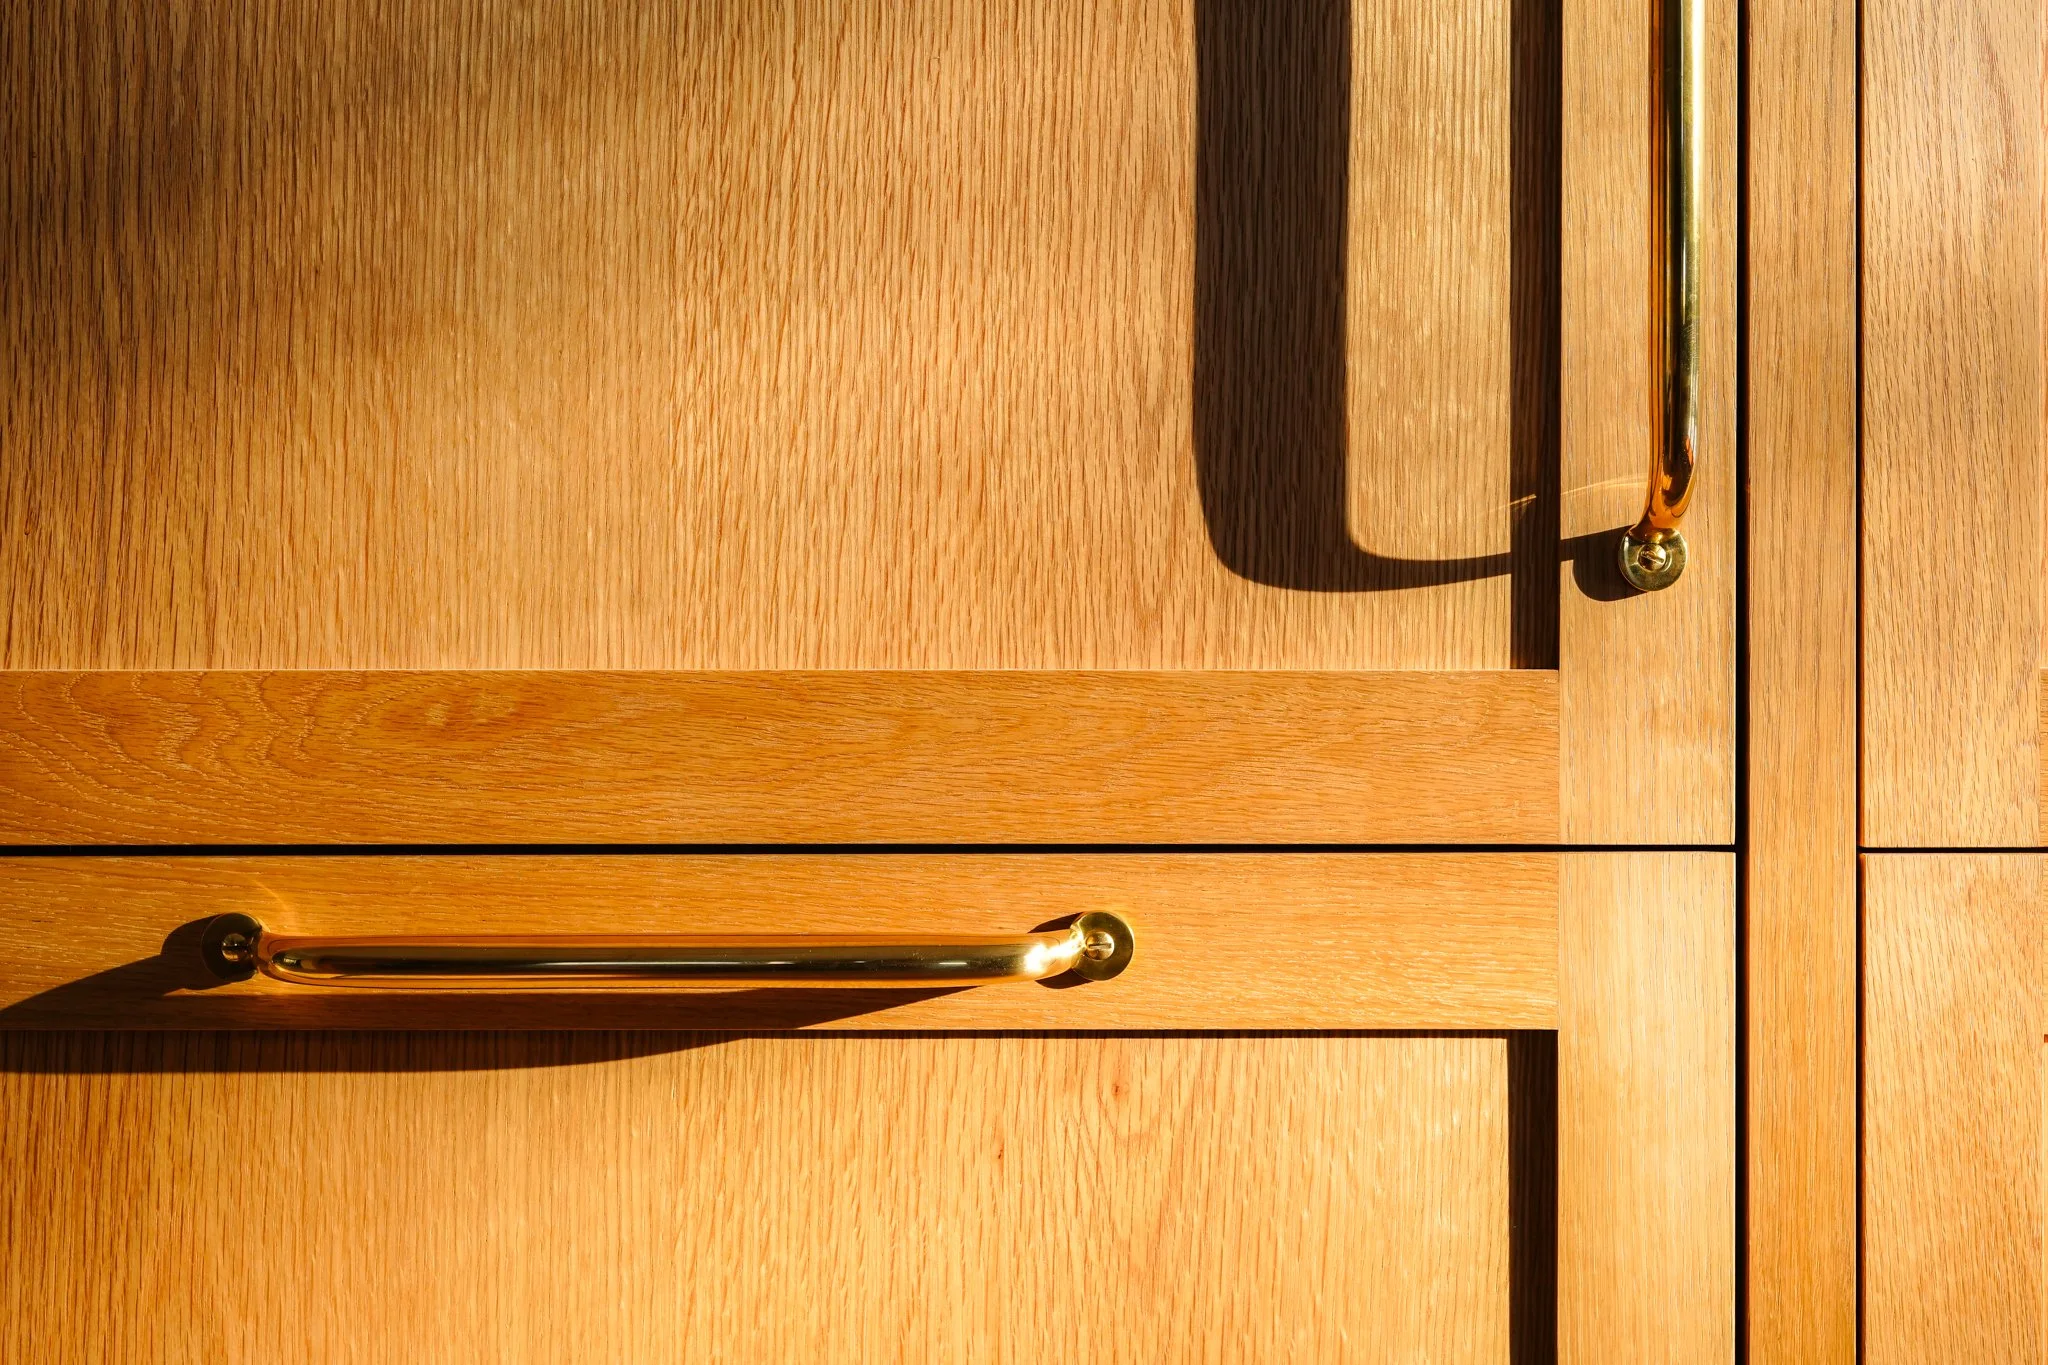
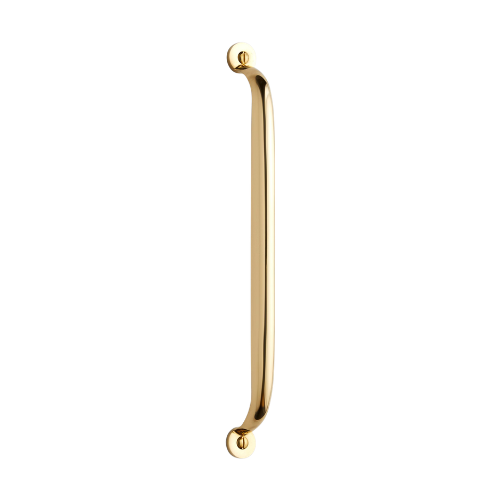
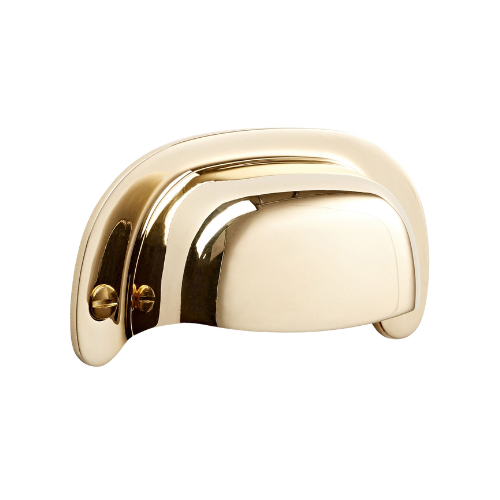
We especially love choosing appliance hardware. The large brass pulls are substantial (they could seriously knock someone out) and the heft feels so high end. Everytime we reach for the refrigerator door, the experience is just nicer. With multiple size options you can go larger on the fridge, and step down for the freezer and adjacent cabinets, for example.
Lighting
We want to split lighting into two different categories. Kitchen task lighting (overhead lights), and the lighting we love (everything else). As we, as a society, move further away from overhead lighting - it’s kind of a necessity in the kitchen.
We learned in Boston that it is very easy to get carried away with overhead lighting. Before you know it, the ceiling is pocked with 10 cans - and we didn’t want that to happen to us here. So we limited ourselves to just two canned lights - in the same place as the original kitchen - because they worked great. Still, you may have noticed that they are photoshopped out of just about every image.
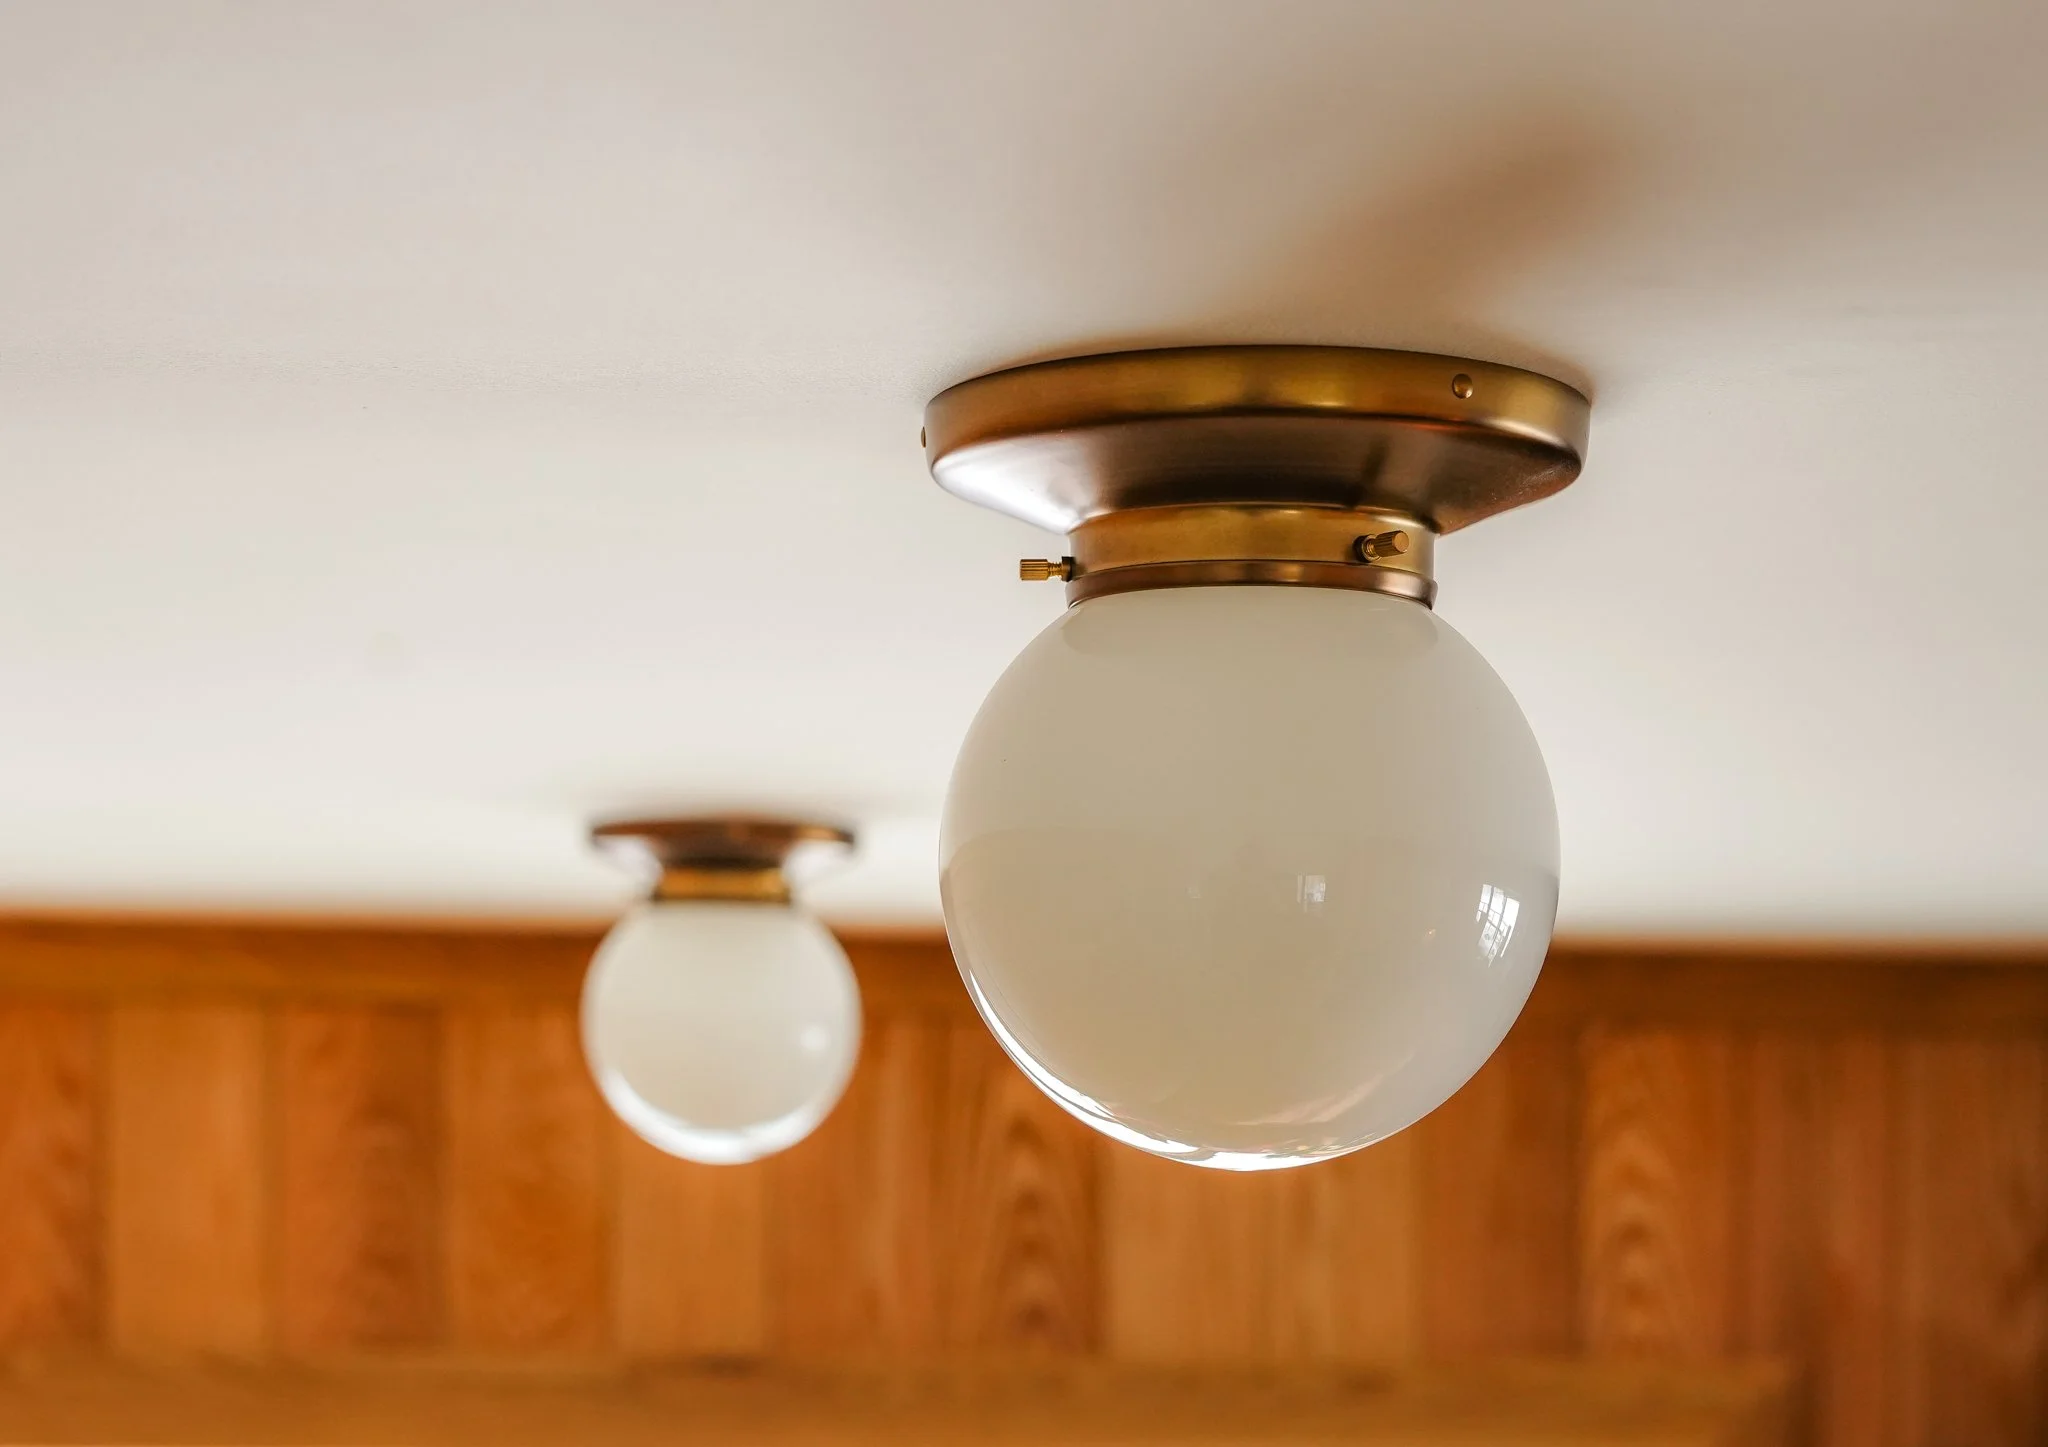
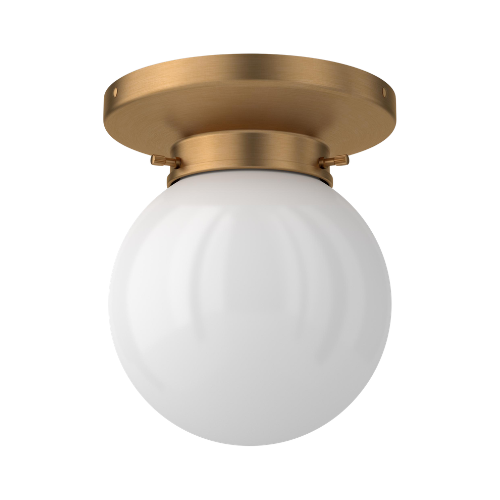
In addition to can lights we used two flush mounts in the kitchen, something that we had never done before. Using flush mount fixtures instead of cans has certainly become more of a trend over the last several years, but just like cans, people sometimes get carried away. We decided on two simple fixtures with milk glass globes in front of the refrigerator and pantry. They are perfect for adding interest and providing additional light. They, like the cans, are on their own dimmer switch. In the adjacent hall we chose two similar flush mounts that are slightly scaled down and feature an open milk glass shade instead of a globe. All of the flush mounts feature Rejuvenation’s newest finish, Heritage Brass, it’s really warm and quite beautiful.

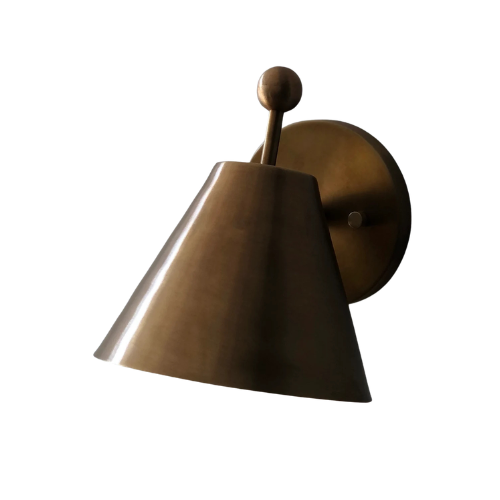
We added two additional dimming sconces to provide additional task lighting while working at the sink or loading dishes. We tend to keep these on, and fully dimmed throughout the evening, creating a directional warm glow.
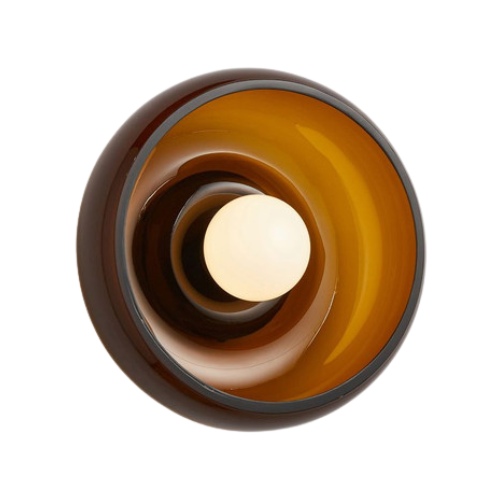
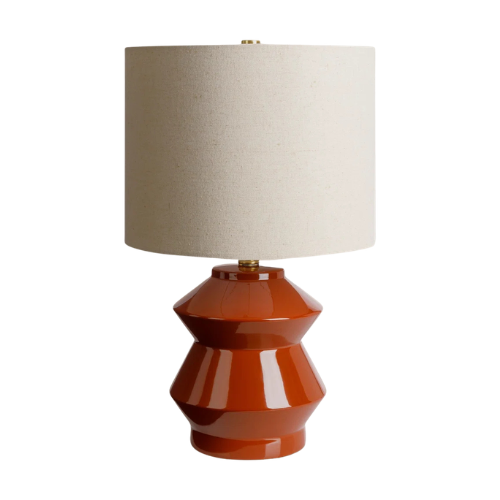
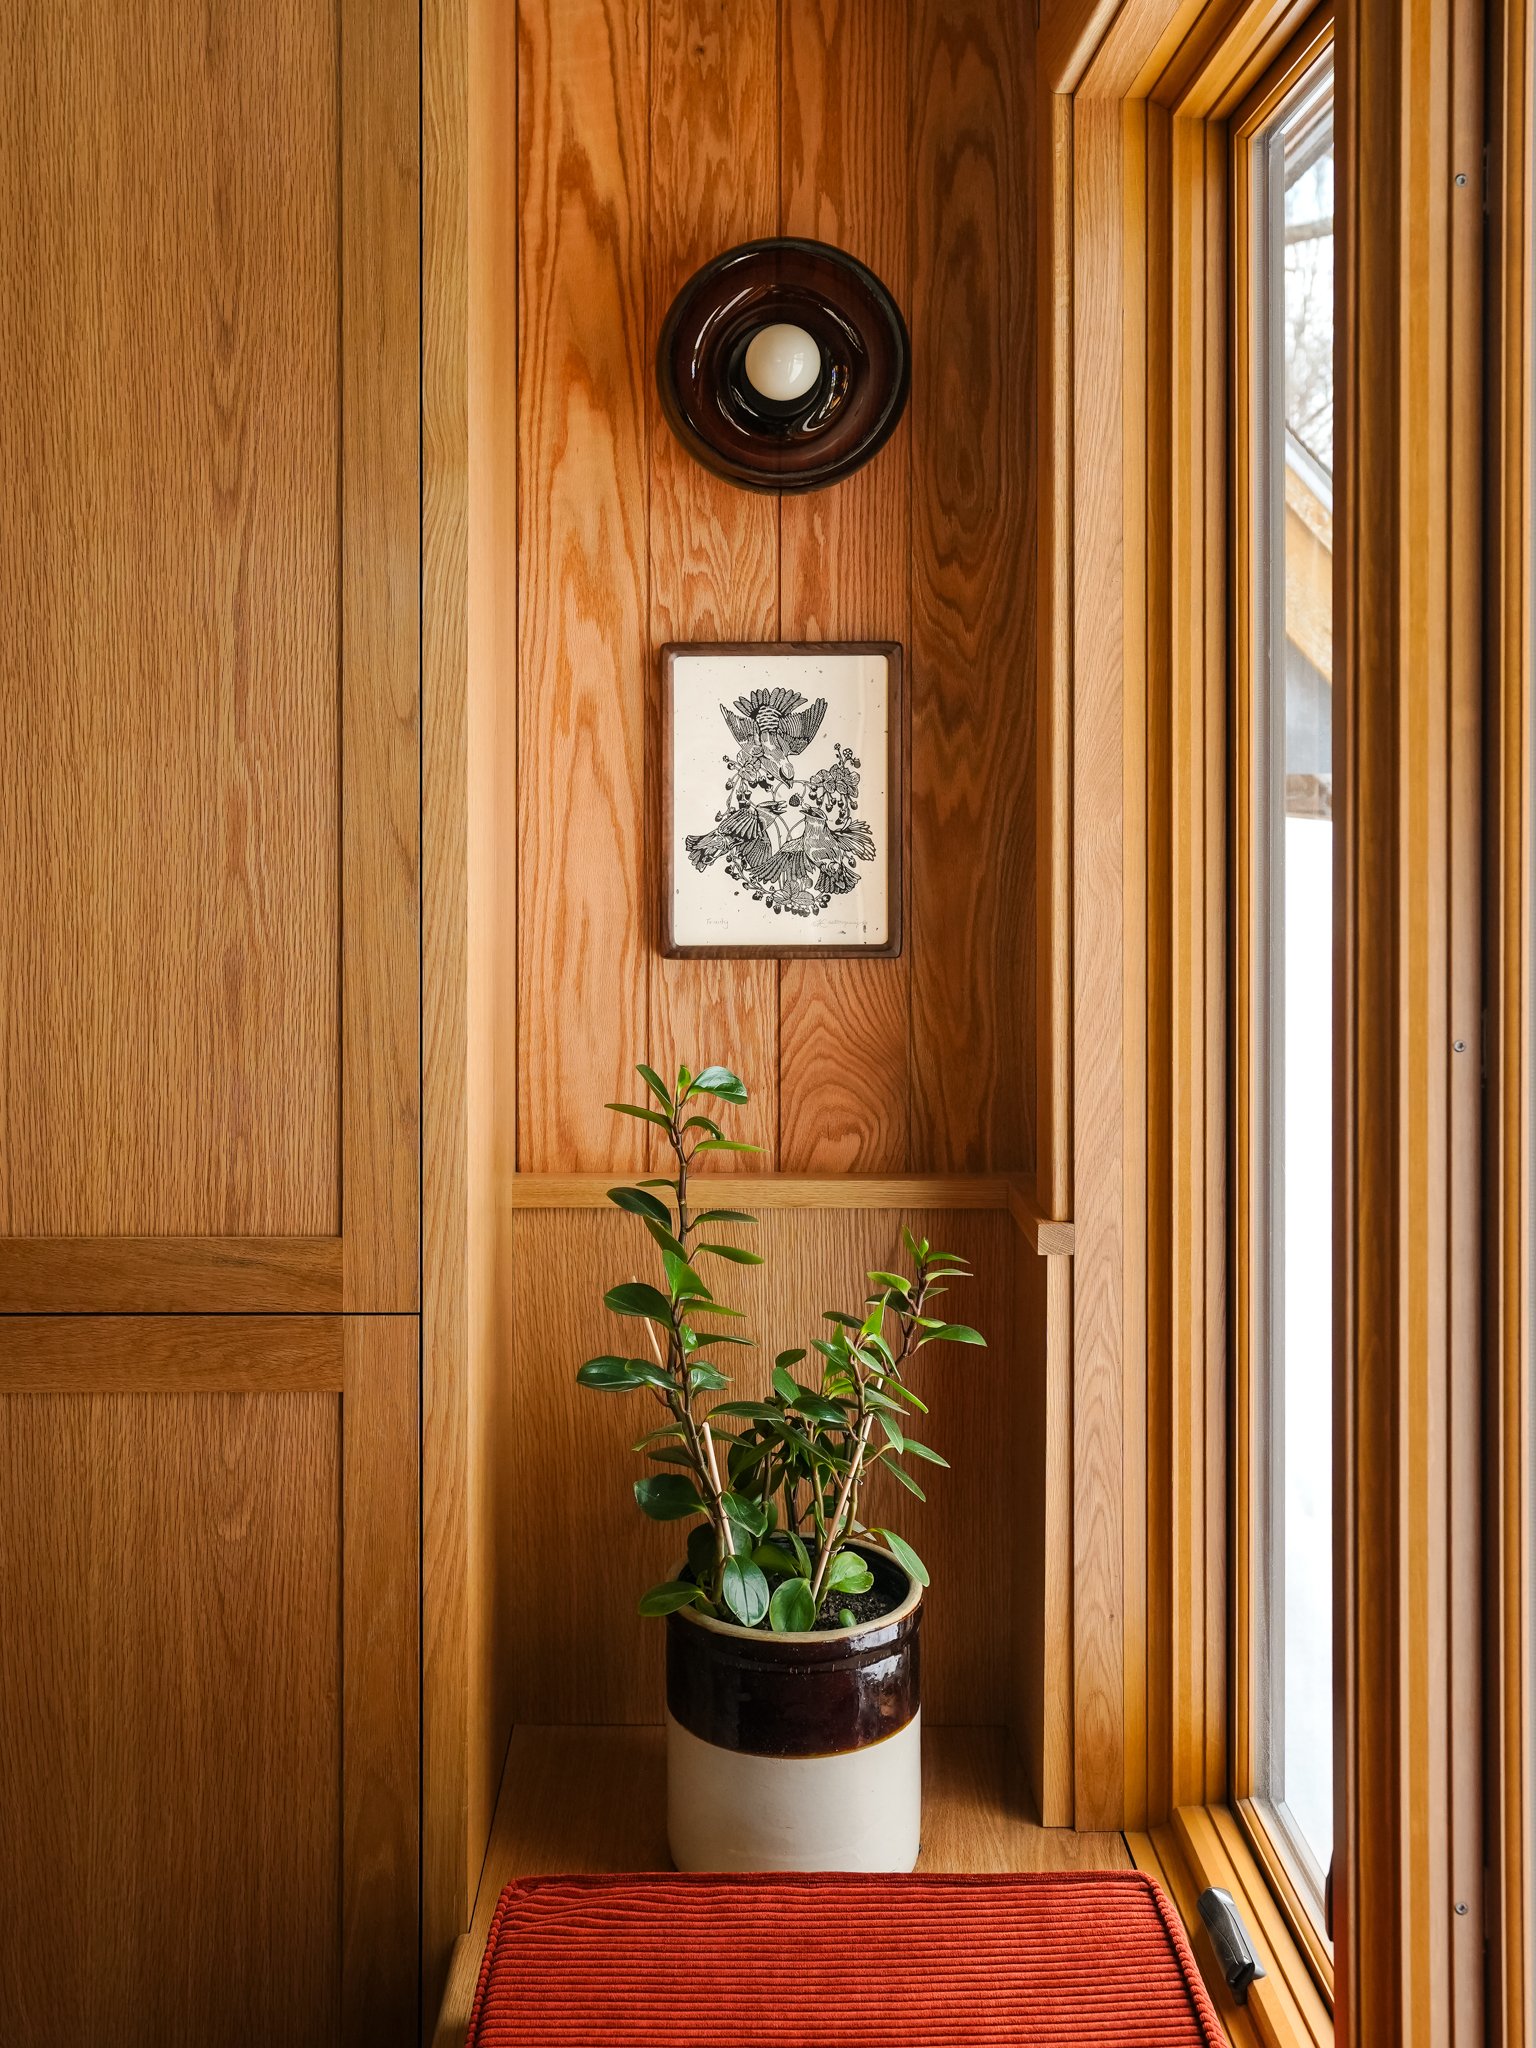
Our most used lighting can be found on the counters. Our new routine is turning on the two lamps, one at each end, to set the evening vibe. Finally, we have an amber glass sconce over a piece of art as part of the built in bench area. This light casts a warm glow, and helps keep that corner from feeling too dark.
Countertops
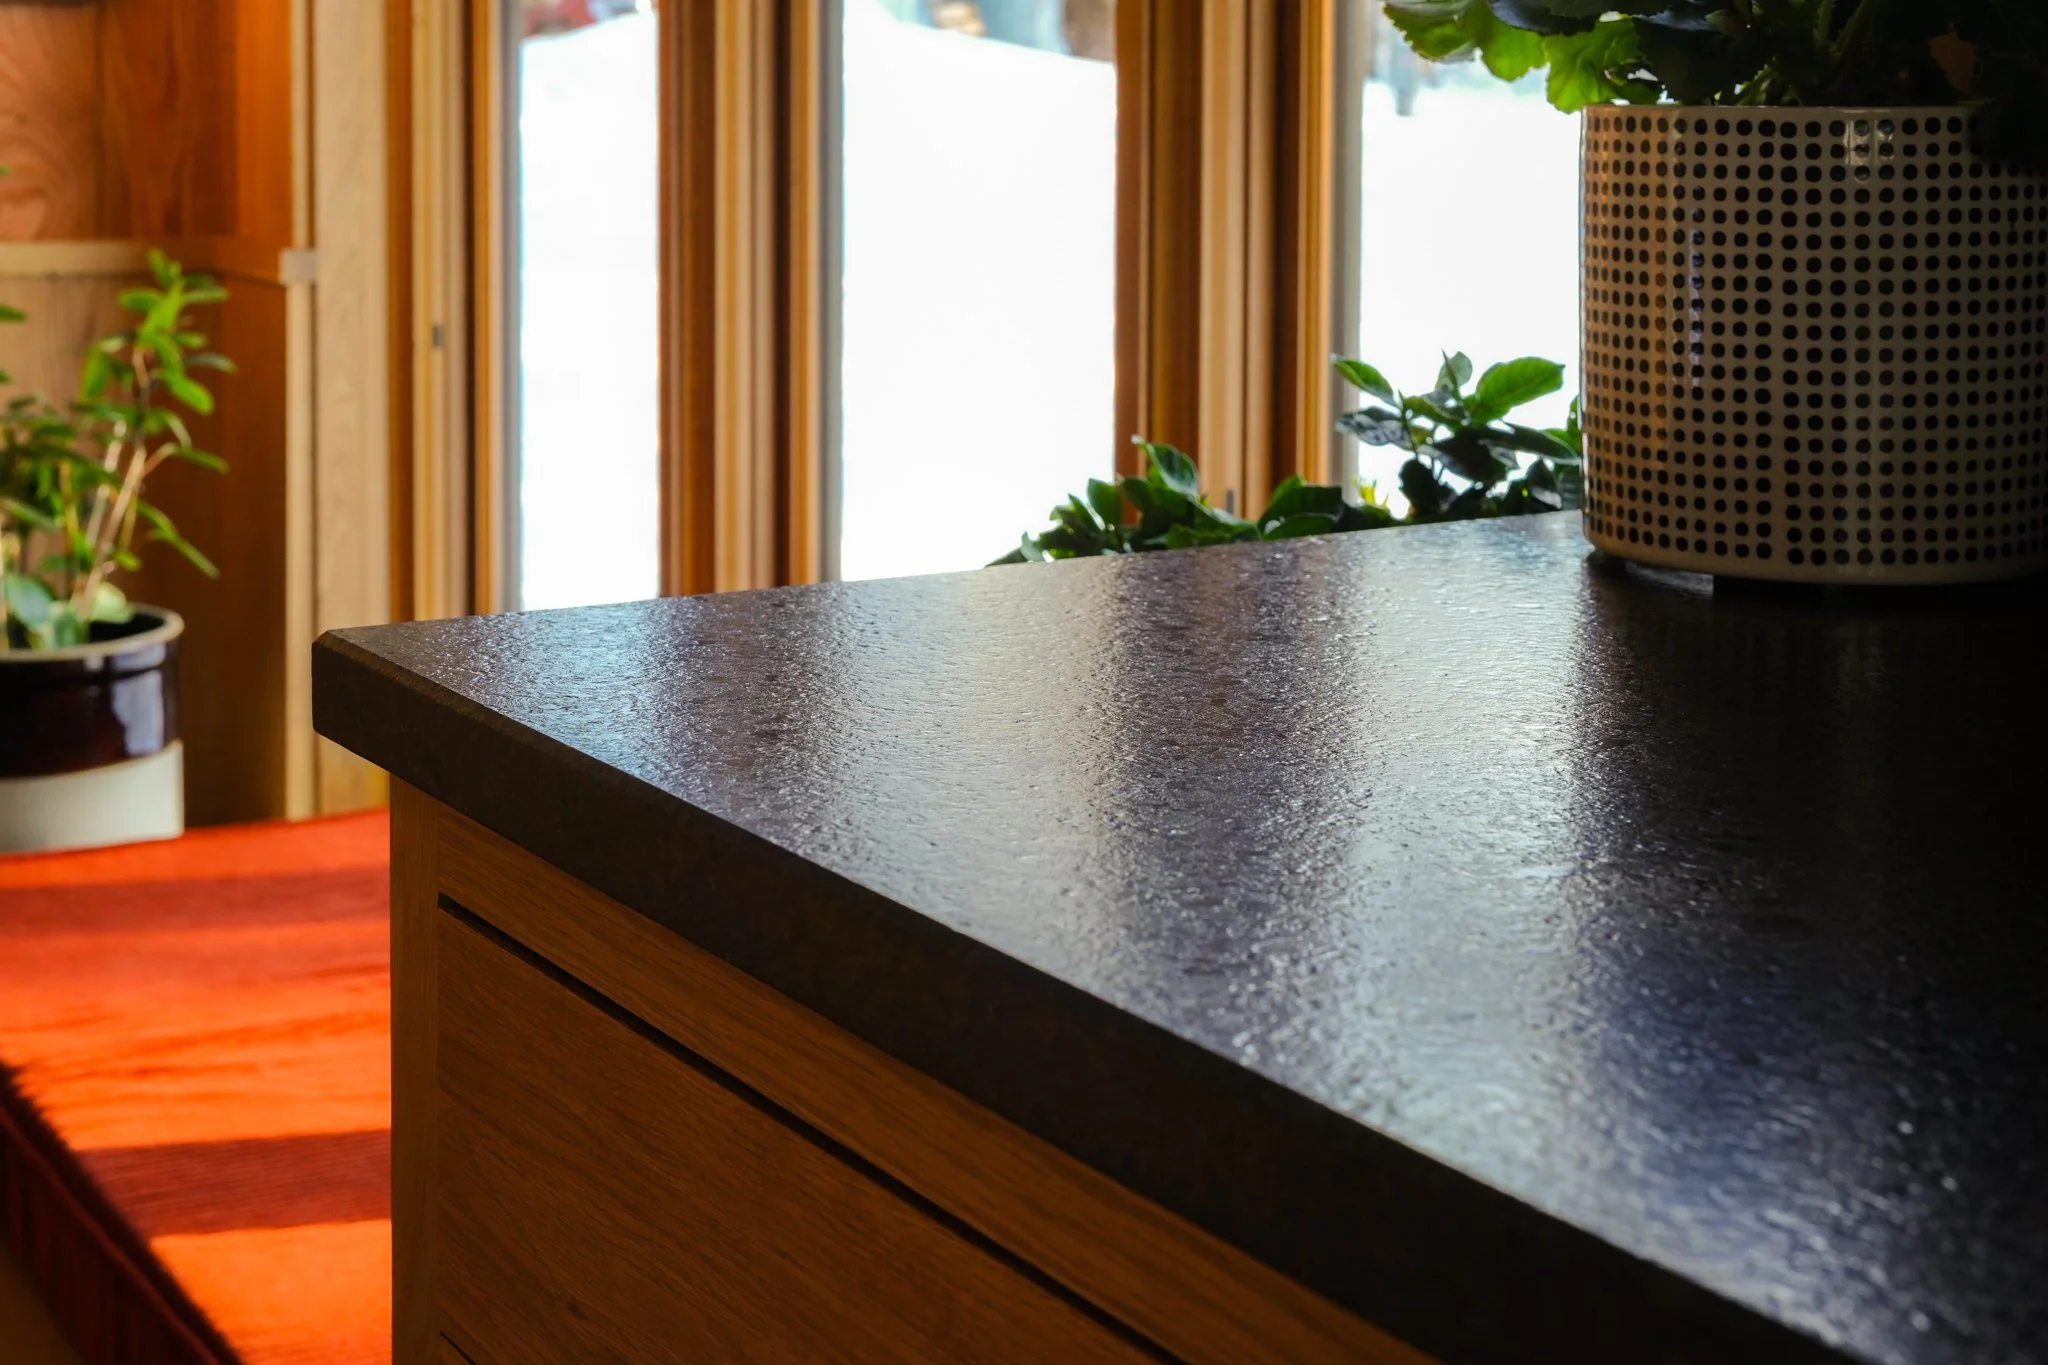
We first discovered “leathered granite” when we competed in Battle on the Mountain. We designed this kitchen under both time and budget limitations. And, as is often the case when faced with limitations, something unexpected (and exiting) will happen. This finish feels closer to soapstone while maintaining the durability of granite. Overall, it’s a great way to use relatively inexpensive stone in an elevated way. Moreover, it feels amazing to the touch.
Fisher & Paykel Appliances
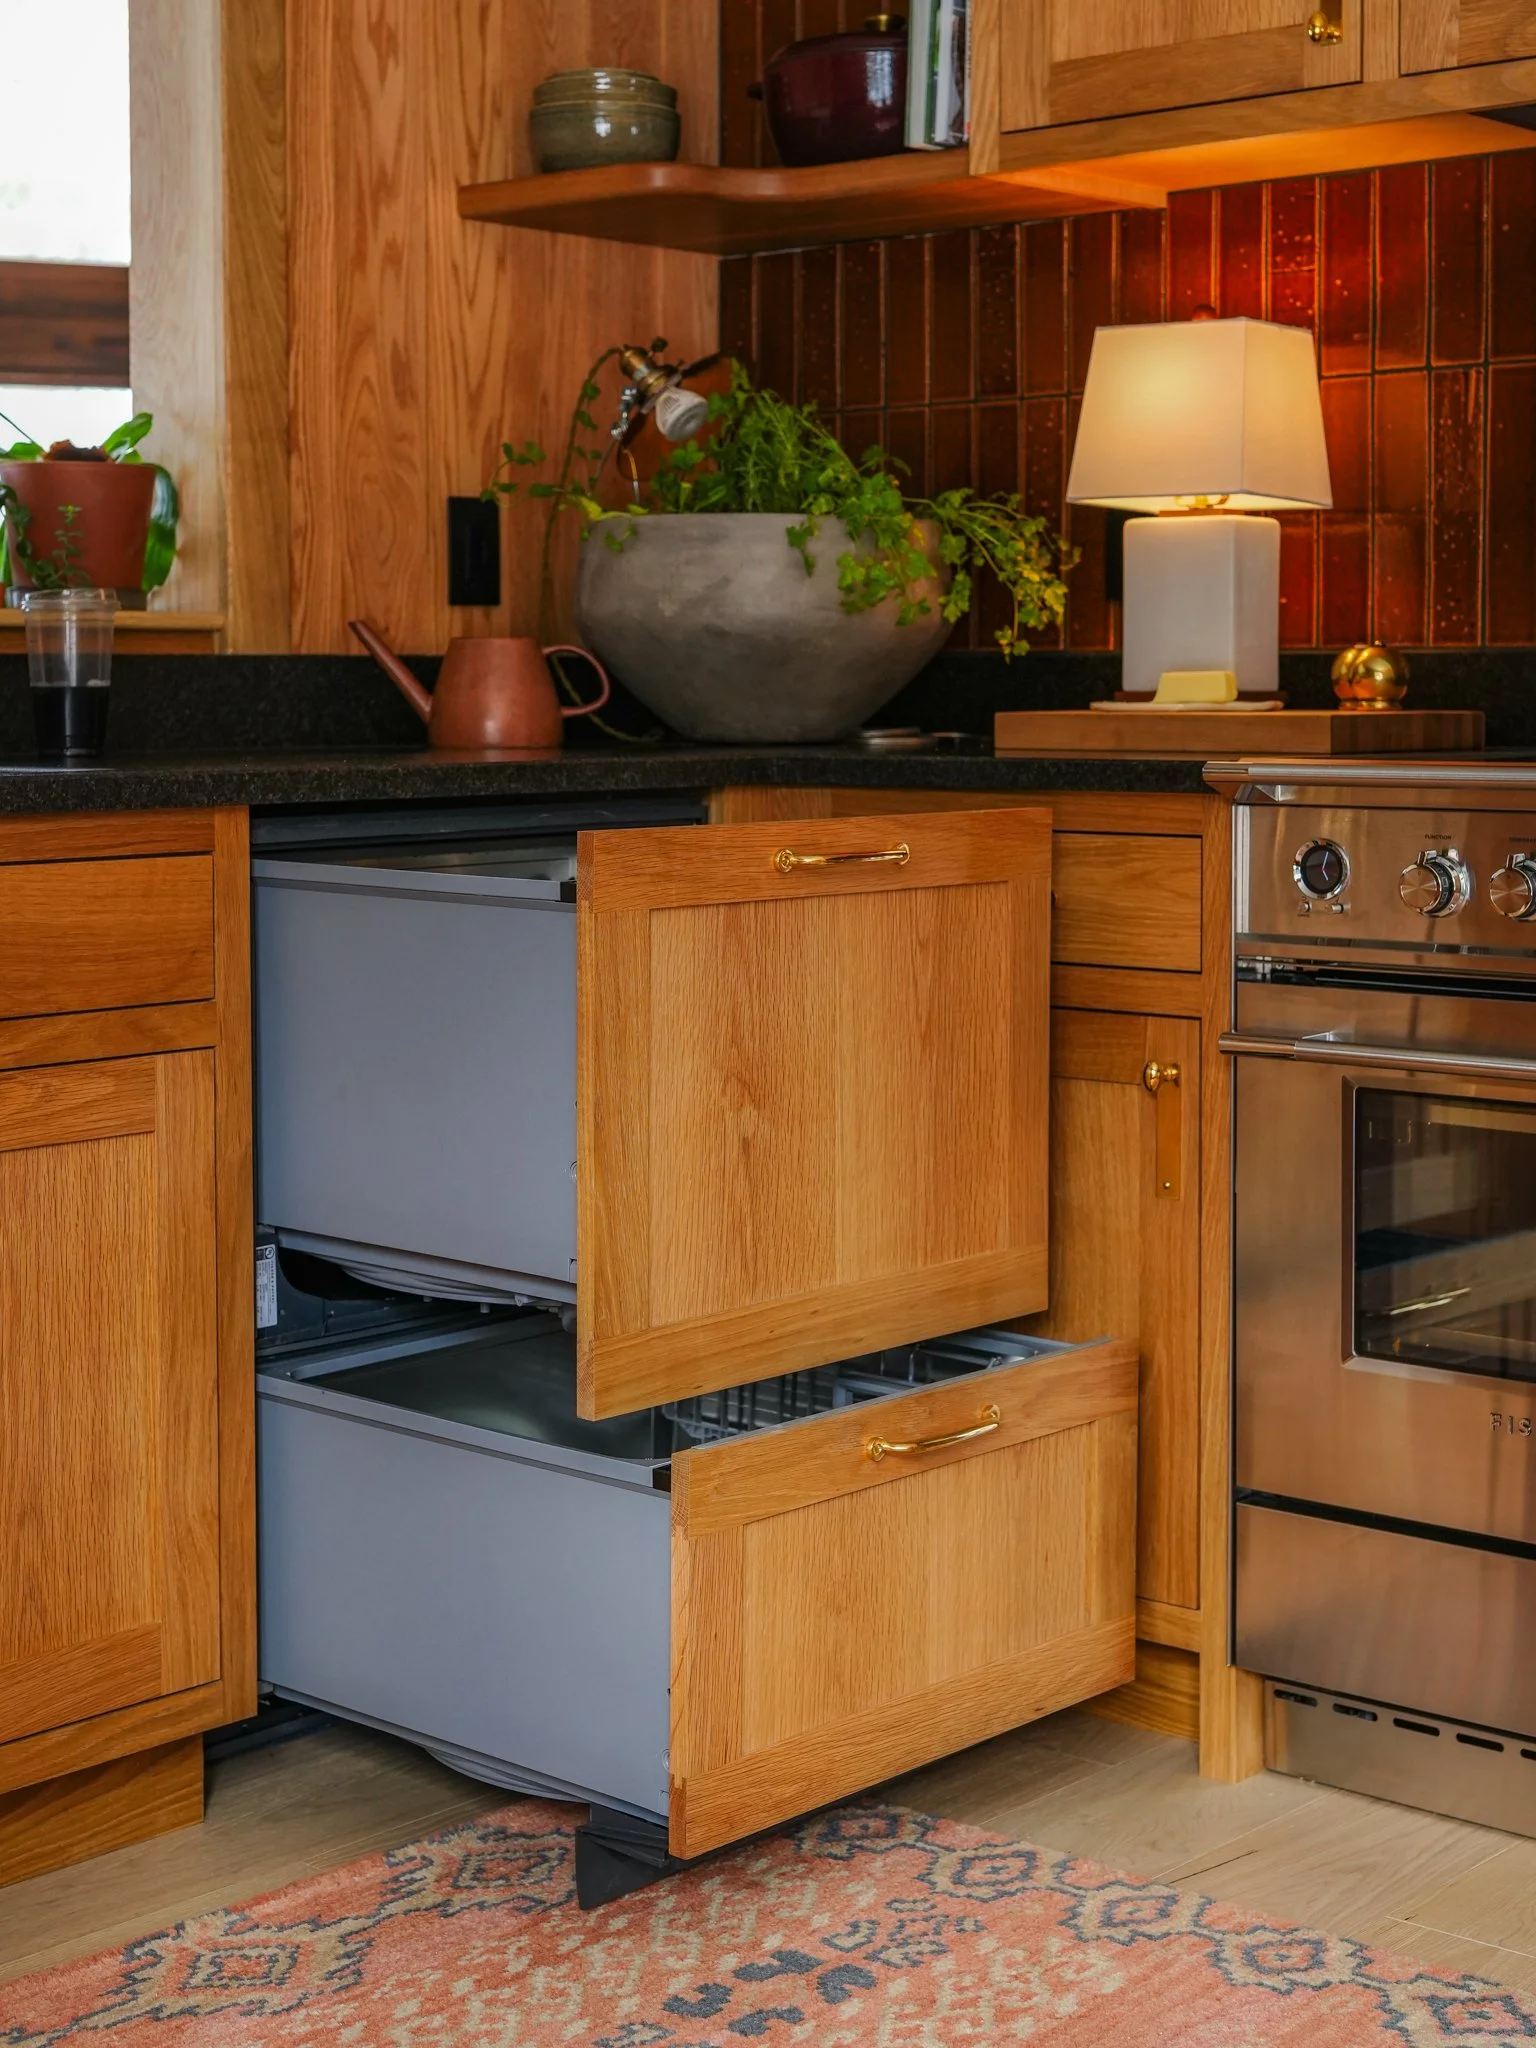
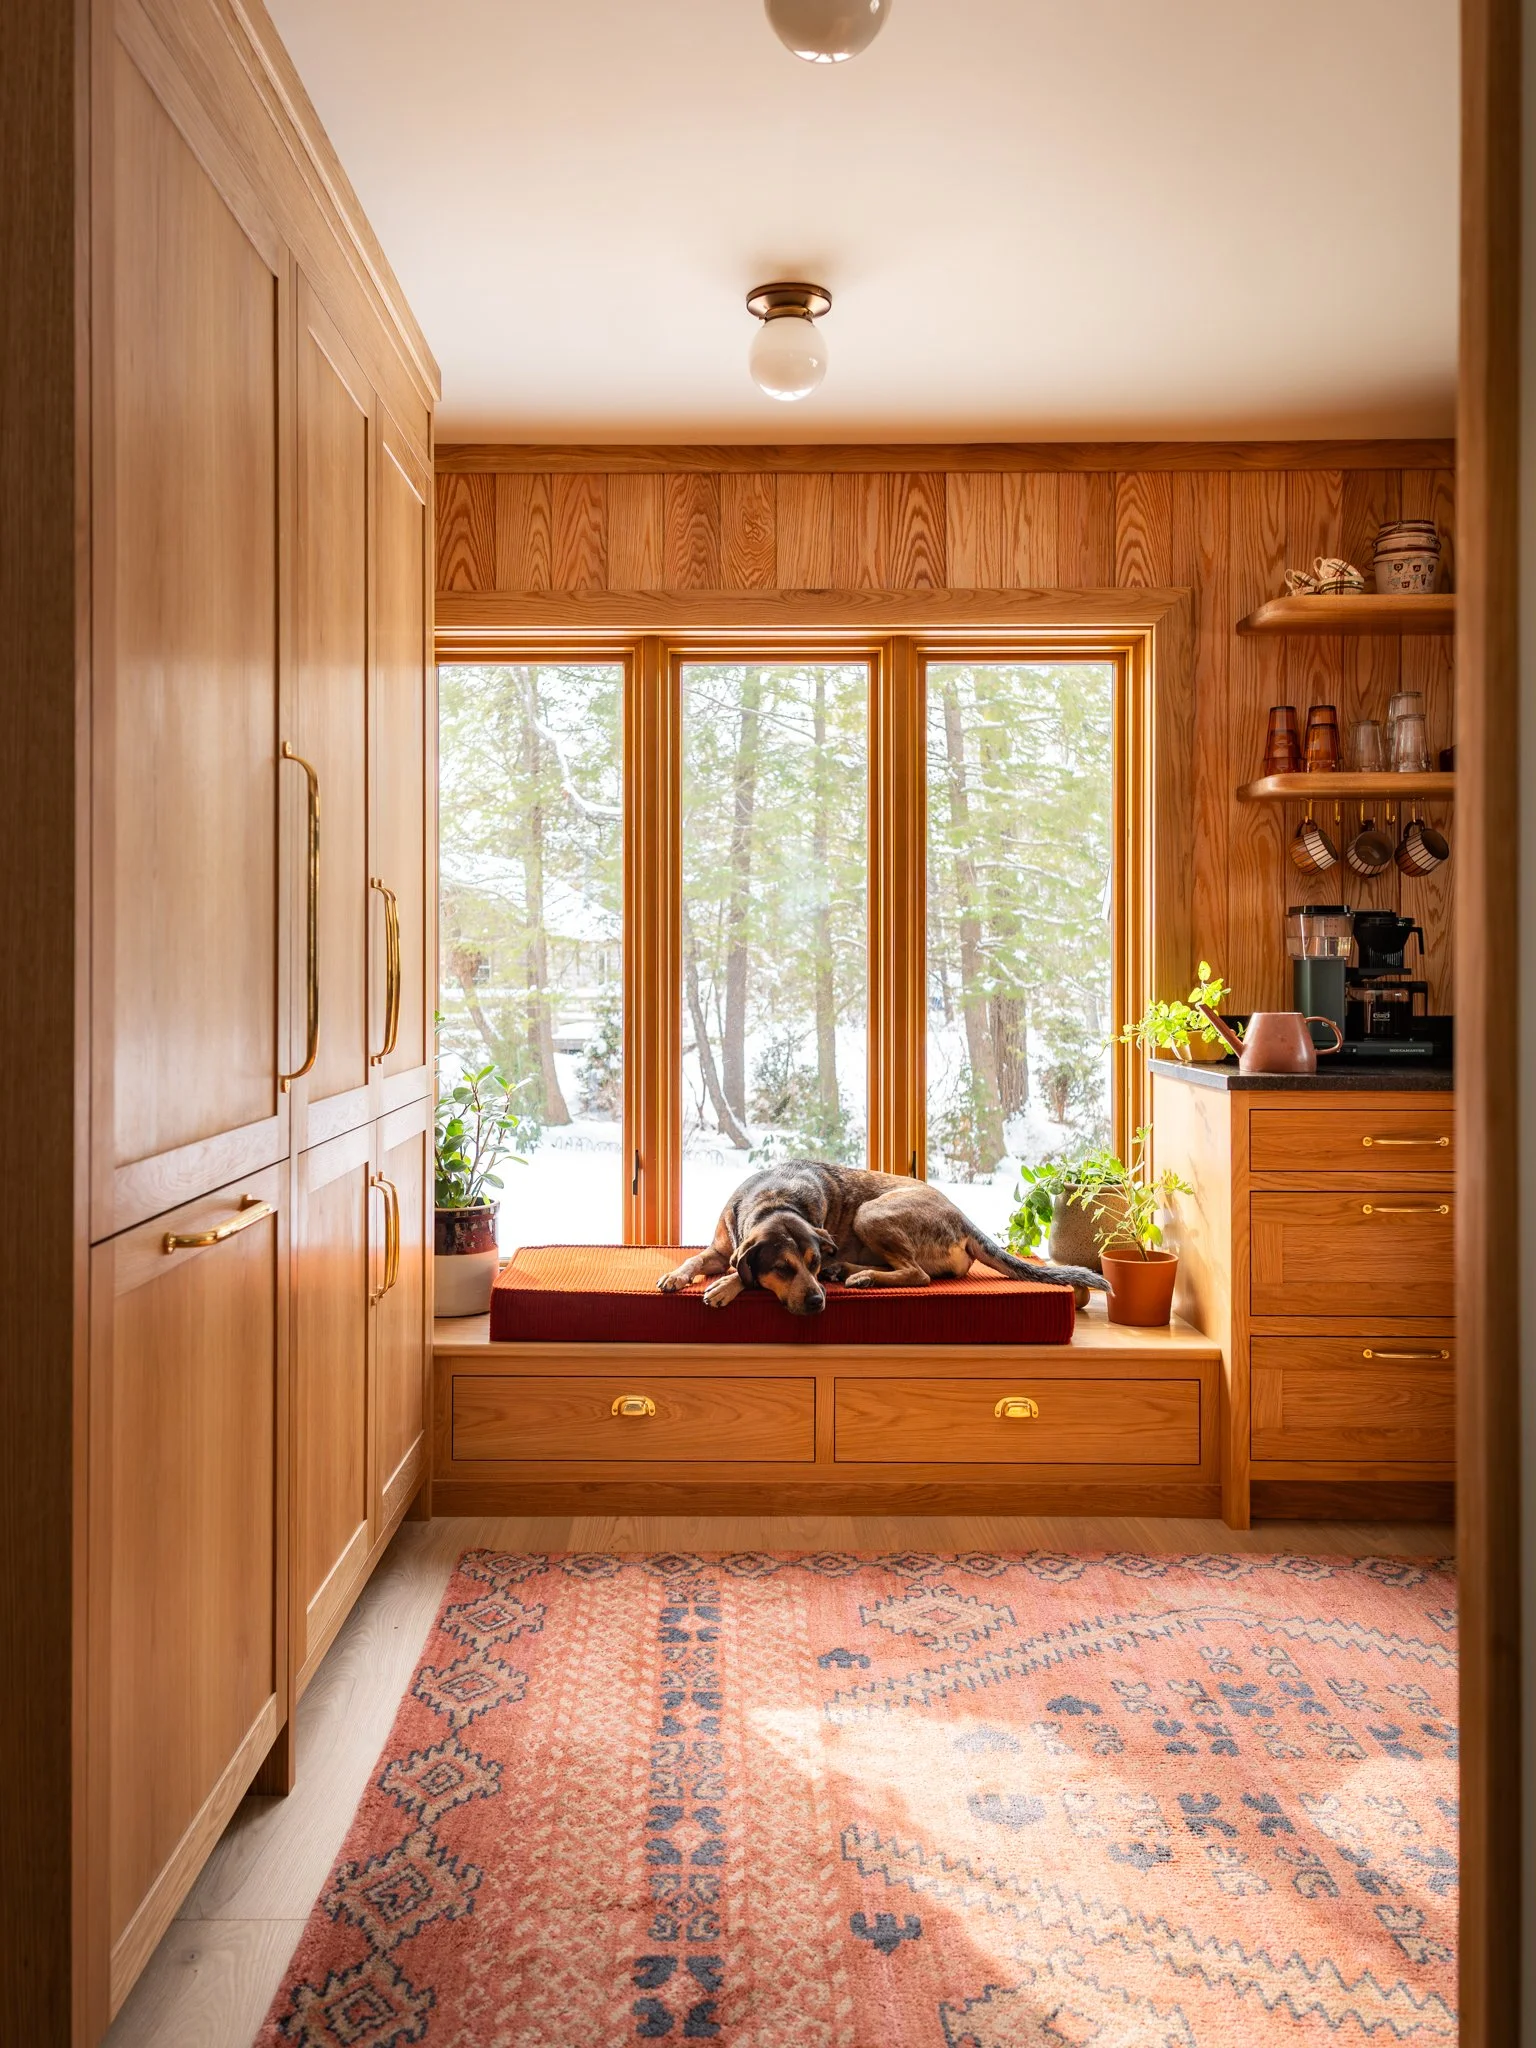
Since completing our Boston Kitchen we have only one hard and fast rule: we will only ever use a Fisher & Paykel two drawer dishwasher. We are obsessed with this machine, and in both cases opted for the panel ready option. This means that the dishwasher has cabinet panels applied so that it blends in with the rest of the kitchen seamlessly. Both drawers operate independently, perfect for running smaller loads.
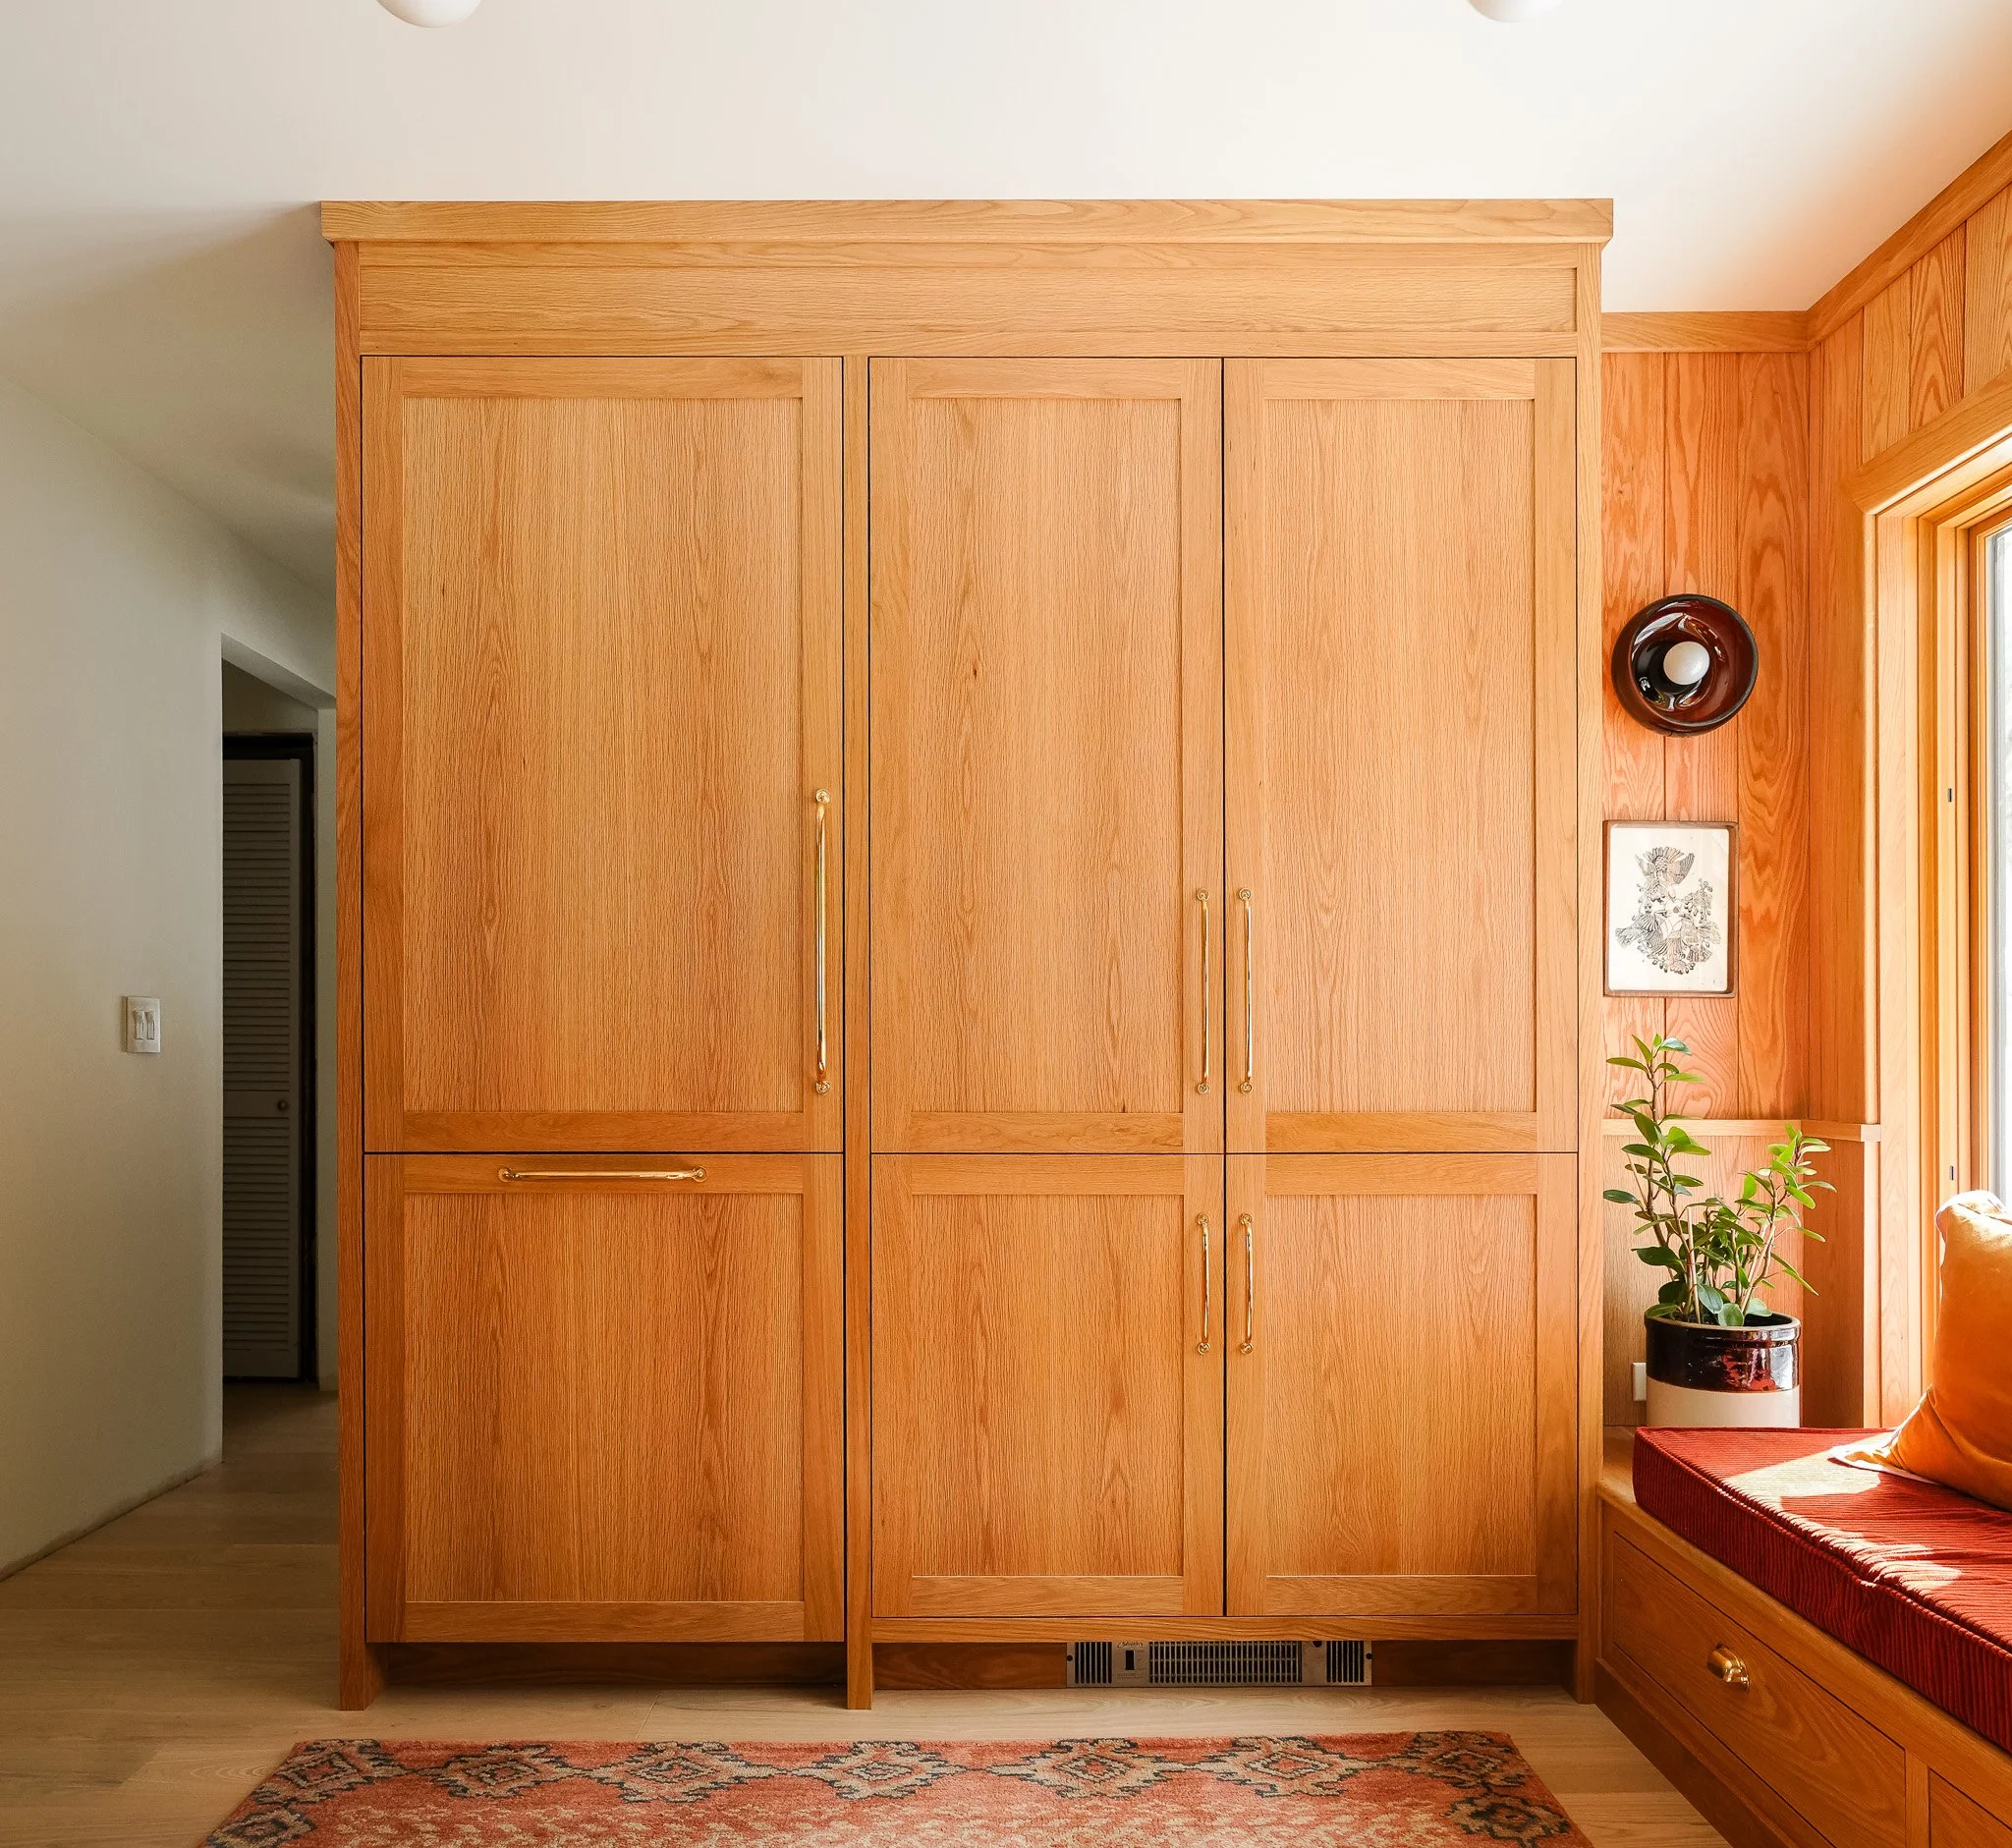
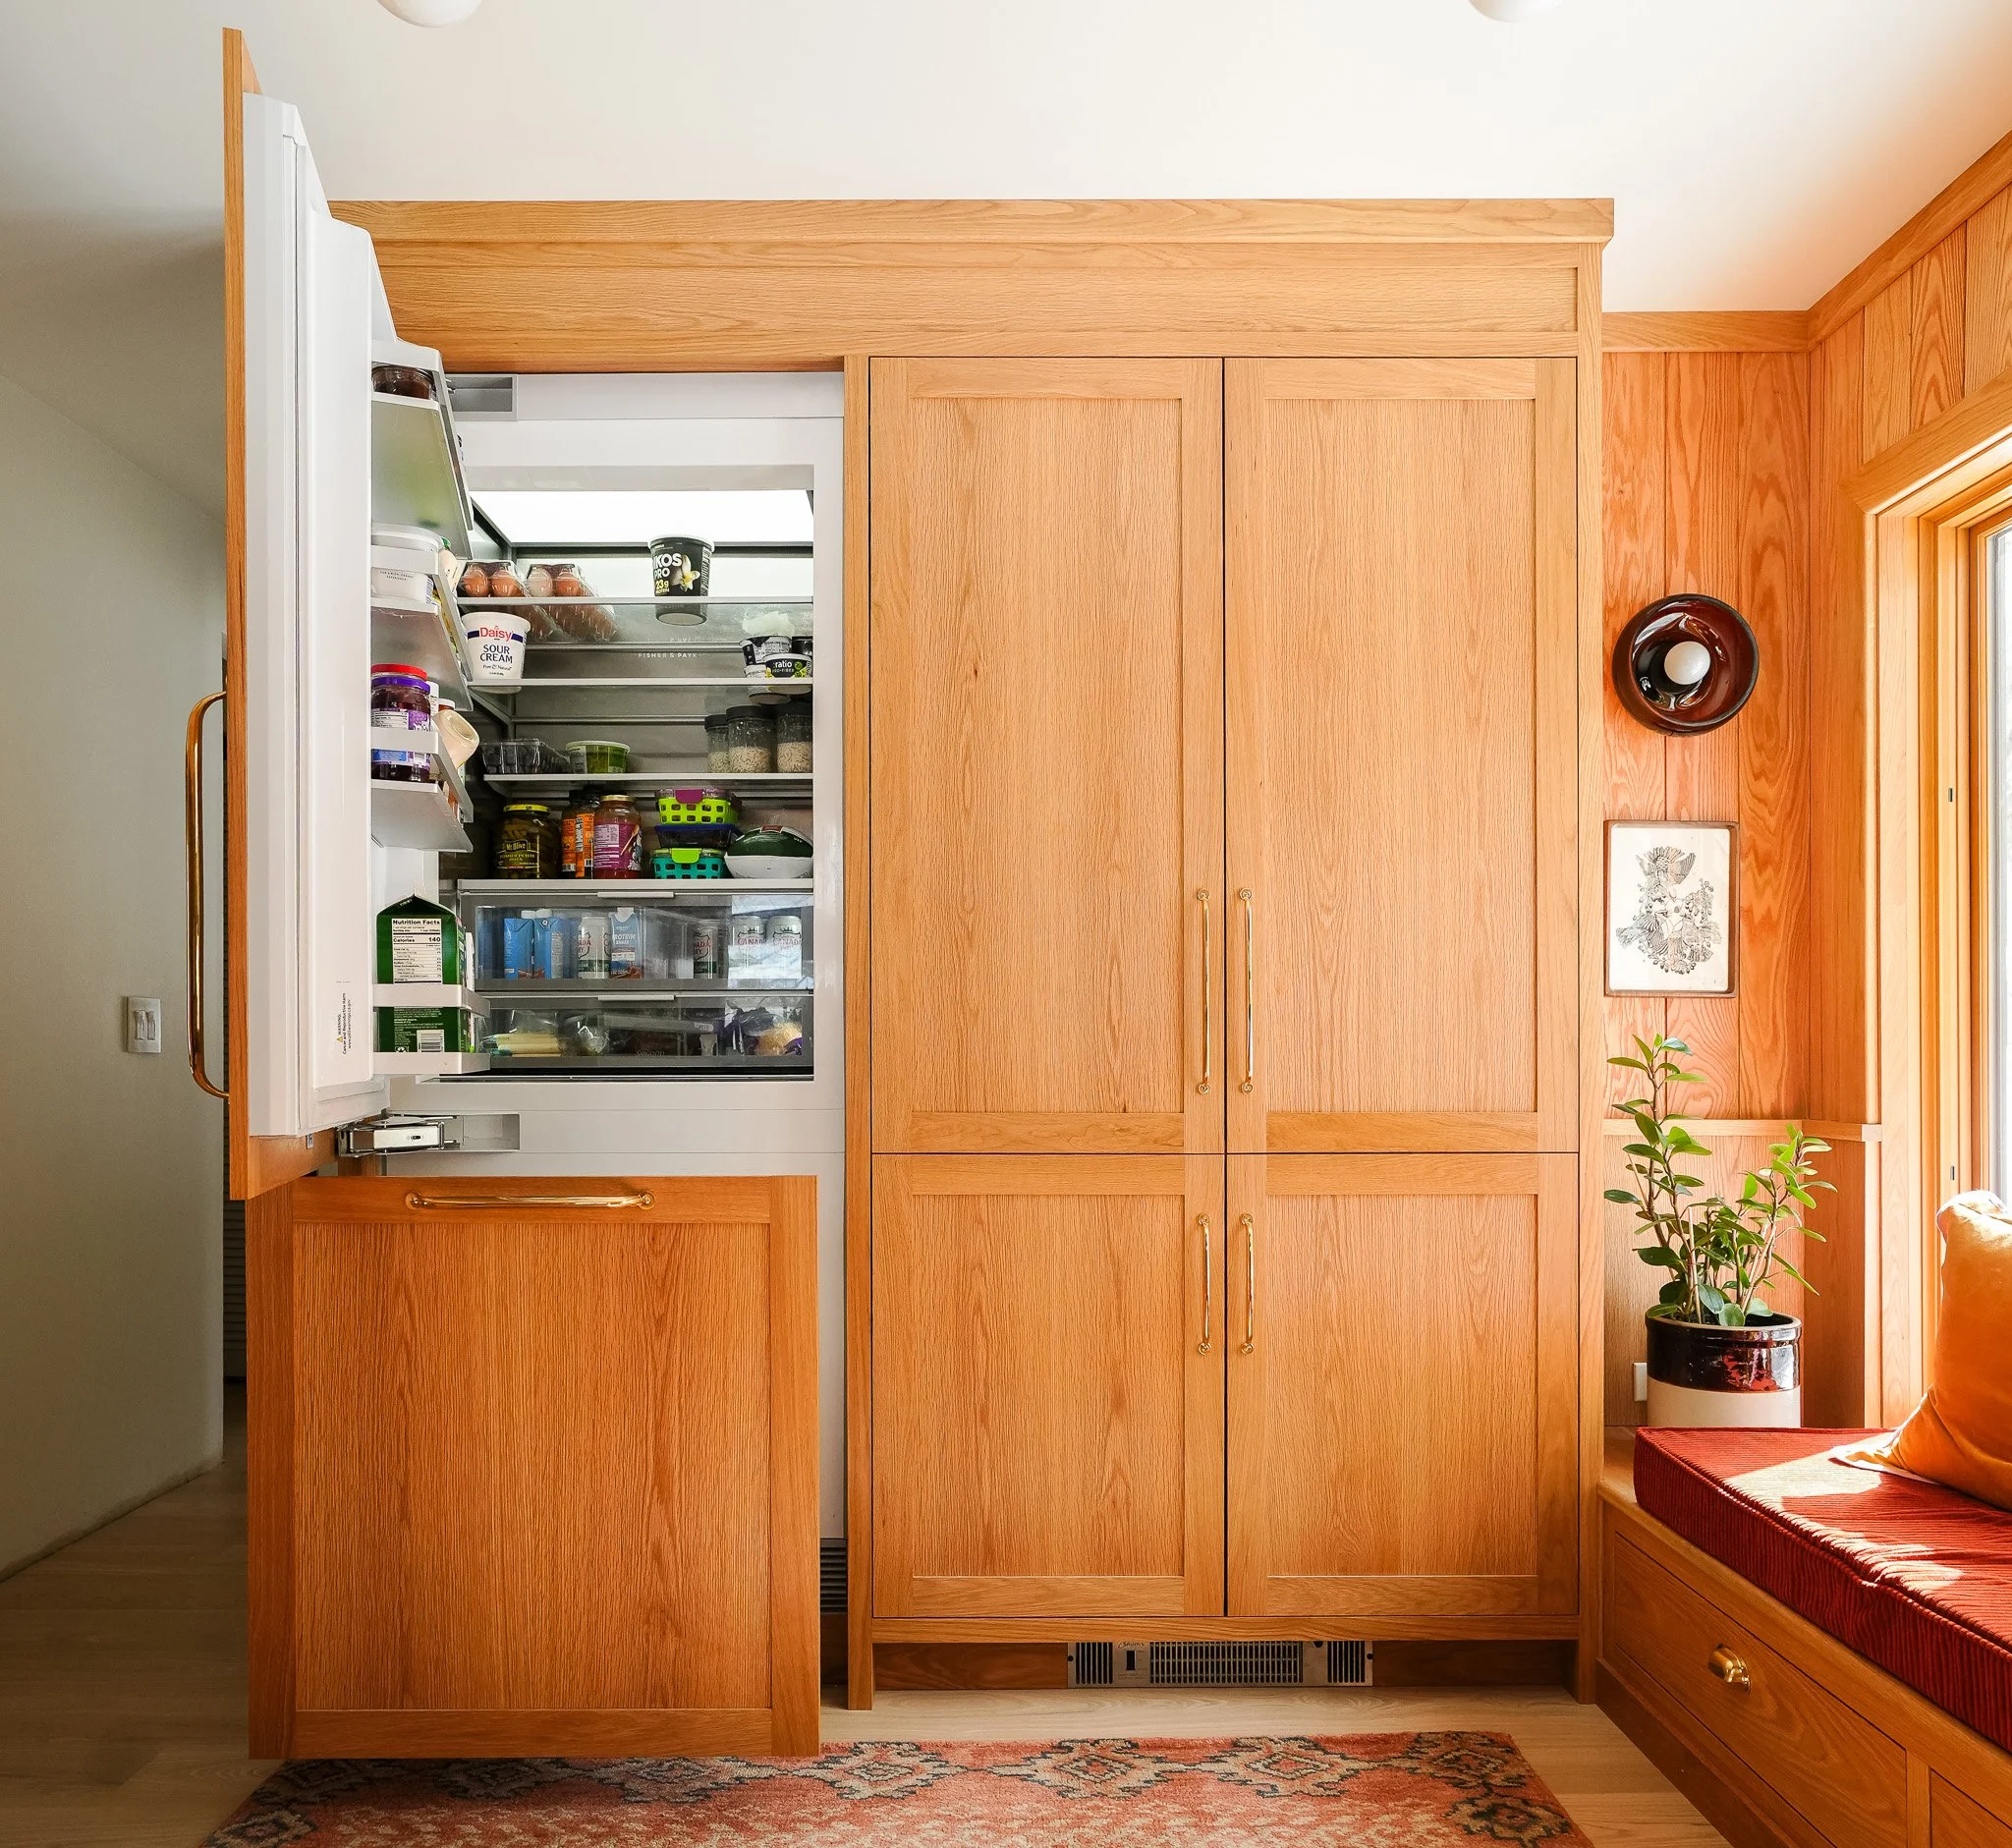
Our second favorite appliance is the panel ready refrigerator. Because of limitations in layout we needed a narrow option, and the 30” model was the perfect solution (and also the tallest refrigerator we have ever owned). The interior of this machine is beautiful, bright, and it just feels incredible. While we will certainly go this route again in the future, we could imagine exploring the stainless steel model because it’s more cost effective. We are not quite sure why that is, but jumping to panel ready significantly increases cost.
For the range, we opted for a slide in 30” induction cooktop in stainless steel. The cooktop is flat (it doesn’t have a rear display or pop up) so we were able to run our granite backsplash right across it. This helps a lot with making the range feel more built-in. The range has a classic feel, prioritizing knobs over screens (which we love) and it just has this strong stance about it. We have really loved transitioning from gas to induction - not only for efficiency - but also the ease of cleaning… it’s so easy to keep clean.
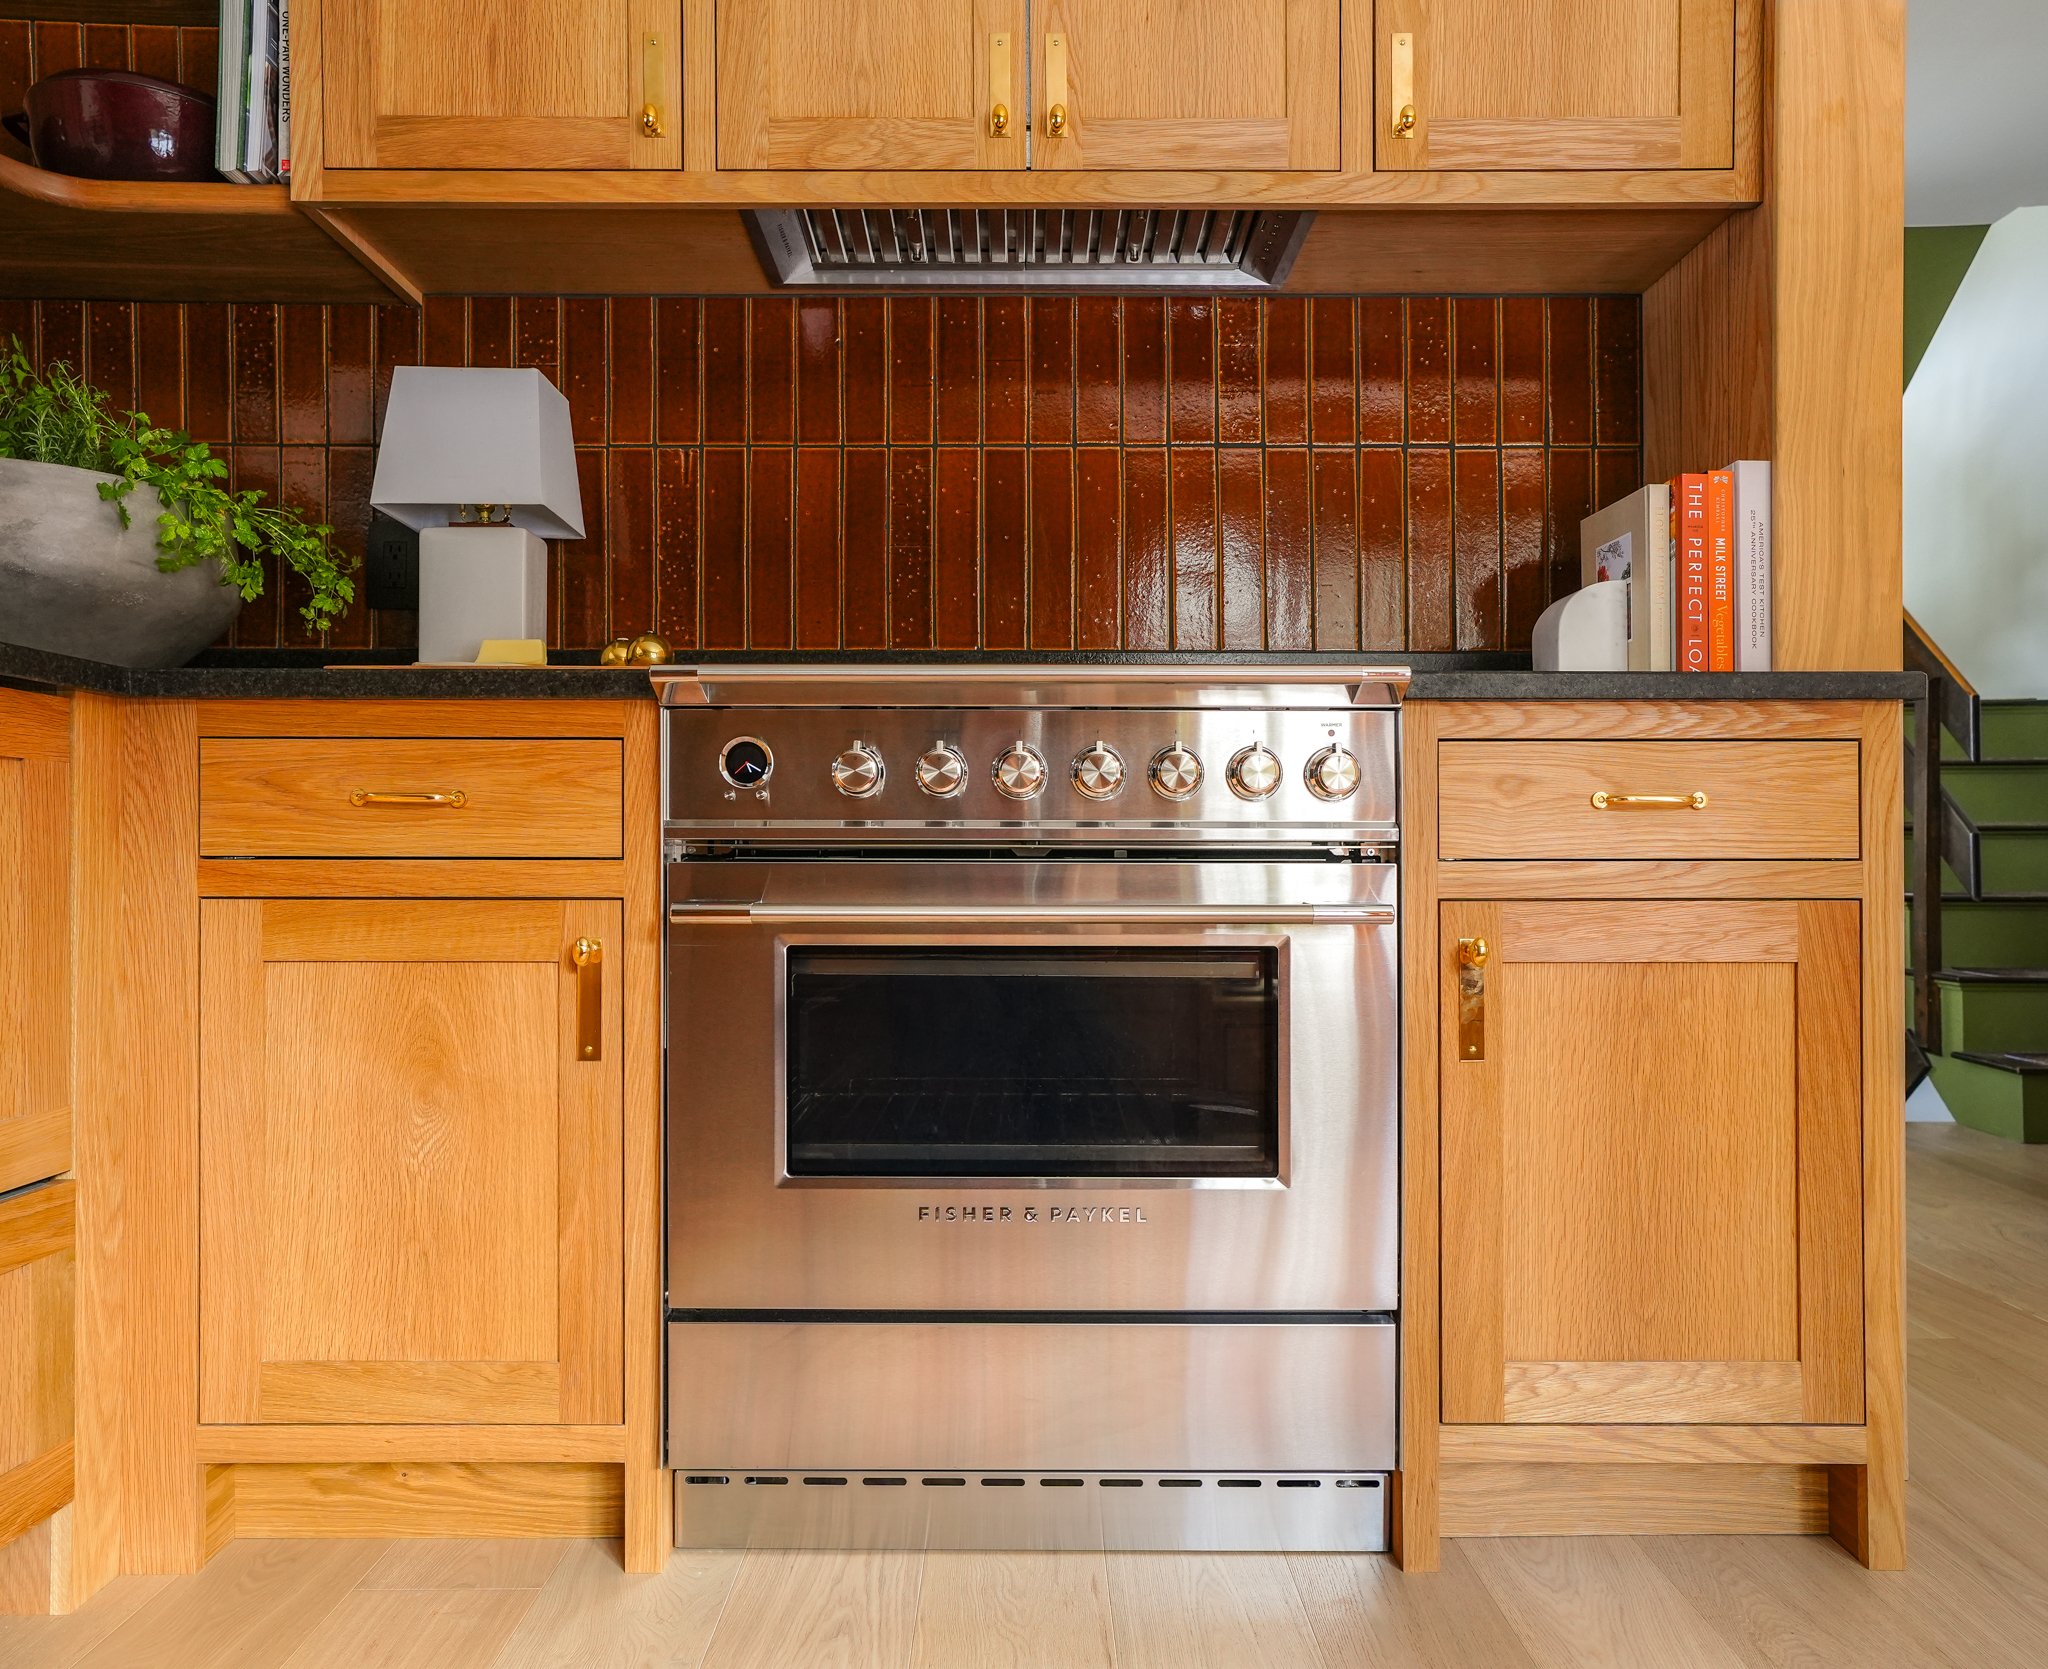
Oh, we have to mention the integrated range hood. This is an absolute favorite, 10/10, product. It’s perfectly hidden away, bright, powerful, and just all around incredible. We are not huge fans of seeing a vent hood, especially when sandwiched between upper cabinets, so it feels like they made this product specifically for us. The best part is that the hood doesn’t sacrifice the entire cabinet, there is still plenty of room to store things. We sometimes get messages about local code - and we recommend that you look into it for your own project.
If you wanna read even more about Fisher & Paykel you can read our review of our Boston Kitchen appliances here.
Finishing Touches
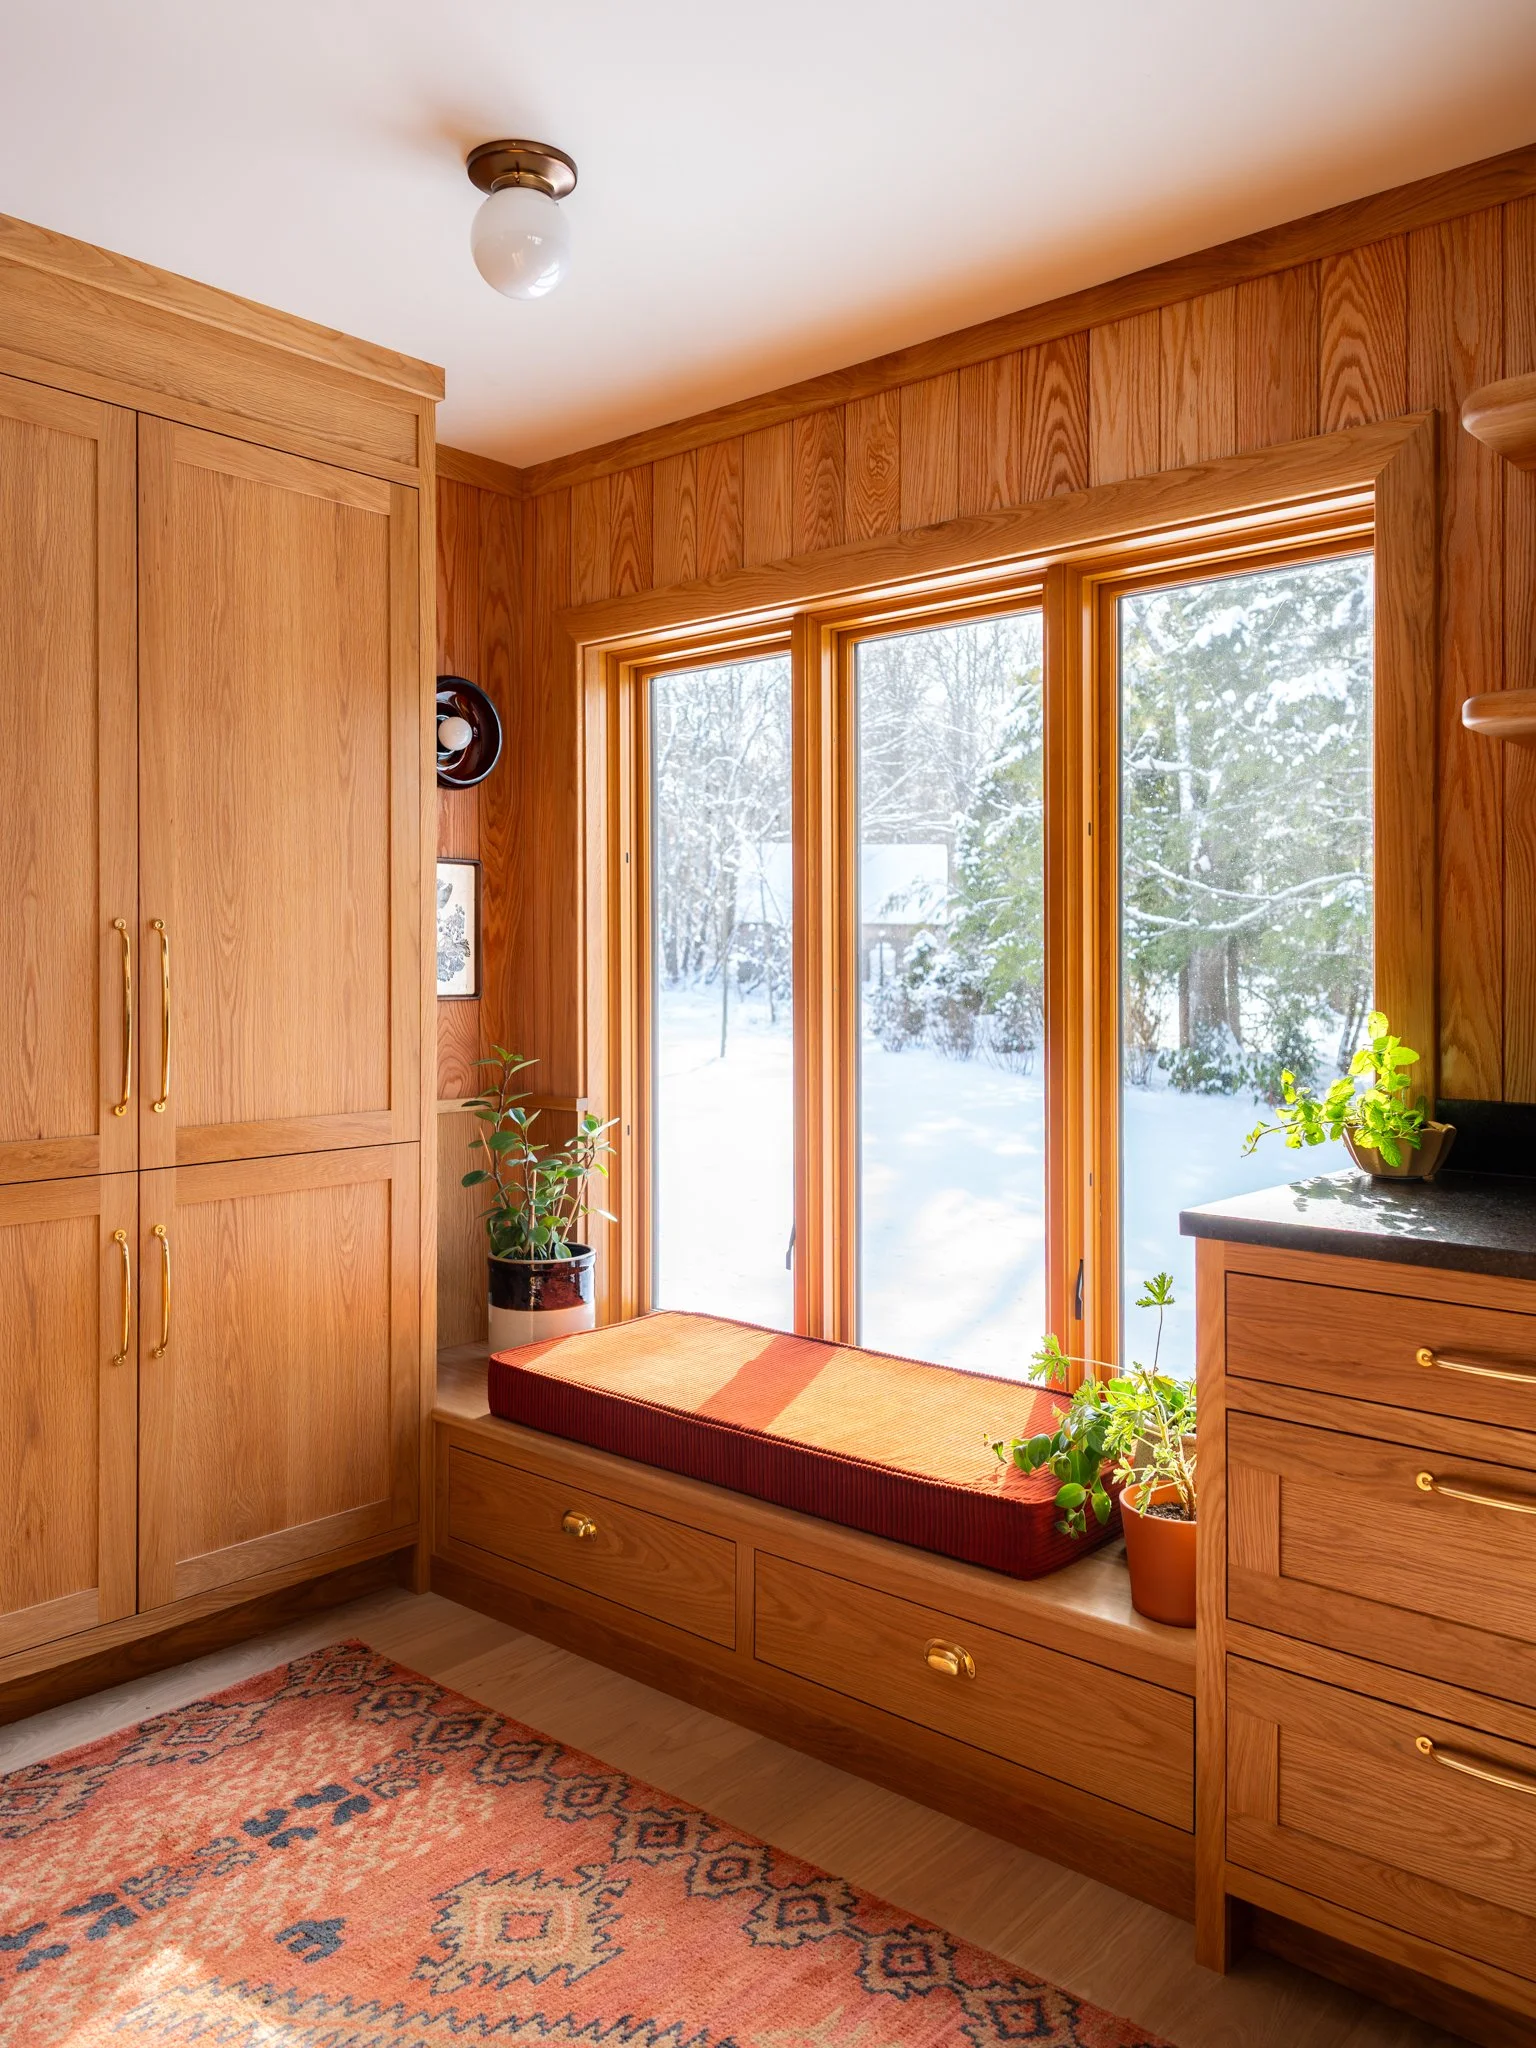
One of the major transformations in this kitchen was the addition of the window seat. We wanted to maintain the same exact size window so we replaced it with a new custom Pella Reserve casement window. This area was the trickiest to coordinate because all of the cabinets needed to line up perfectly - but with the help of Pella, the Block Brothers, and of course us, we were able to make it work. This is the official evening hang out spot, or Holly’s perch while cooking dinner. Pella is worth checking out because they have a large array of interior and exterior finish options, so we love how it looks inside and out.

These incredible mugs were made by Huskmilk Pottery
Final Thoughts
This project has been so much fun - and from design to completion - certainly the fastest kitchen we have ever installed. It’s almost like we were rushing to complete it in time for a book or something ;) Again, we cannot thank the Block Brothers enough for their care and willingness to do hard things alongside us. This kitchen is so full of warmth and we cannot wait to create so many memories (and meals) here.