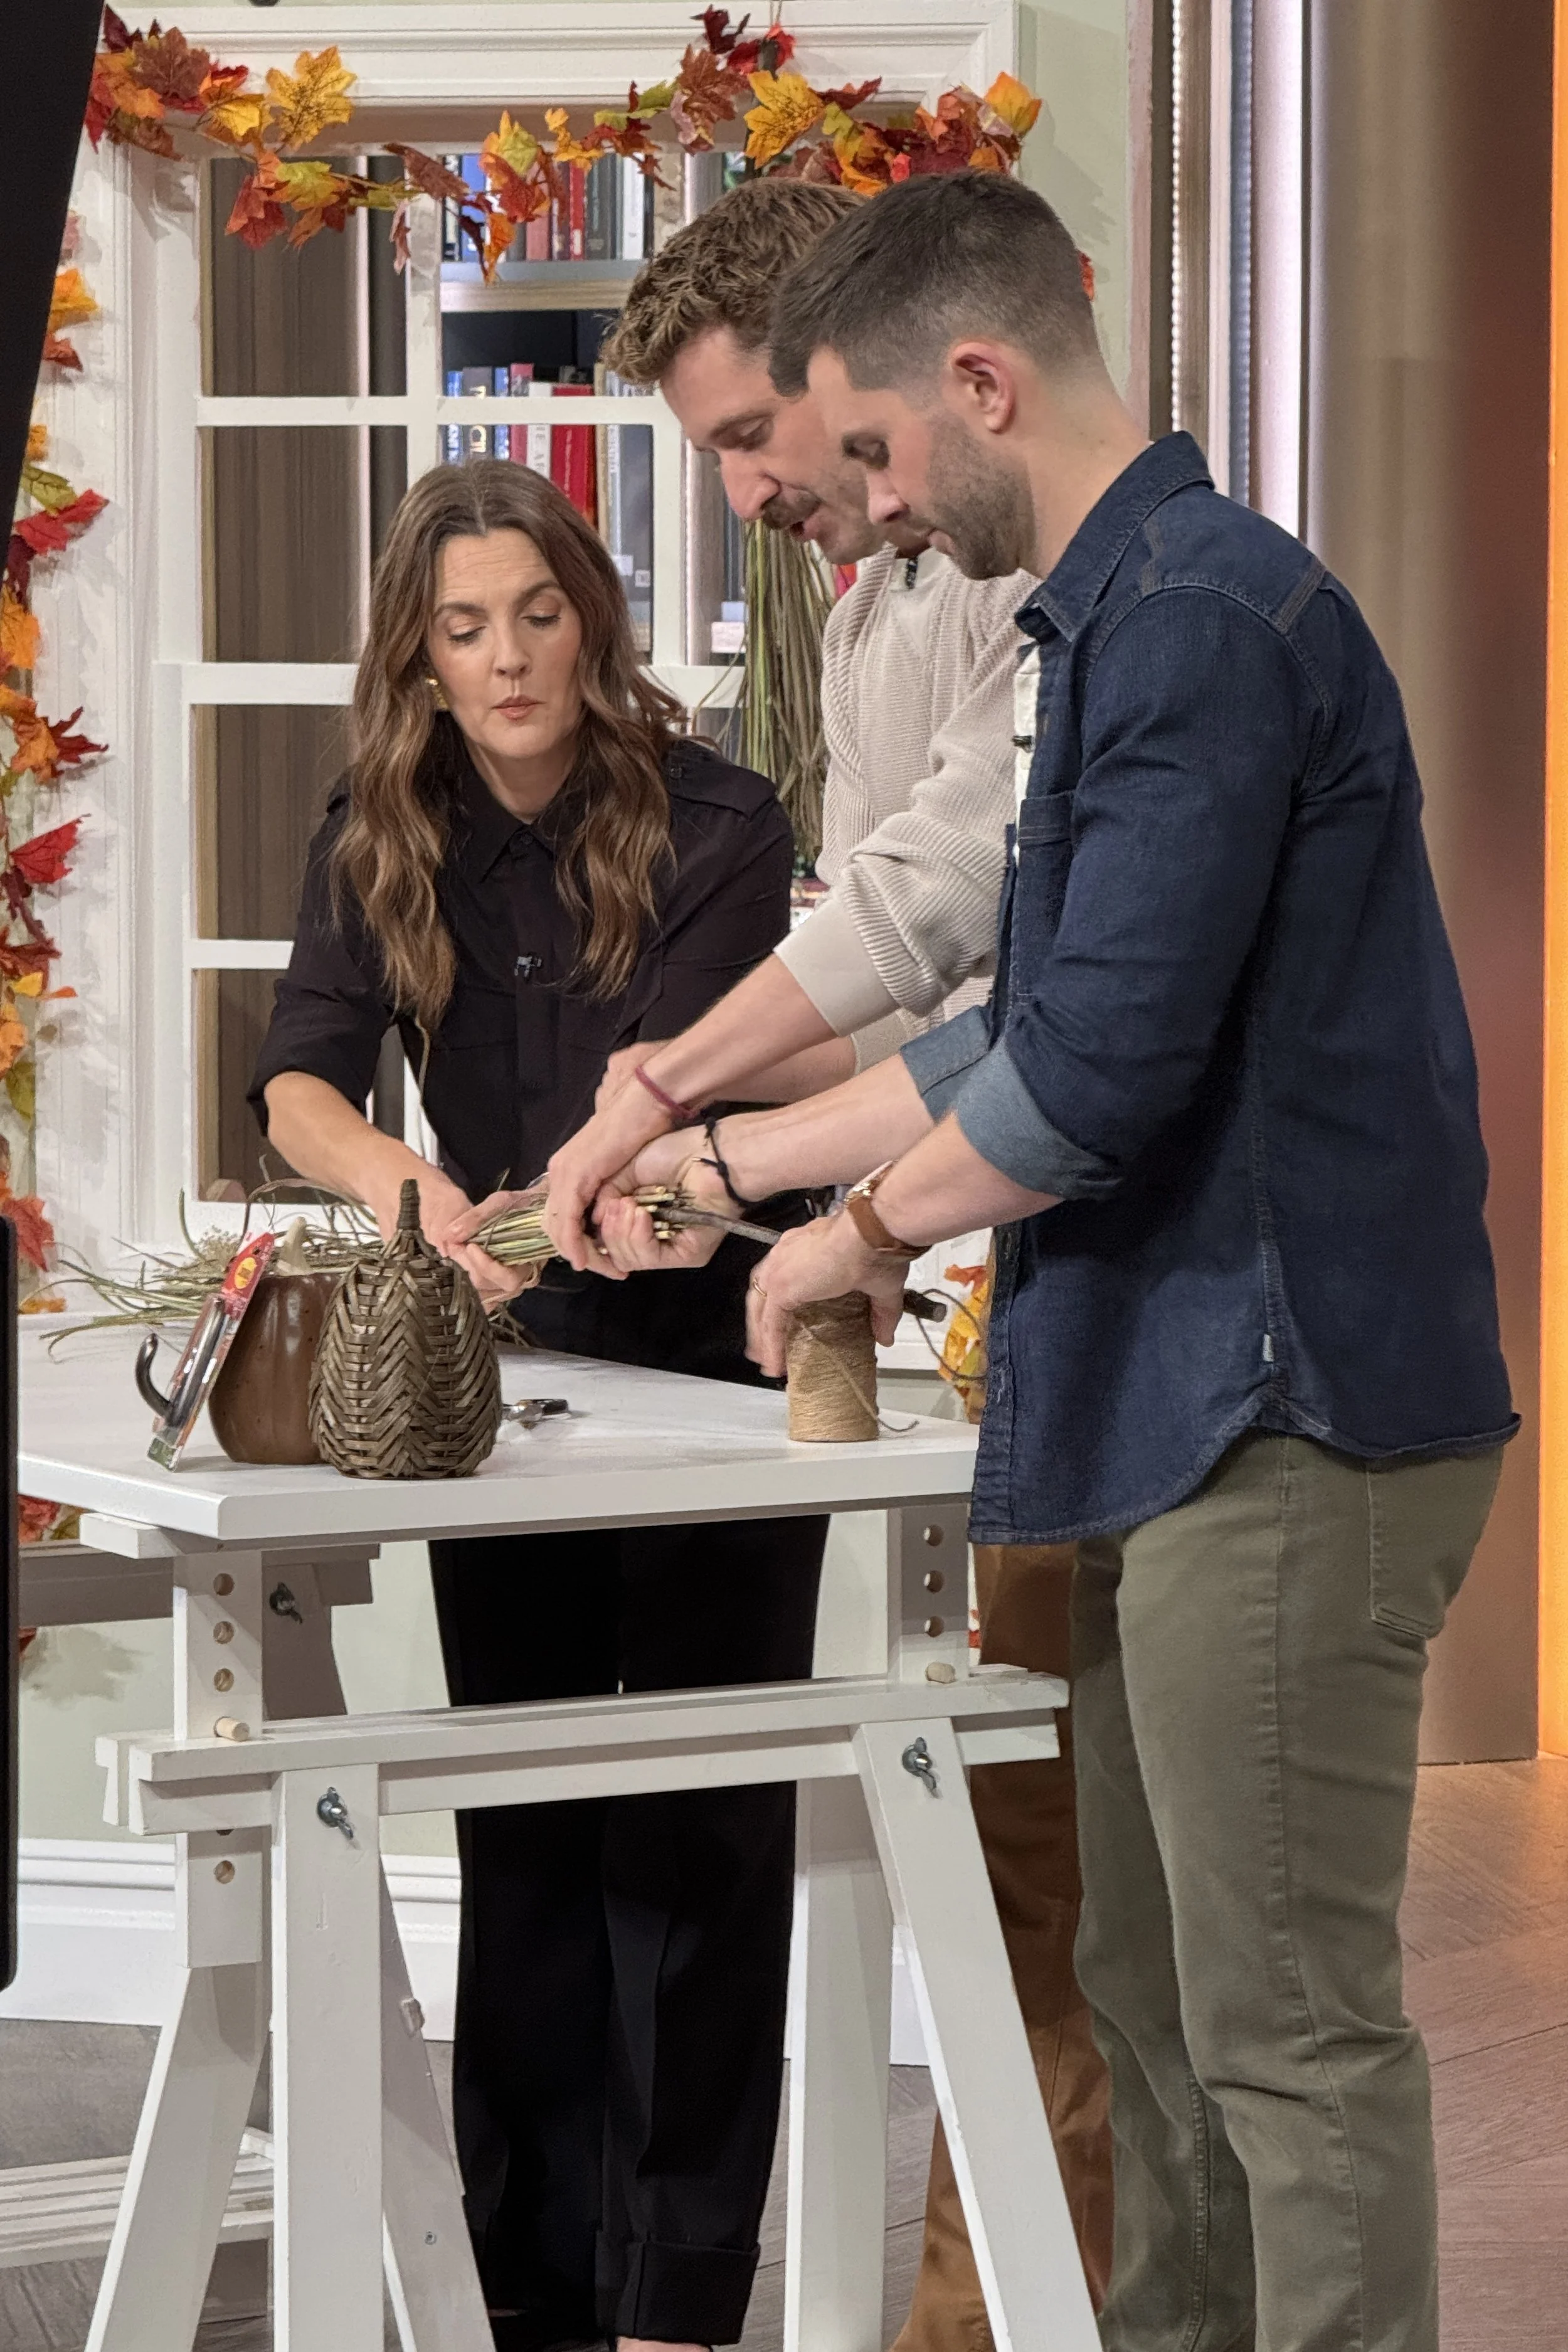
Getting Witchy with Drew
Okay, this was a surreal moment for us! We had the honor of filming a mini DIY project with Drew Barrymore for her show - that aired today, 10/7/2024! When the production team told us they were looking for a Halloween DIY project, of course we had to do our favorite witches brooms. We love this project for a couple of reasons - it uses clippings from your yard, it’s quick, and it’s very low budget.
The Materials
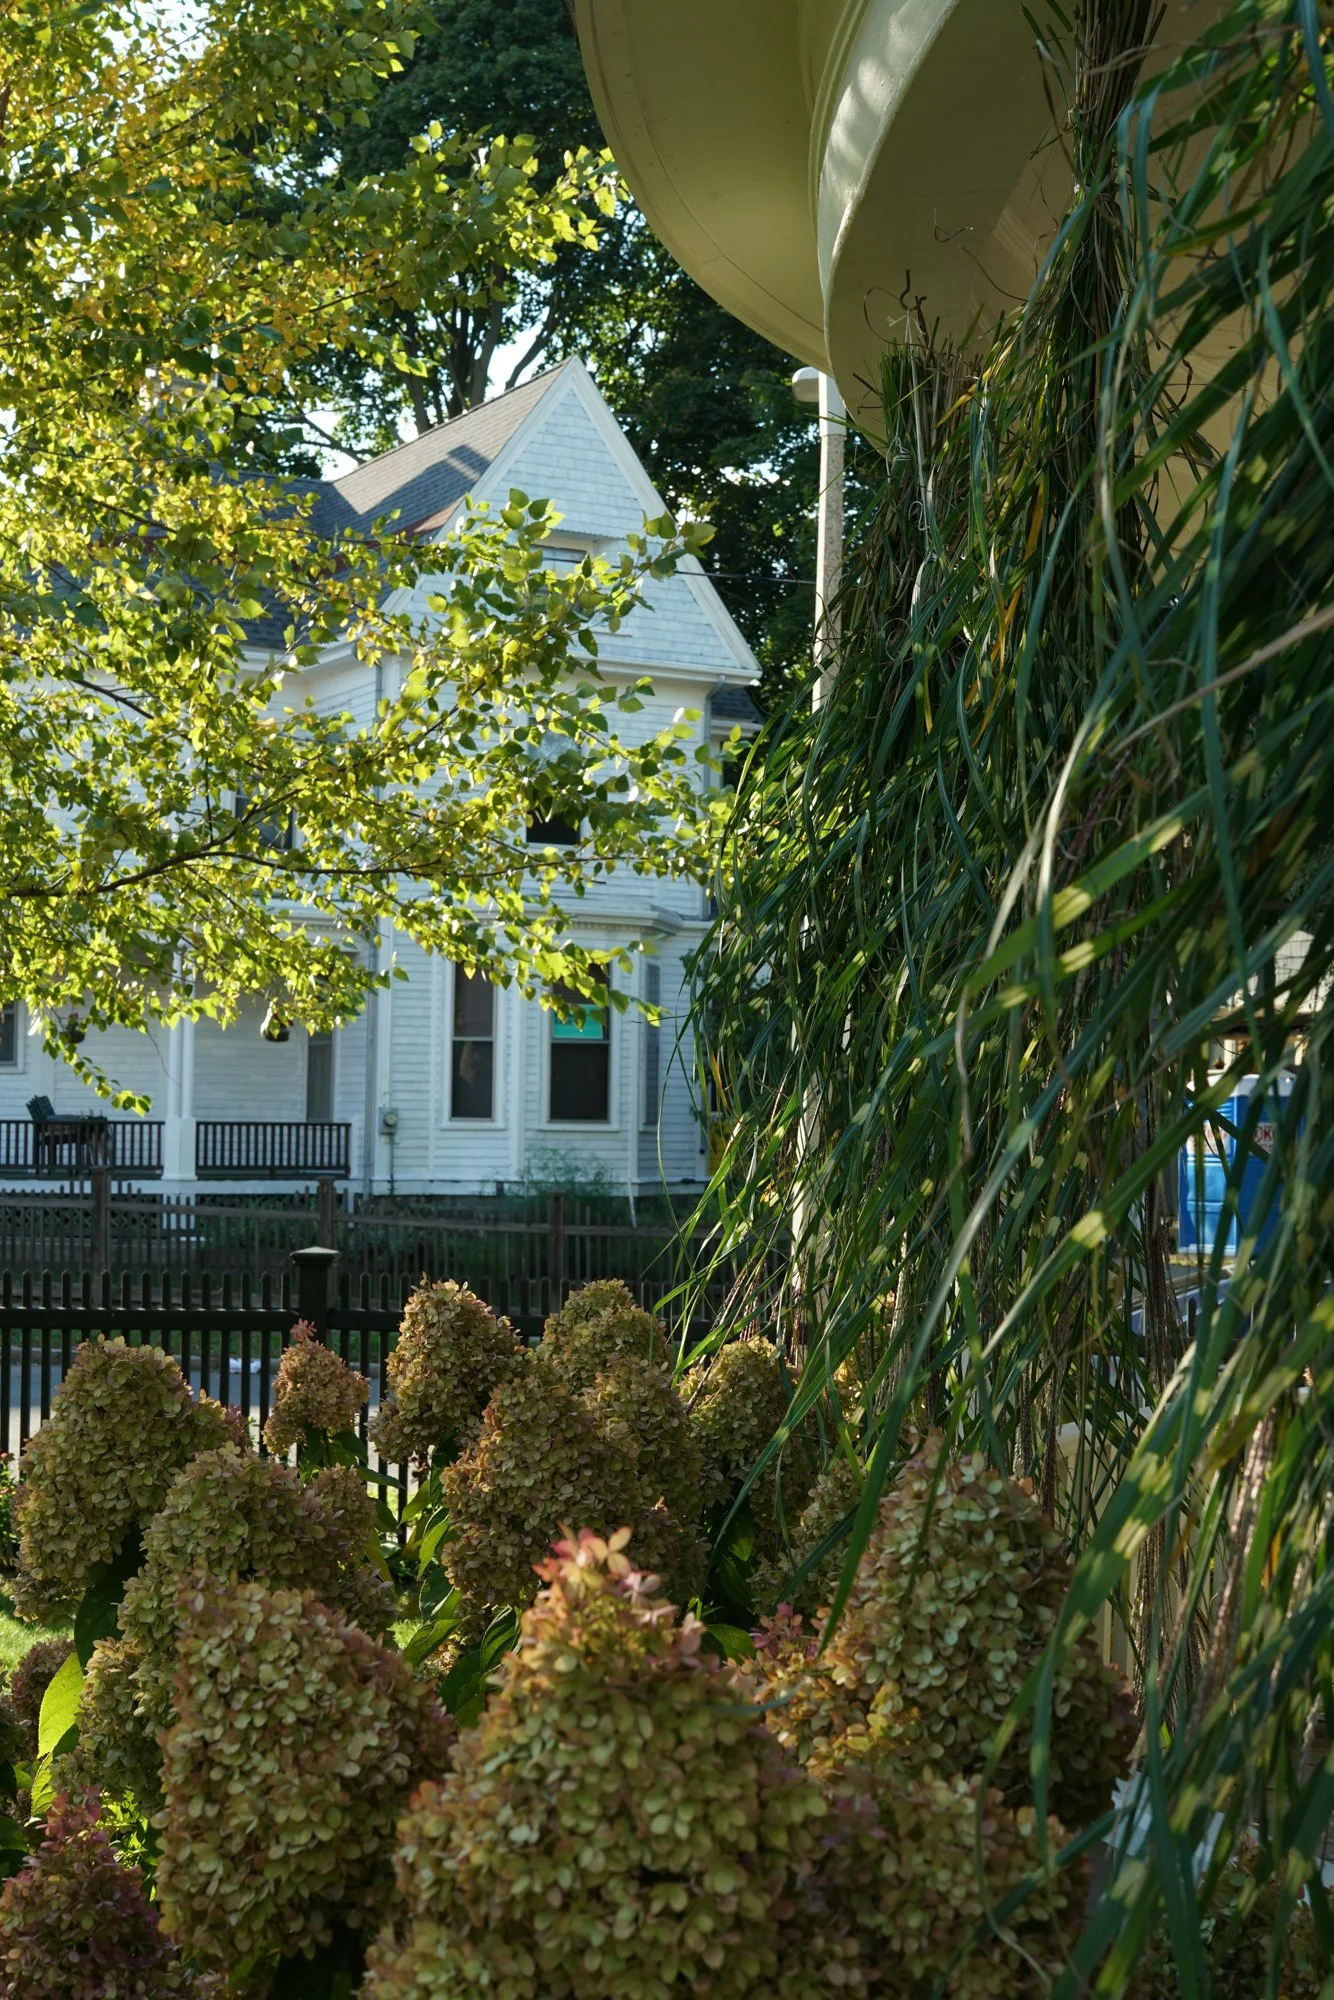
Ornamental Grass clippings
A good size branch - think about what you’d want your broom stick to look like!
Twine (we love this cast iron twine set if you’re looking for some unique decor, too)
Outdoor hooks /clips or screws - If you’re going with command hooks/clips, having the “outdoor” versions are key because the material is built to last through rain and extreme temperatures. We keep our hooks up year round because eventually we’ll use them for Christmas decor, too.
Suction Cup Hooks - if you’re hanging the broom inside your window
Optional: Fishing line


Building your Broom
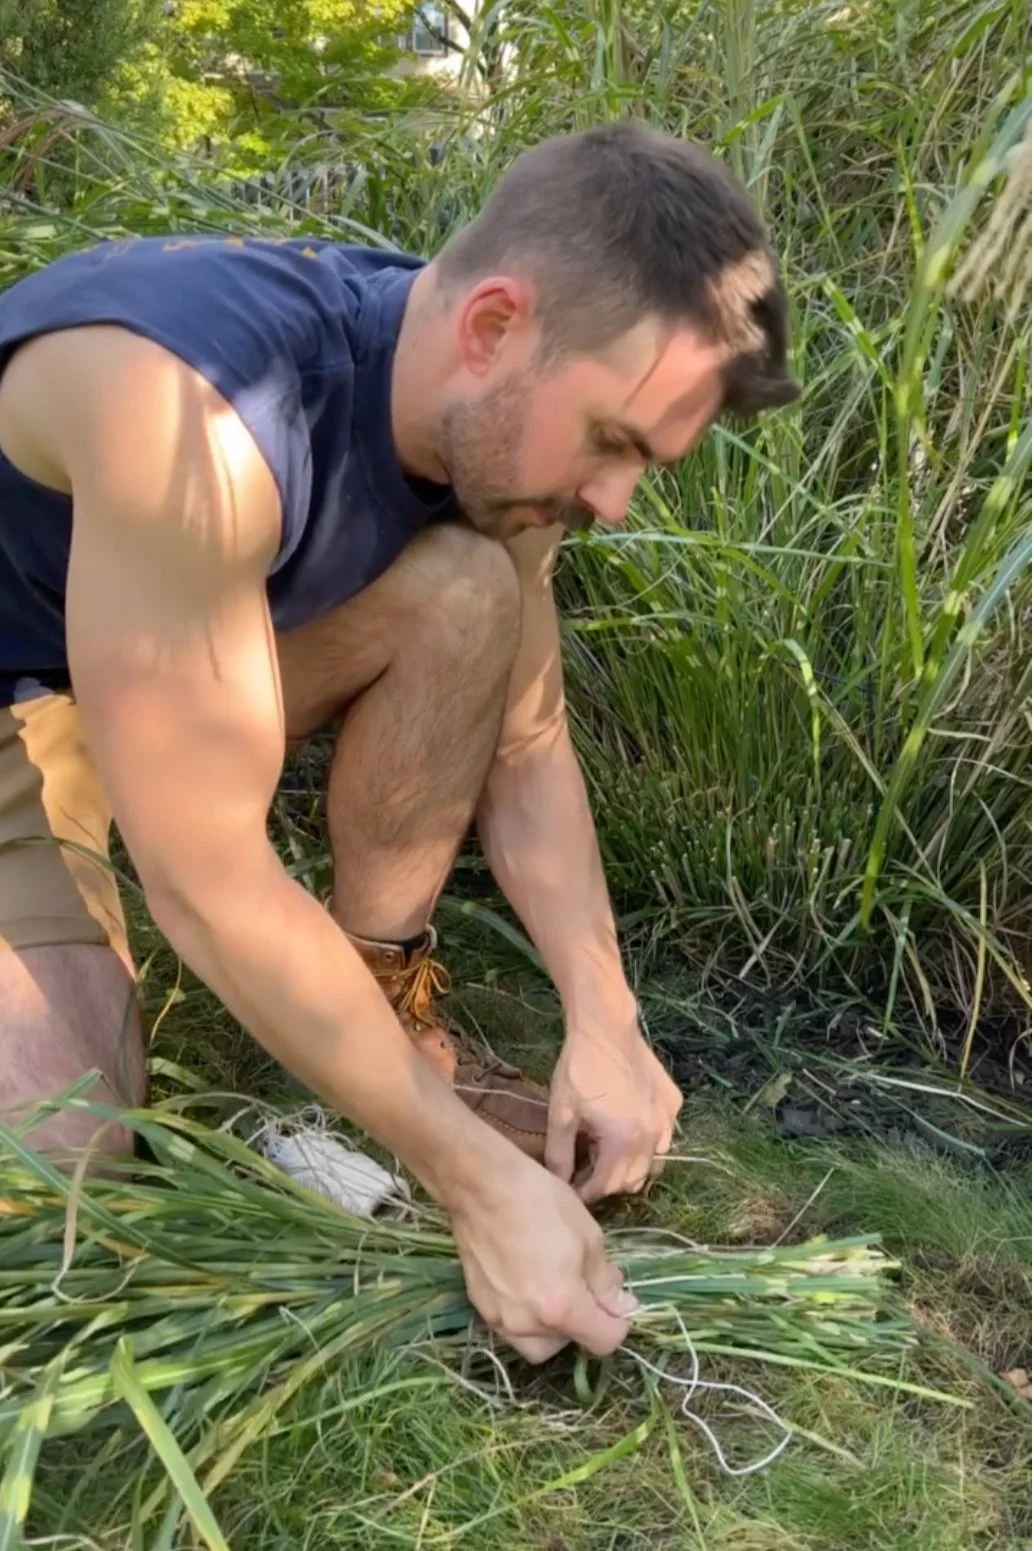
Step 1: Gathering Yard Materials
This project begins with gathering some materials from your yard. Our ornamental grasses get pretty tall over the course of the summer, so we like to do a generous length to start with - we snip them so we have about 2ft pieces. You can always cut them down later. We also like a fluffy broom so we cut about 2 big handfuls.
// Note: If you haven’t cut your ornamental grasses before, you may be surprised by how strong they are! We swear by these shears for our yard clippings.
Next, you have to channel your inner Sabrina and find a branch that speaks to you. What would you want to fly on? It’s still the Nimbus 2000 for us.
Step 2: Drying the Grasses
Once you have your clippings, tie them into bundles. You could hang them up now, to dry out for a more authentic broom look, or just wait for them to turn over time with the assembled broom.
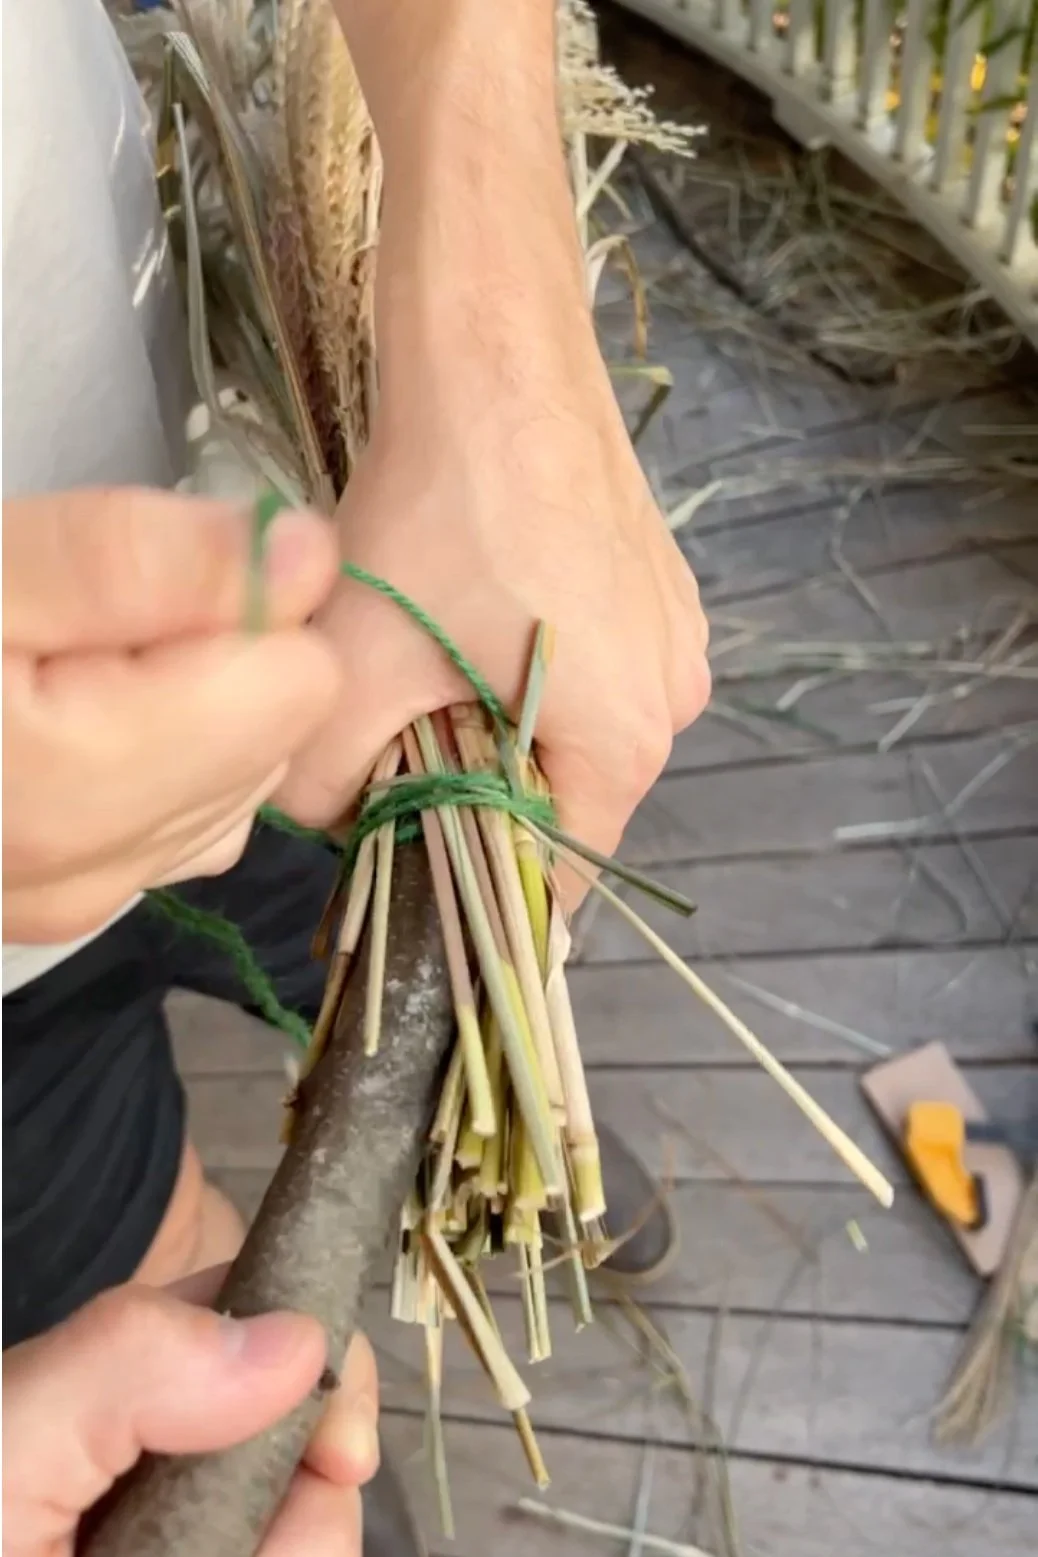
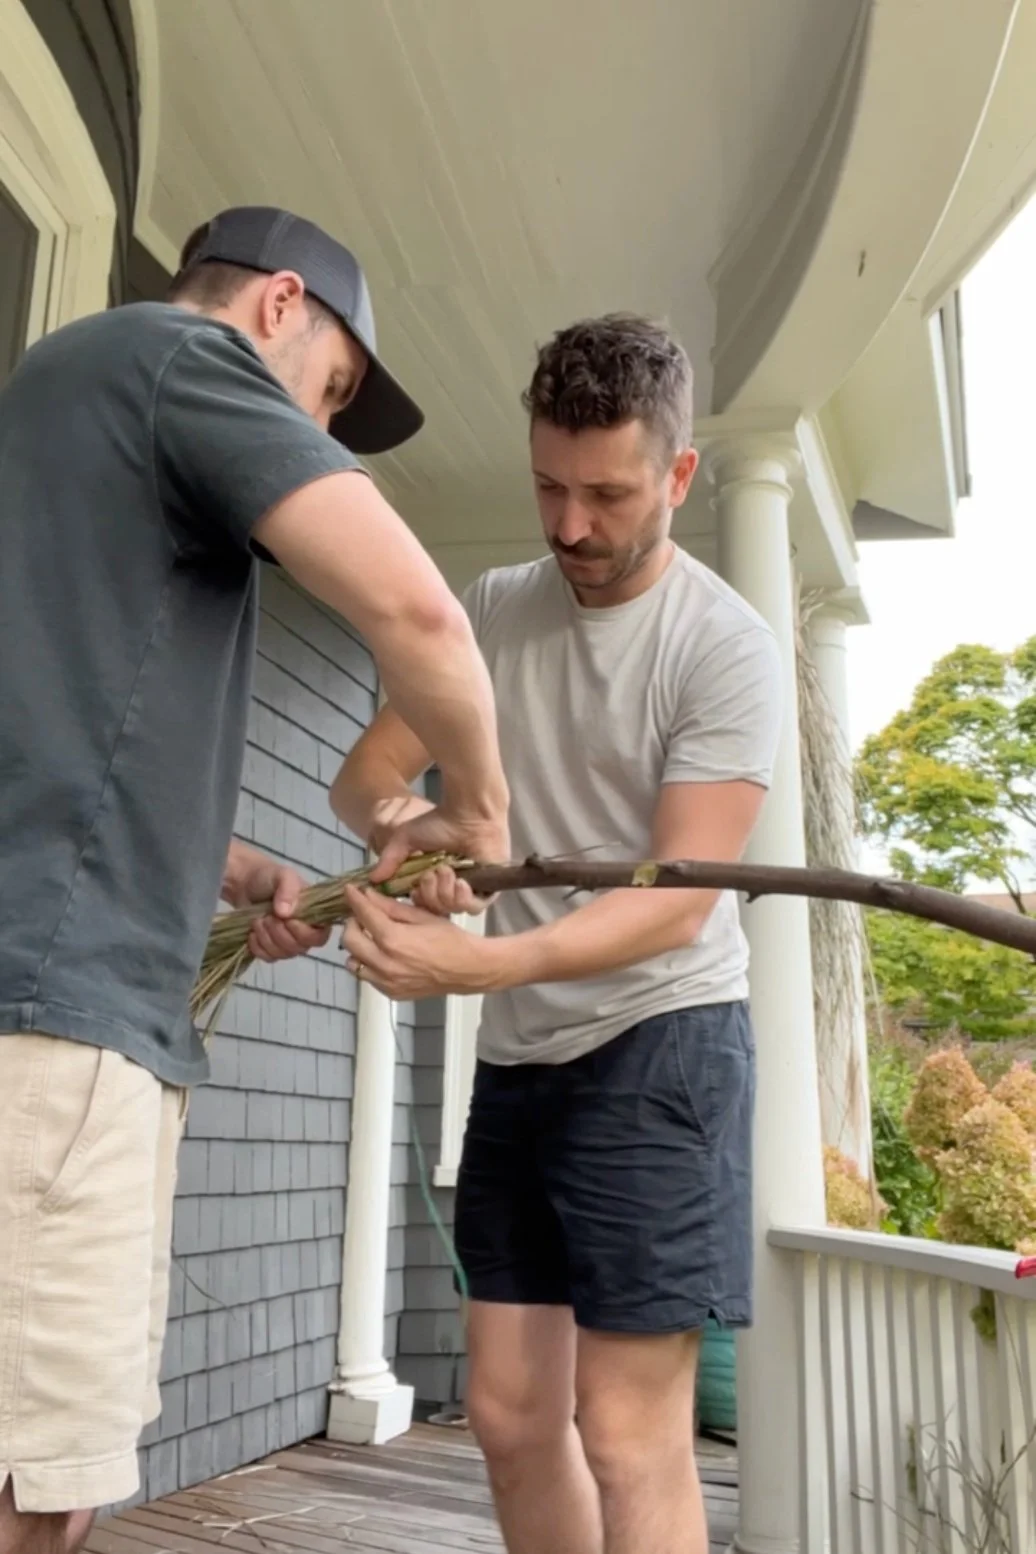
Step 3: Assembling The Broom
Position your branch in the top of your clippings, ensuring it’s covered all the way around. You’ll want a few inches overlap between the branch and grasses.
Then, tie it all up with your twine! We like the look of wrapping the twine around a few times before tying. Finally, you can give your broom a little haircut to the desired length - we tend to keep ours a little bit unruly with different lengths.
Step 4: Hanging The Broom
The last step is hanging them up! You’ll need another piece of twine around the top of your broom so you can hang it. We tend to like the rustic twine look, however you could also hang them using fishing line from the top.
If you’re hanging your broom from the ceiling of your front porch, you could use these clips for a temporary option, or cup hooks - which is what we do.
And if you’re hanging on a vertical surface, like the front door, these outdoor command hooks are great.
On Drew’s set, we made smaller scale brooms and hung them up inside windows (perfect for people with apartments or shared outdoor space). If you’re hanging them inside your windows, you’ll want a suction cup hook.

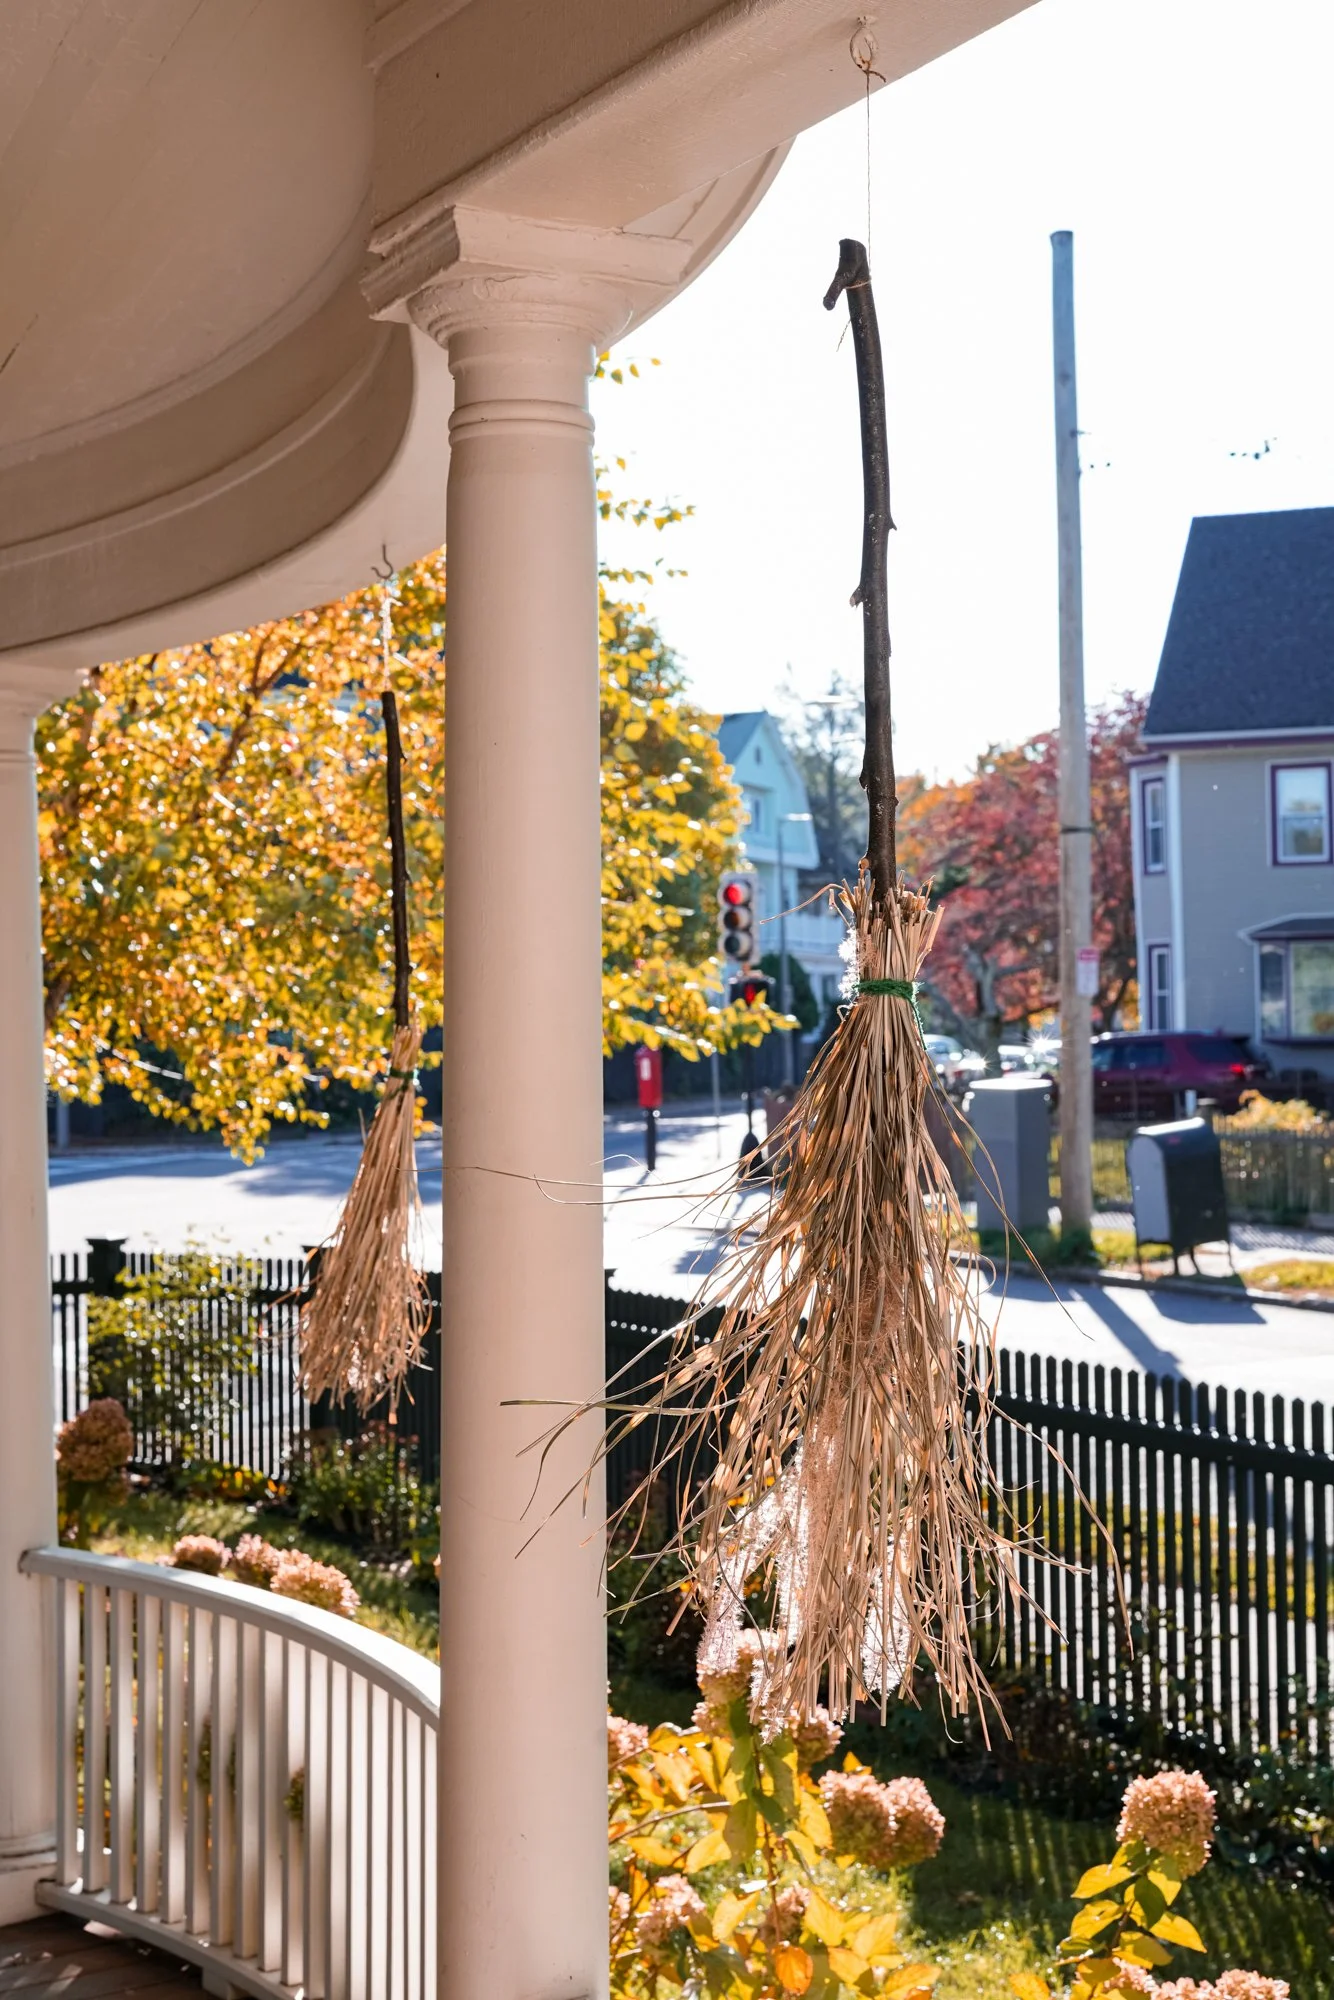
That’s literally it. At our house, these brooms have become a fixture on our front porch. And, as time passes and the grasses dry, they just look better and better. Whether you have a front porch or an apartment window, you can show off your witchy spirit for the season! We want to see your brooms - tag us in your pictures if you decide to try out this project!


Final Thoughts
This was such a surreal experience that we felt so lucky to have. None of it would have been possible without Drew’s amazing team. Everyone we worked with - audio, hair & makeup, production - they were so warm and inviting. We were struck by how much everyone loved working on Drew’s team- and she’s just as cool as you’d guess!
Keep an eye out for another RH project airing in November!