The Plaid Room Reveal
The way that this room has transformed over the last two years is something we are so proud of. The first, and good enough version of this room, was a great refresh to host our friends and family. But this version - this version is what we always wanted.

When we think about this home, a four season cabin in Maine, we want it to be warm, cozy, and moreover, we want it to have a ton of character. If you missed it: check out our first version of the Plaid Room, and our Design Plan for Plaid Room 2.0
Sources
Furniture
One Drawer Nightstand | Leather Bed Frame | Siena Area Rug
Linens
Green Duvet Set | Linen Sheet Set | Green Waffle with Shams | Throw Blanket | Striped Blue Pillow
Lighting
Delmare Floor Lamp | Travertine Table Lamp | Kaida Table Lamp
Decor
Plaid Curtains | Wood Wall Hook | Black Catch All Tray | Red Frame | Green Candle | Fire Woodsy Orange Candle | Amber Table Vase | Rectangle Metal Mirror | Brown Pot Planter | Decorative Bowl | Laundry Basket
Finishes
Paneling
Millwork by Kuiken Brothers | 1″ x 6″ V Joint Tongue & Groove Paneling
Paint
Walls // Narragansett Green by Benjamin Moore | BM Emerald Urethane Trim Enamel in Satin | Sprayed
Ceiling // Capitol White by Benjamin Moore | BM Regal Select in Flat
Wallpaper // Check 11,5
the Plaid Wallpaper
The wallpaper is definitely the star of the show in this room and we are in love with the pattern we ending up picking. In our Plaid Room Design post, we talked about choosing a more sophisticated plaid. The color and pattern of our hand painted plaid would be great in a kids room - but not this one. That meant choosing a tighter pattern with more lines, and an elevated color scheme.

The finished product makes it feel like you’re getting a warm hug when you walk into the room. It’s the smallest bedroom in the house, but the wallpaper and moody color palette give it so much depth - somehow making the space feel even bigger.
This is also only our second official wallpapering project (we are not counting the peel & stick disaster), and this one was so much easier. We used a laser level to make sure our first piece was 100% vertical and then each consecutive piece fell into place. We spent extra time and care when going around the interior corners, as these are almost never perfect. The texture and application was so much easier compared to the ducks in our primary suite.

Practice will always be a big piece of the puzzle but this would be a great paper to start with if you were paper curious. The project took us about 5 hours start to finish.
Cozy Vibes with AllModern
This is one of those rooms that when you walk into it, you feel like your guaranteed to have a good sleep - and who doesn’t want that for their guest room?

The first thing you experience is the floor under your feet when you walk in, and when I tell you we were in awe over this area rug - I’m not kidding. We kept doing that thing where we would go back to the room and look inside to see how much it transformed the space and warmed up the floors. We have already ordered a second for our living room.
Of course the key to a good sleep starts with a good bed. The bed frame we chose is one of the highest quality we have ever assembled and its super pretty. We then added linen sheets, a duvet, and a quilt - it gets cold up here folks!

AllModern is really crushing it with the lighting lately and there are so many beautiful options to choose from. It’s amazing what adding a couple (or more) lamps can do to transform a space. Soft lighting is the best way to make a room feel cozy immediately. We love this floor lamp so much, that we’ve used it in a few other rooms at the cabin, too (the primary suite and our 70’s inspired loft). For our bedside tables, we landed on the travertine base lamp. They are very heavy, and the texture of the travertine adds another layer of interest in the room.
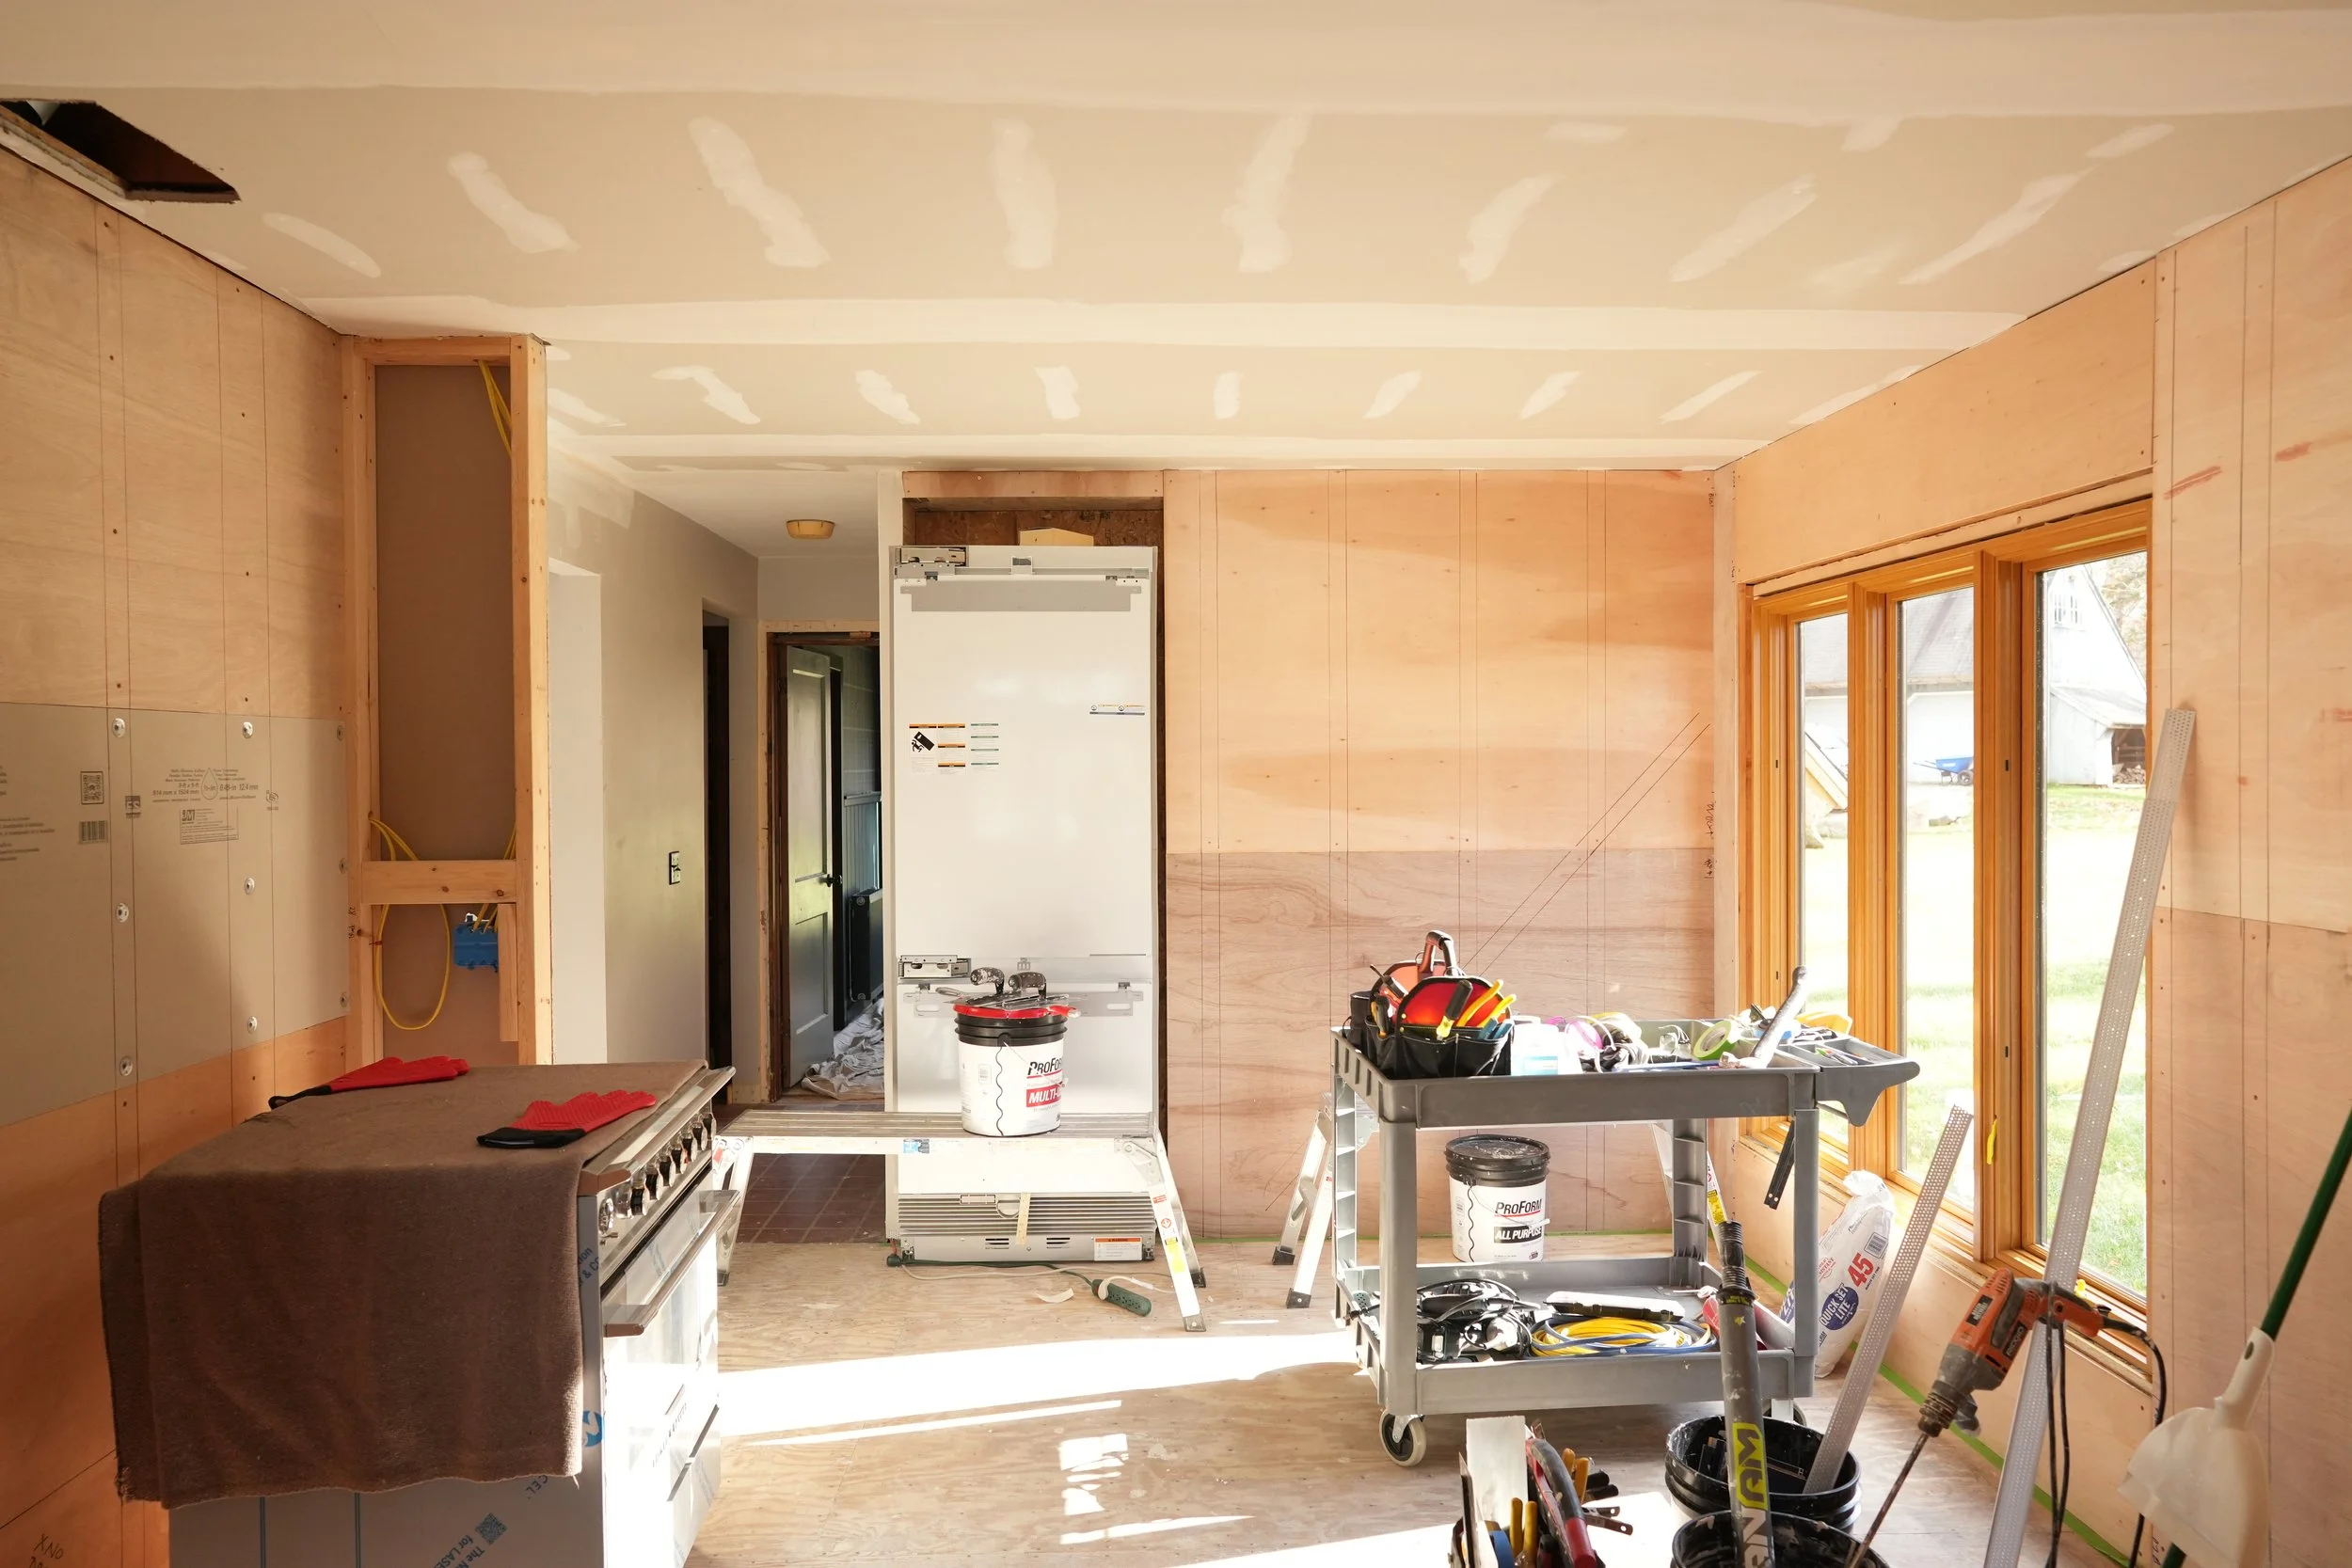
Flooring
In our first design phase, we ripped up the original carpet and painted the existing subfloors with Kilz to seal them off. Then we added a layer of green deck paint hoping that it would be enough to seal in any smells. However, the humidity of summer had something to prove - so we removed the subfloors and started from scratch!

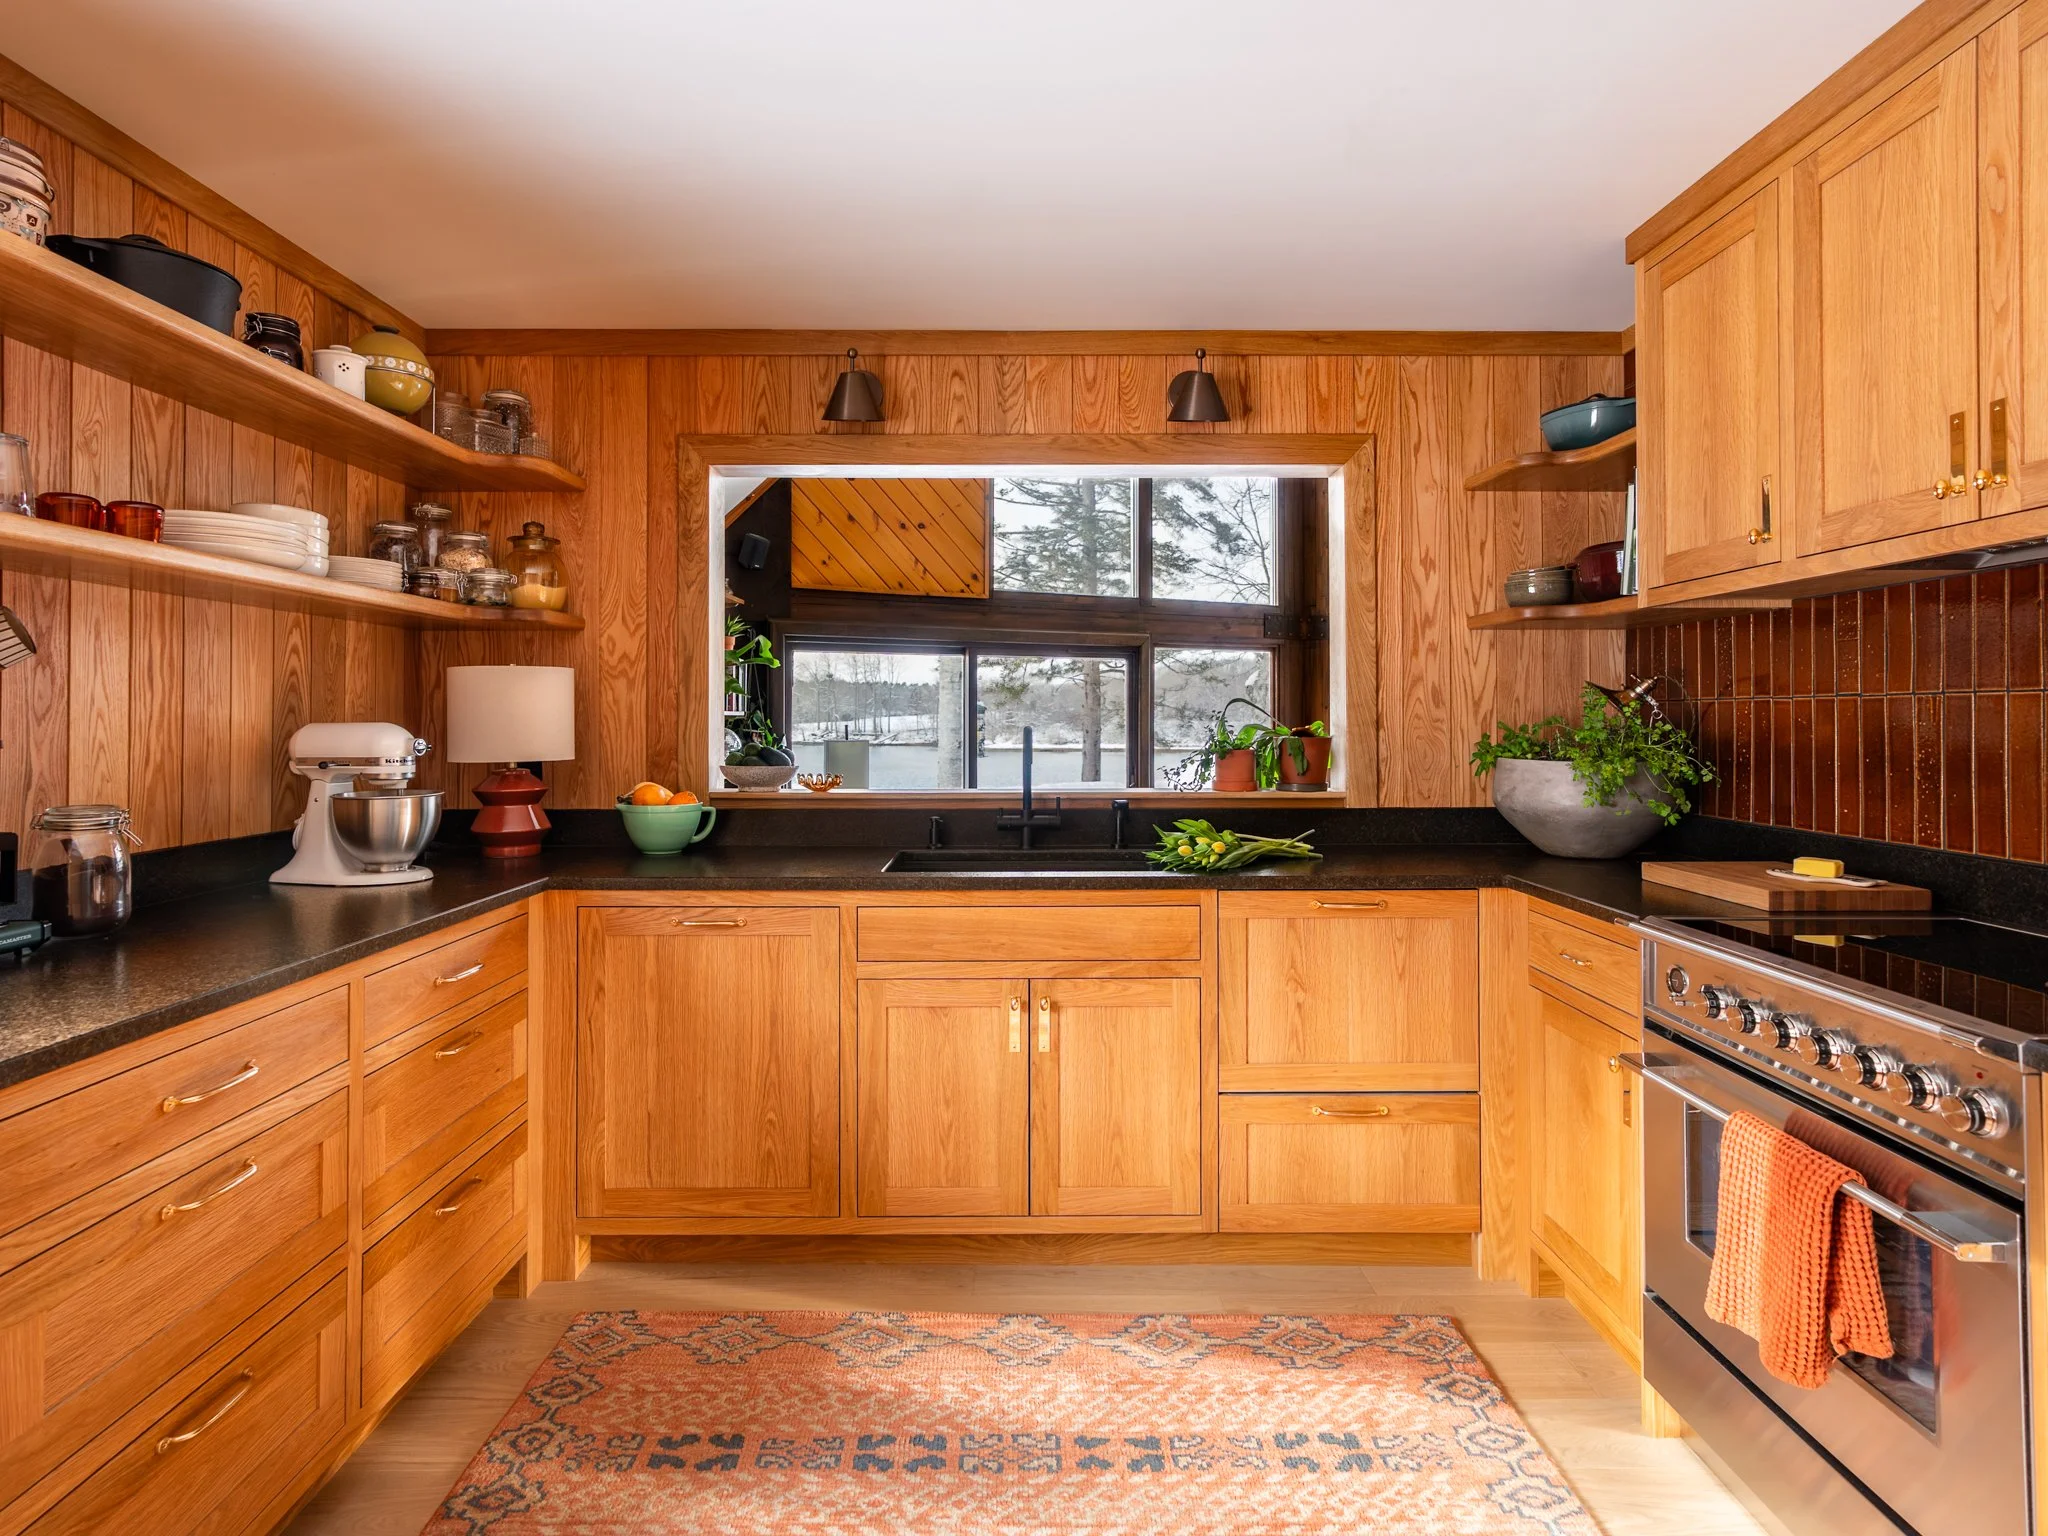
In both guest rooms, we installed an engineered hardwood floors by CaliFloors. We chose this specific type and color because it works well with our existing livingroom floor (the ones we refinished ourselves last summer) and will be used through the rest of the first floor. Despite the high contrast with the rest of this very rich room - we love how clean it makes the space feel.
Clarified Ash, part of the Varietals line is an engineered hardwood with a thick veneer top. It is scratch resistant and very durable - exactly what we need in this house with guests and two dogs. Each box also has a great variety of lengths and we worked really hard to keep them random.
They recommend using Bona products for cleaning (perfect) and for this line you can technically even refinish the floors a few times. CaliFlooring is also FloorScore certified (aka indoor air certified) and free of any harsh chemicals!
Our Paint-by-Numbers Gallery Wall

Ok - the pièce de résistance - our paint by number collection! Over the last two years, we have slowly accumulated a pretty epic collection of these - animals, landscapes, boats, lighthouses, you name it. We’ve found them at thrift stores, goodwill, craft markets, ebay, and even bought one off the wall in a deli. As our collection grew we knew that we would need to do a gallery wall, and this small guest room was the perfect candidate.
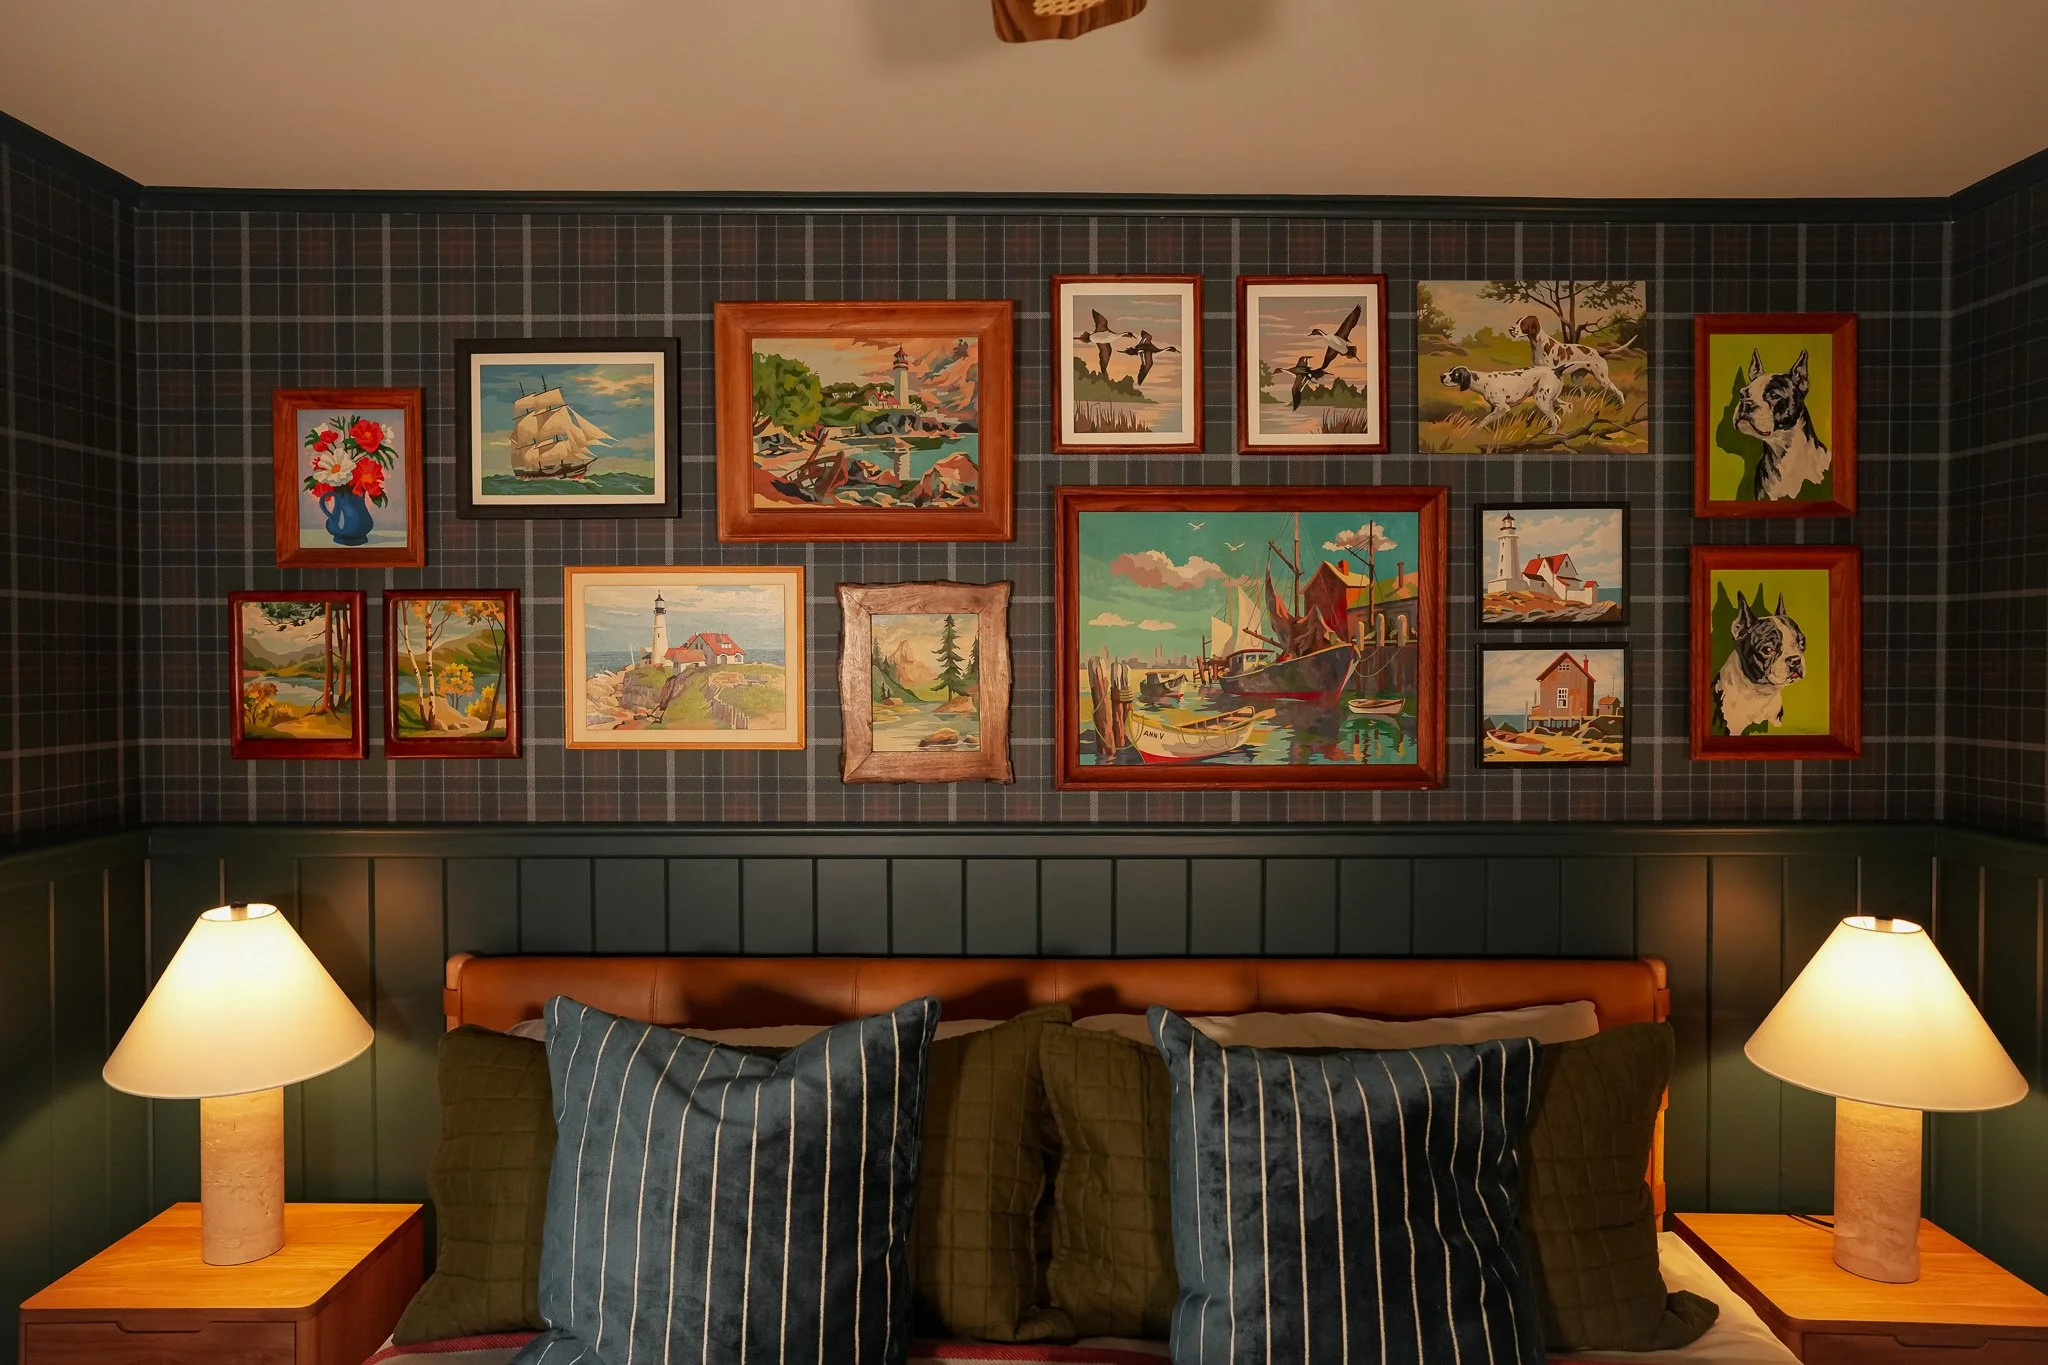
When we stepped back to look at this finish space, it was clear that this oversized gallery wall is the perfect bridge between rustic and modern cabin design. You may notice that we have some wall space left - yes, we’re planning to expand our collection even further over time - so keep an eye out for that!

Gallery Wall Tip
Gallery walls can be pristine and precise, or a bit more staggered and chaotic. No matter what, there has to be planning involved. The paper template method is our go-to for achieving the perfectly curated gallery wall with minimal mess-up’s. All it takes is some brown craft paper, a level, a pen/pencil, and some painter’s tape.
Stephen started by rolling out a large piece of brown craft paper. We then traced each frame and cut them out, making sure to write the name of the piece on the paper (ie. duranged kittens). We then took each piece and using painters tape, taped them to the wall, arranging and moving as we went!